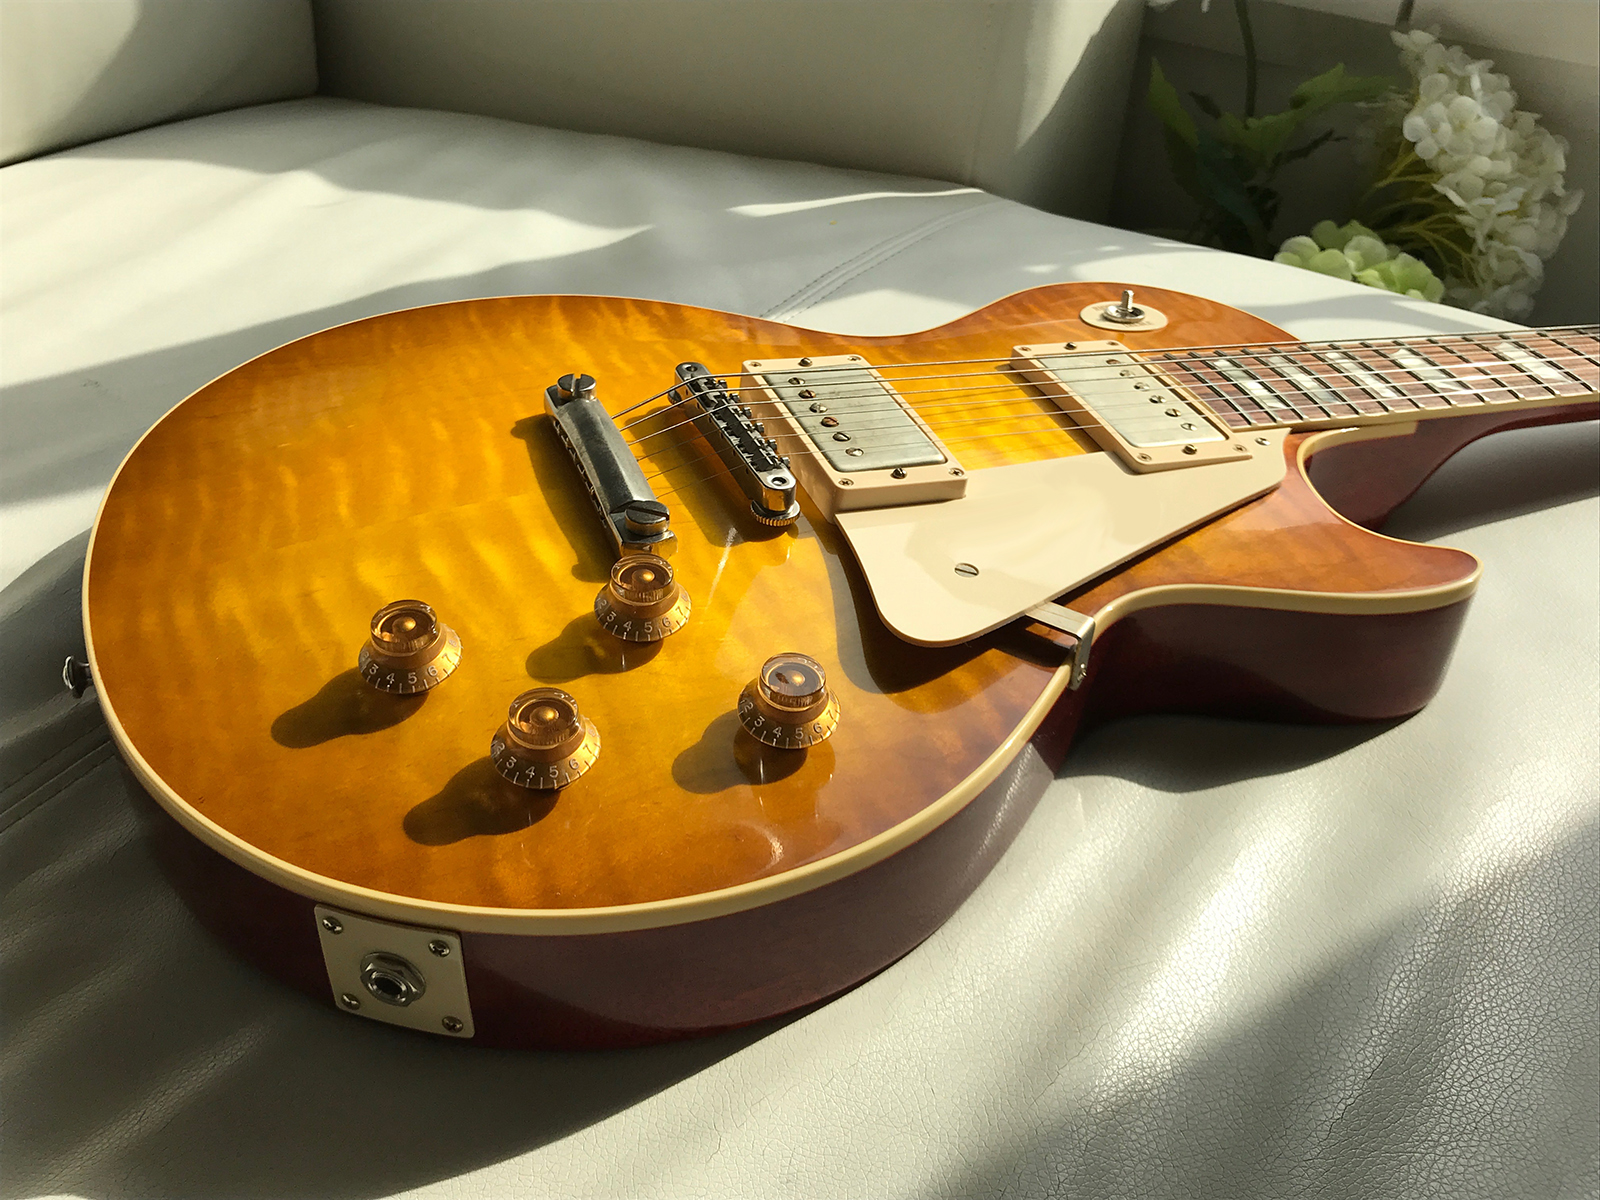
I felt in love with the Les Paul since Cloudbreaker as you may have understood if you had a look at my gear page…
Recently, I had been looking for a very simple guitar: one pickup, simple setup, light weight and not too expensive but has a killer look and a good sound.
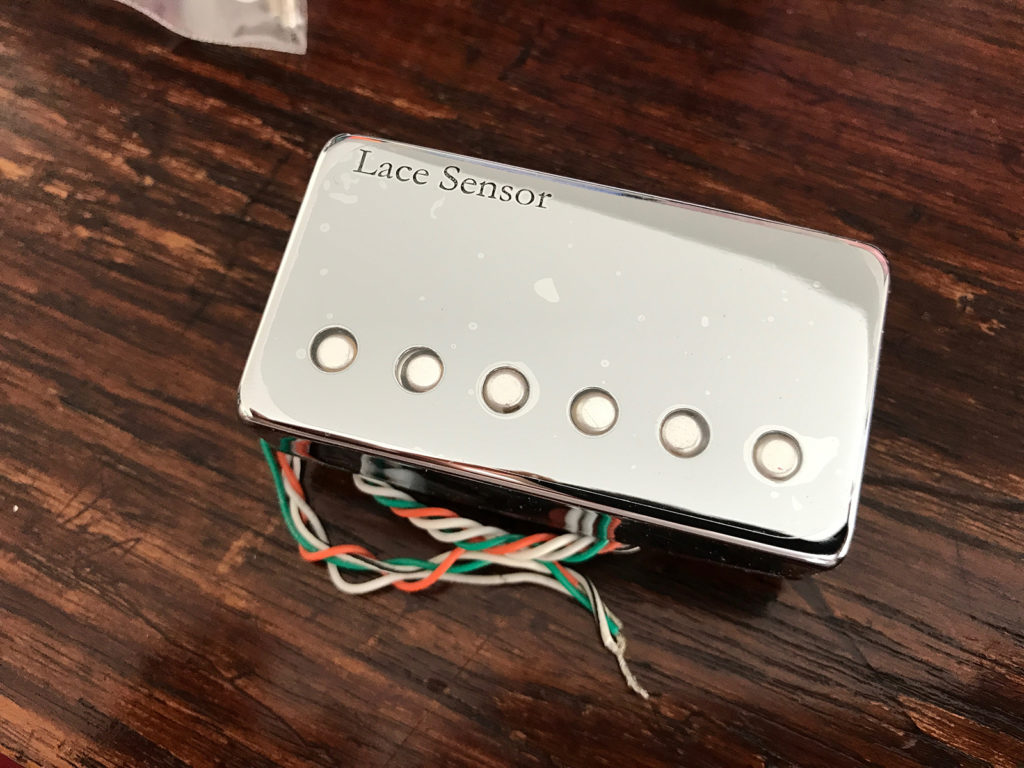
As a good Gibson Les Paul fan, I though about a Melody Maker or a Junior and then while looking for splittables humbuckers for my SG, I saw the Lace Music Deathbucker : 😍!
I then started to look for a Gibson with a single humbucker.
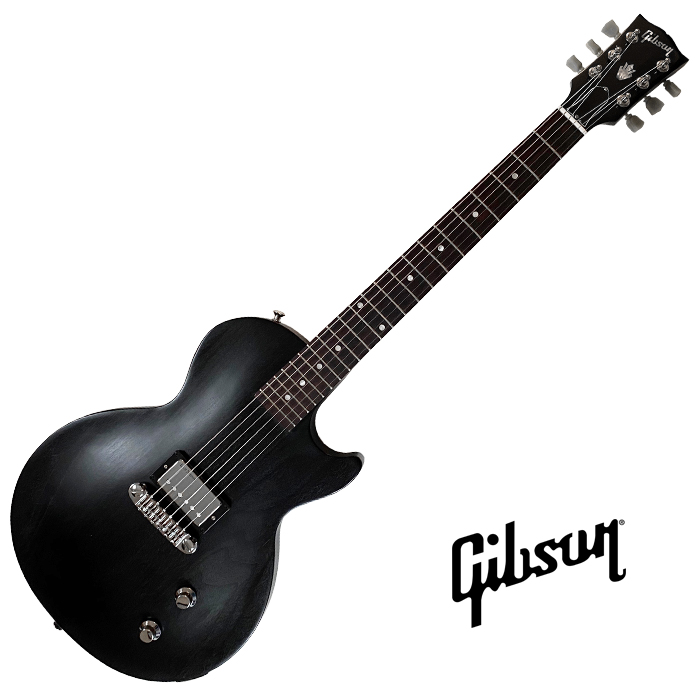
At first I wanted to find a second hand SG-1 but I felt (in love with) on an LP CM 2016 T in perfect state an much cheaper. I had a look at Gibson’s because I didn’t know this model and… Bingo ! This was exactly what I was looking for without knowing it existed: LP shape, thin body, one humbucker.
Nevertheless, in my eternal quest for improvement, I decided to bring in some tonal or aesthetic upgrades to this guitar:
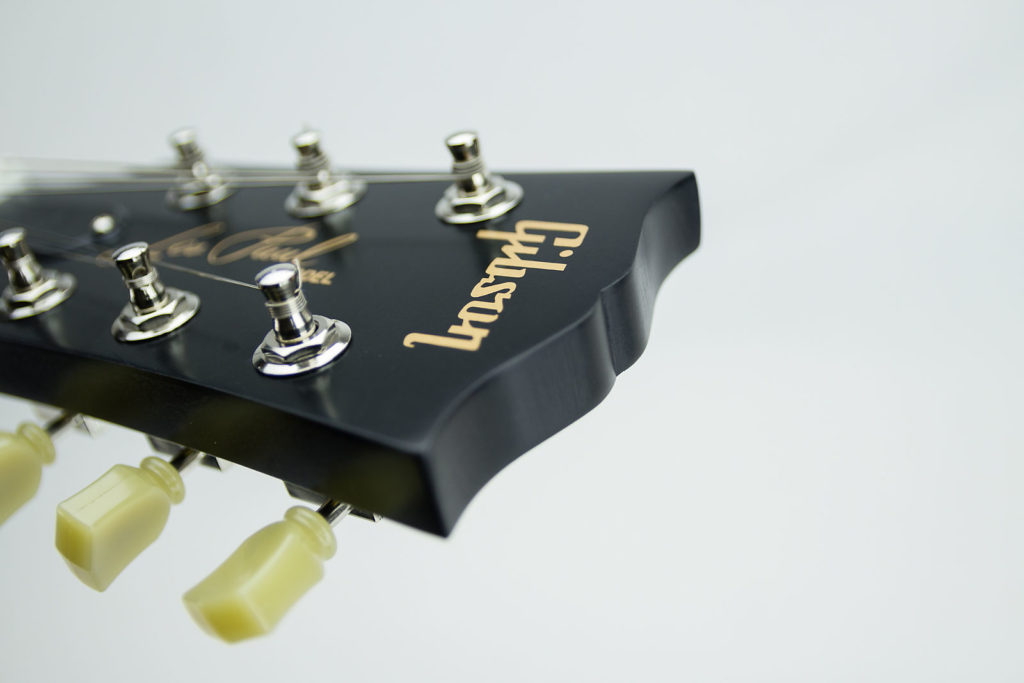
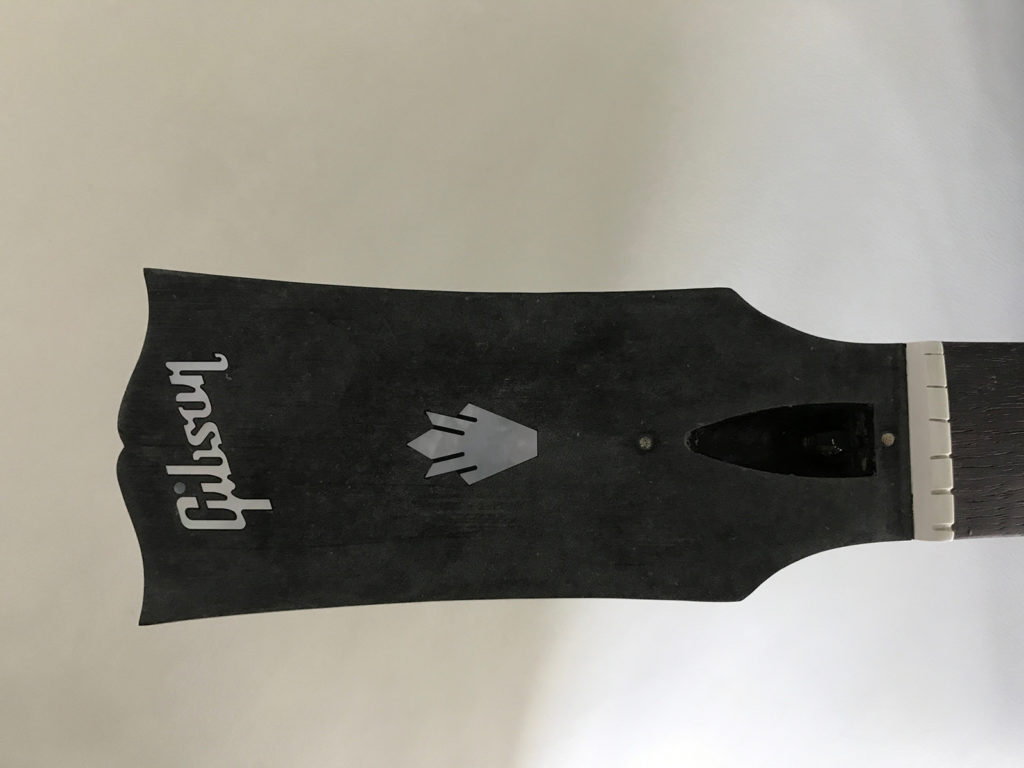
• New headstock veneer with mother of pearl inlays of Gibson logo and Crown
• Blank Gibson bell trussrod cover
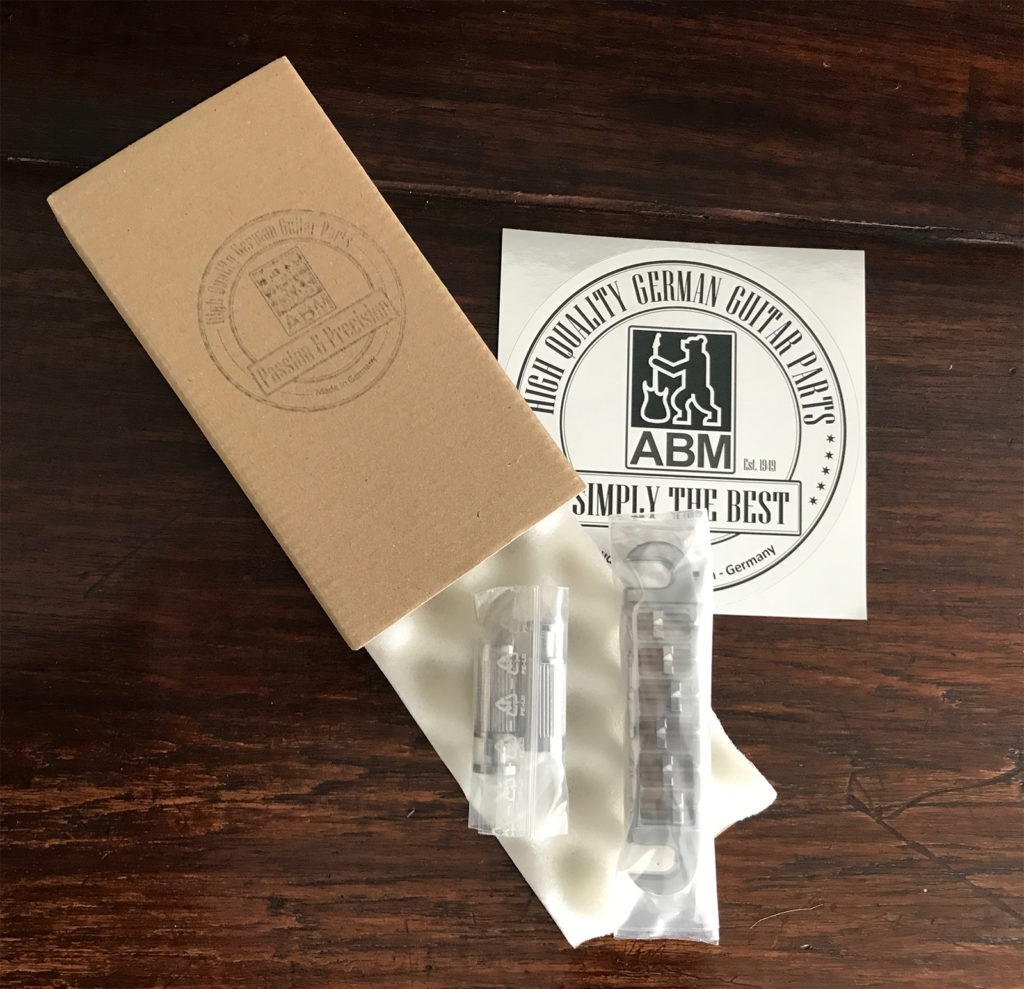
• ABM aluminium with chrome finish wraparound
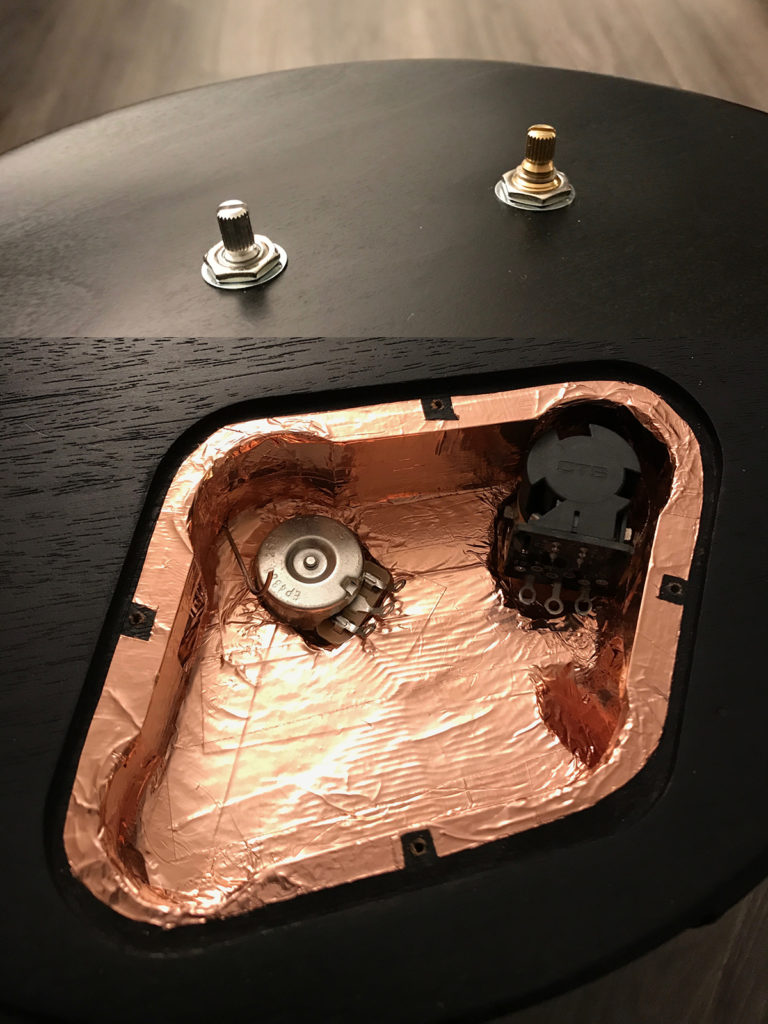
• Schaller chrome tophat knobs
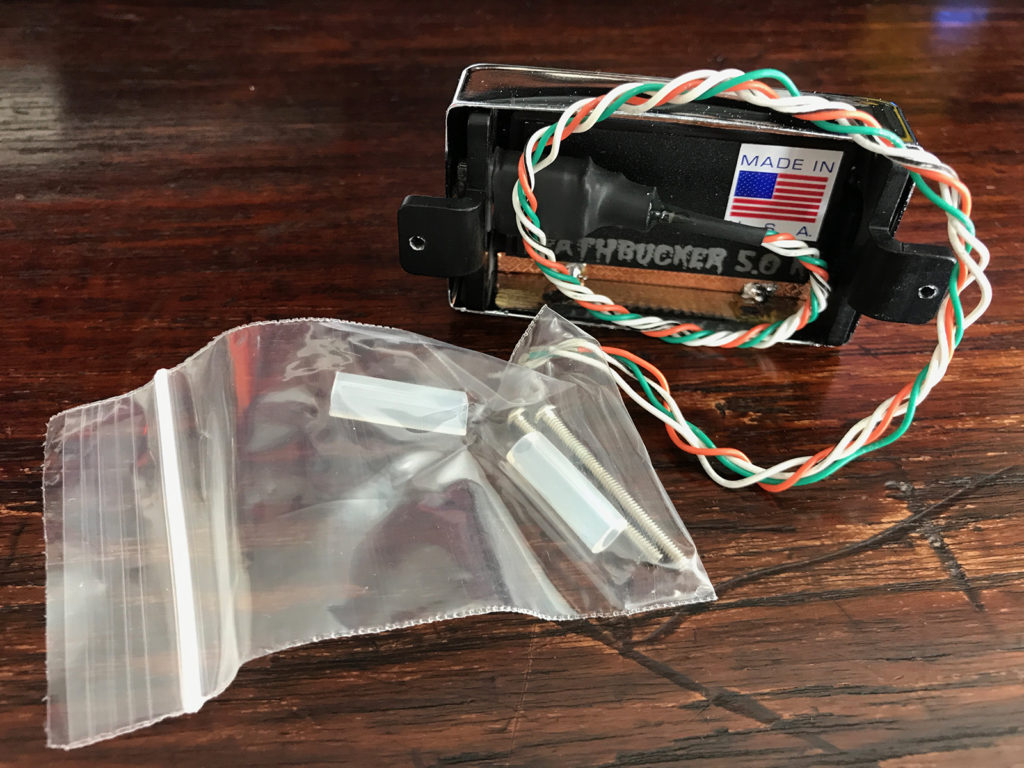
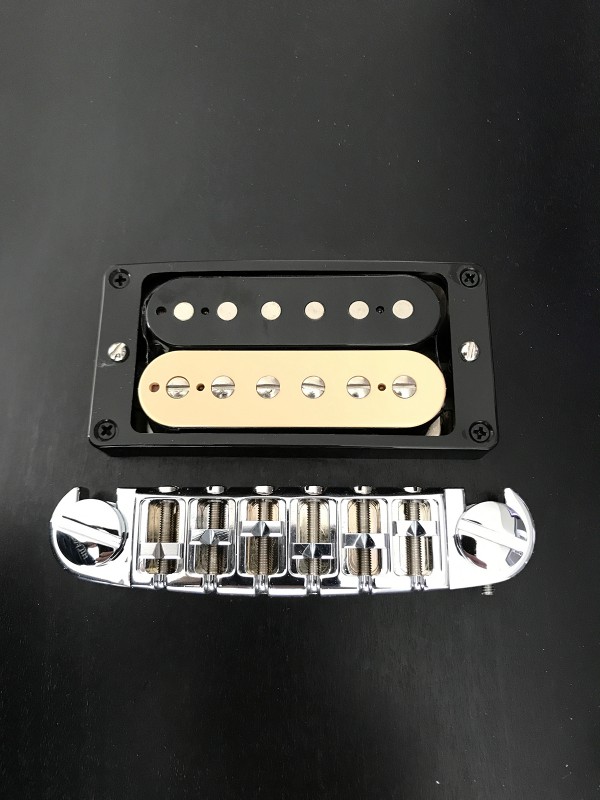
• Lace Music Alumitone Deathbucker Deceptor (Lace recommends 250kΩ pots and 22nF cap with the Alumitone “for better tone”)
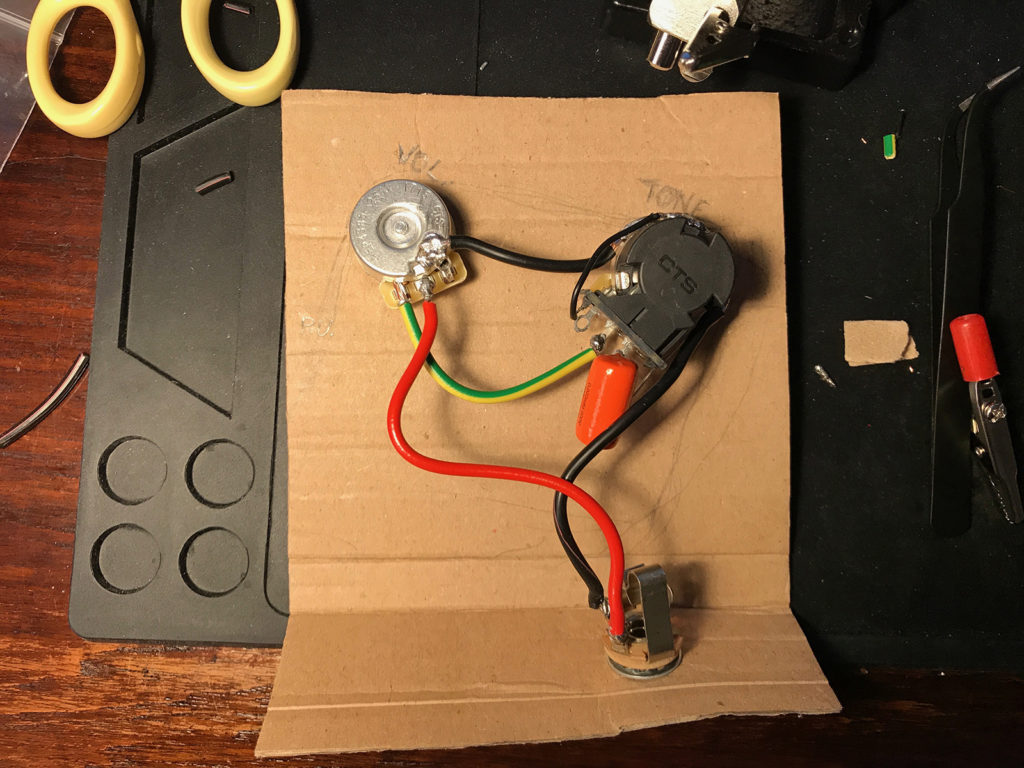
• 250kΩ push/pull CTS pot to “split” the Alumitone on the tone knob
• 250kΩ CTS pot for the volume control
• 22nF Orange drop capacitor
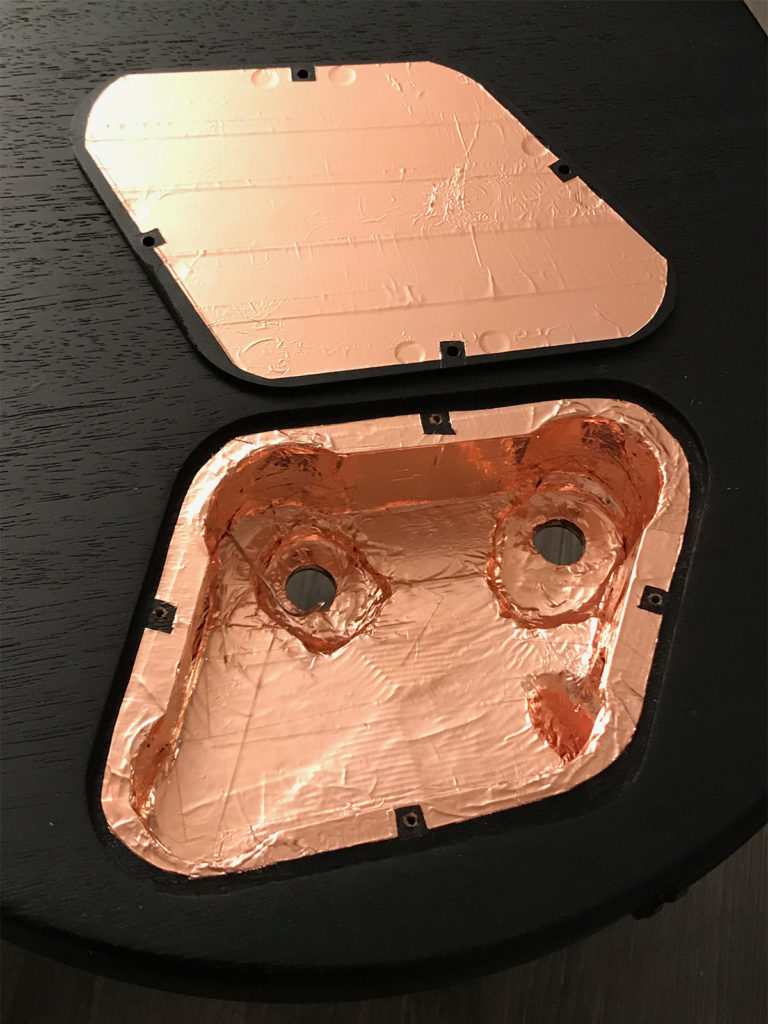
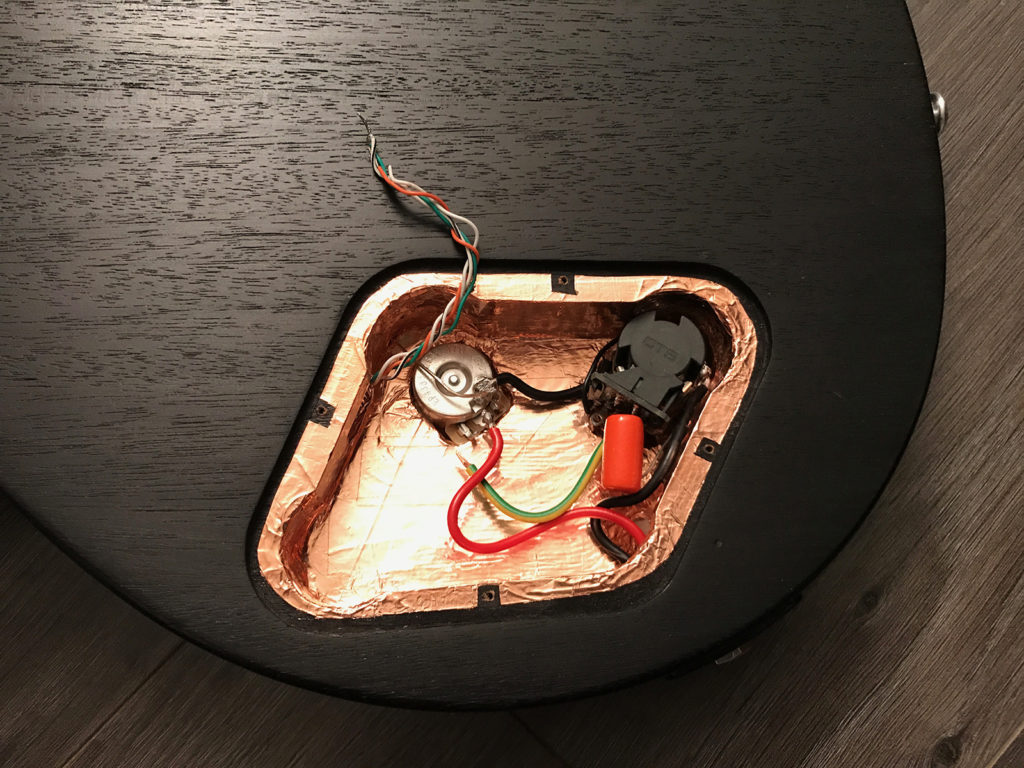
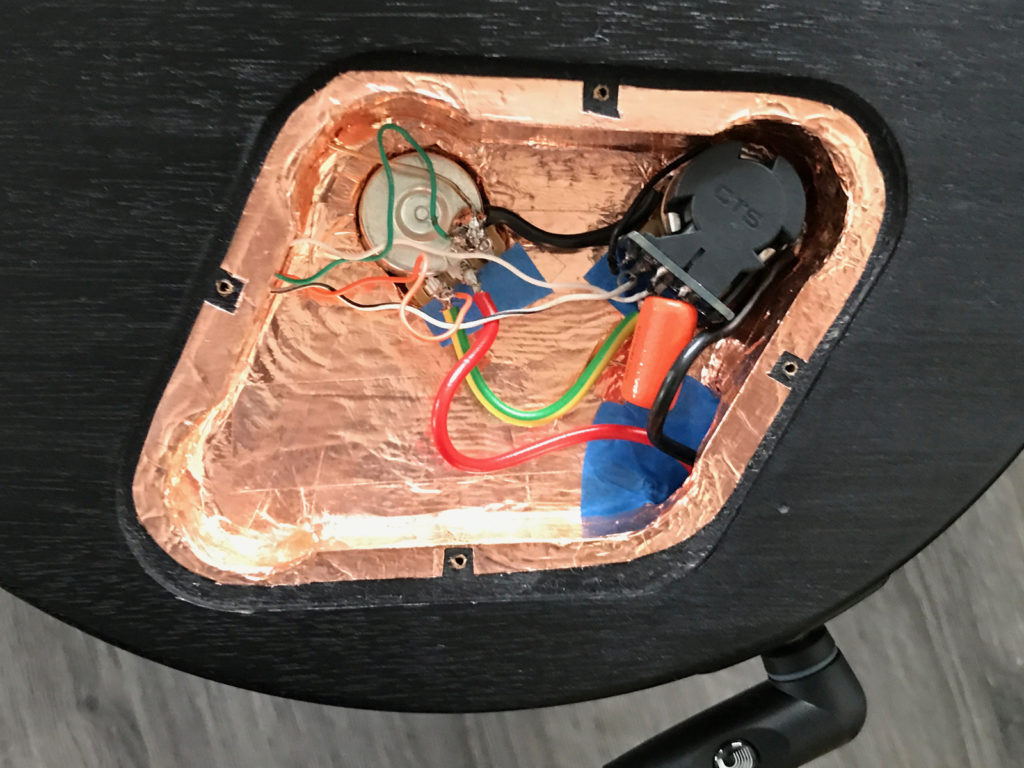
• Copper shielding of the control cavity and back plate
• Dunlop straplocks
Here is the end result but for those of you who want to have a look at the various stages of the projects, I wrote the details below.

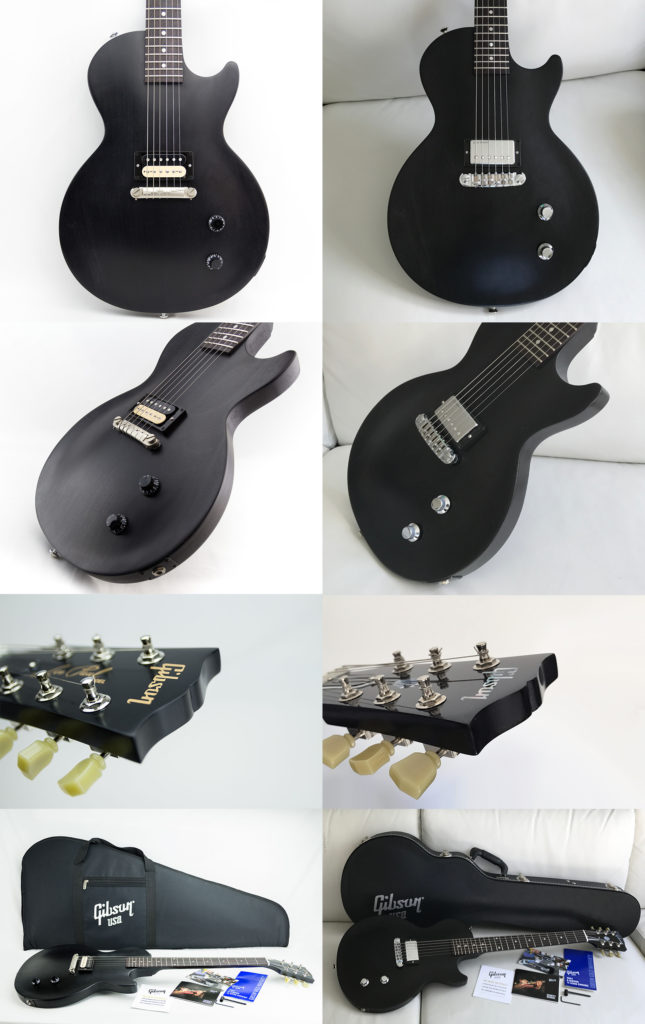
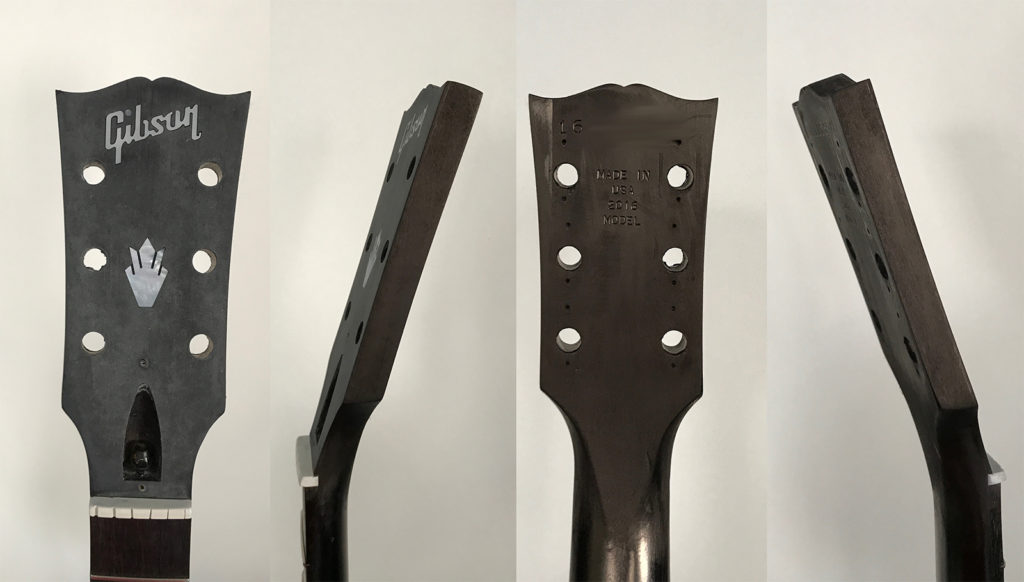
Here are the seller’s pictures of the second hand guitar I bought:
While I was waiting for the guitar shipment, the Lace Music Deathbucker Deceptor.

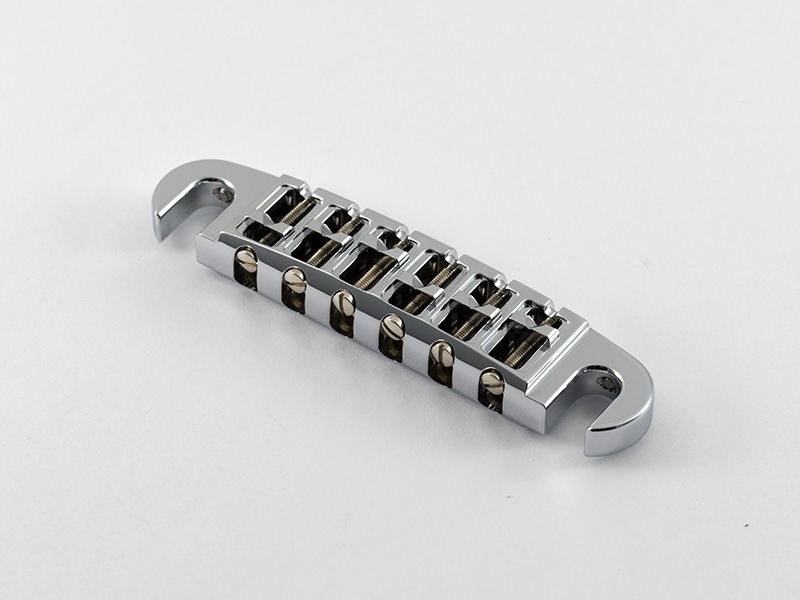
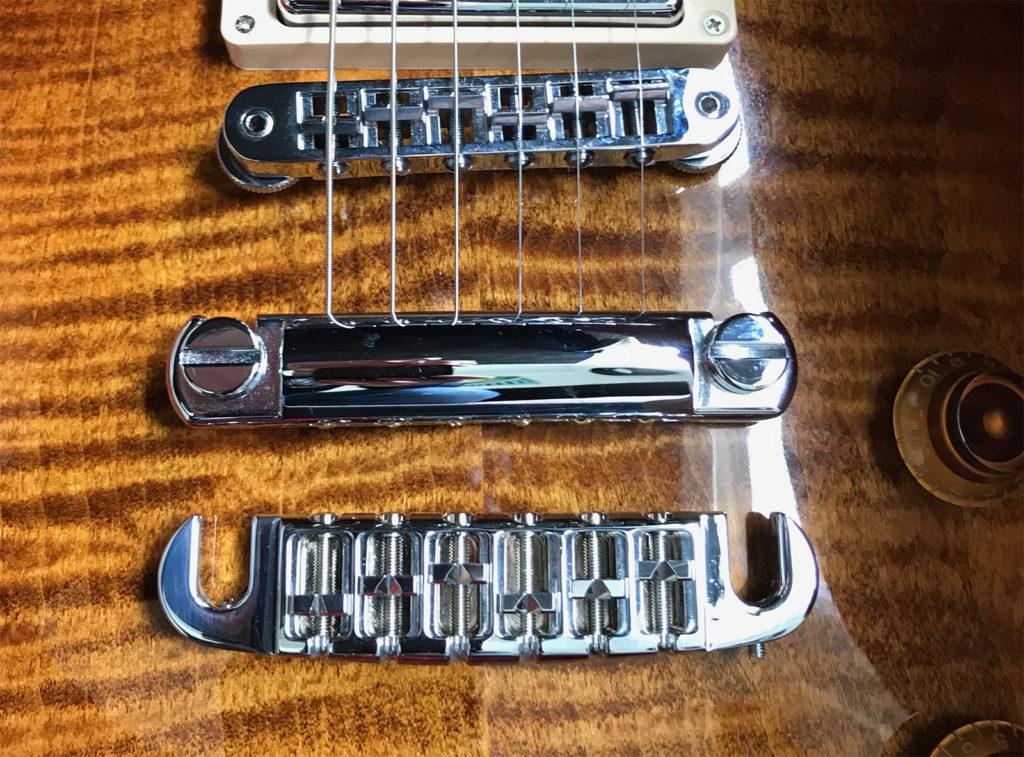
Though the default CM wraparound is compensated, I wanted something more serious and chose to order the ABM 3024CA (chrome plated aluminium) for finer setup:
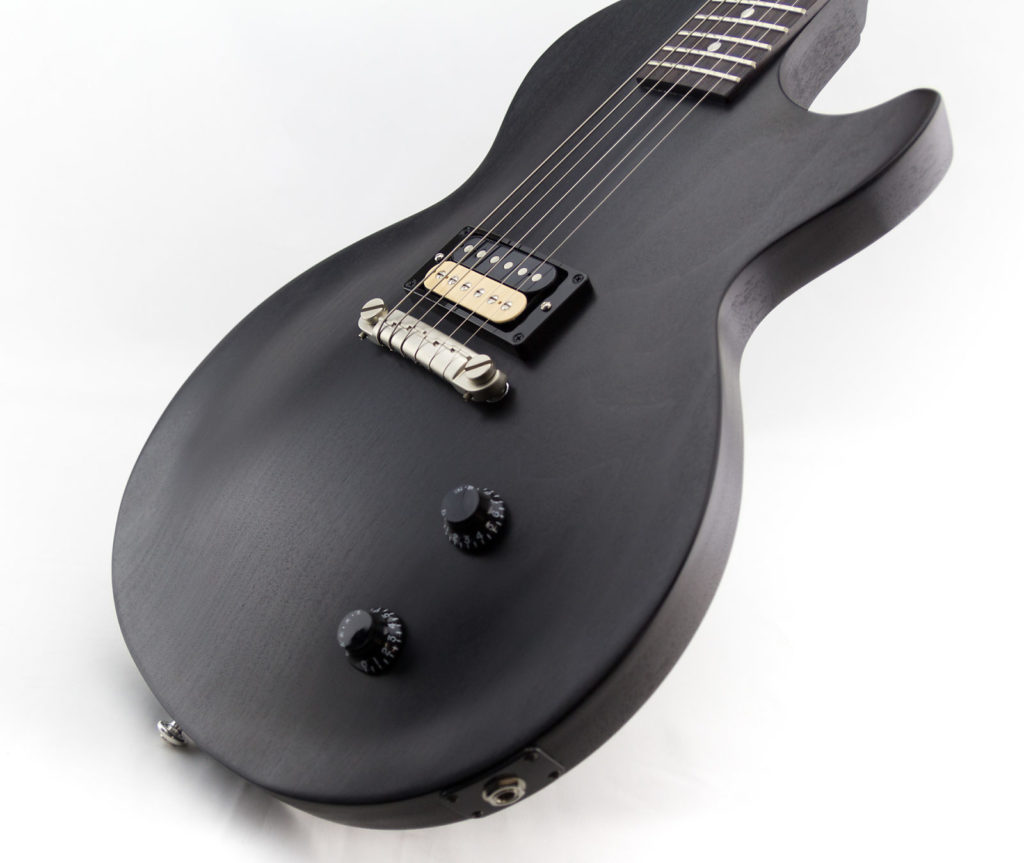
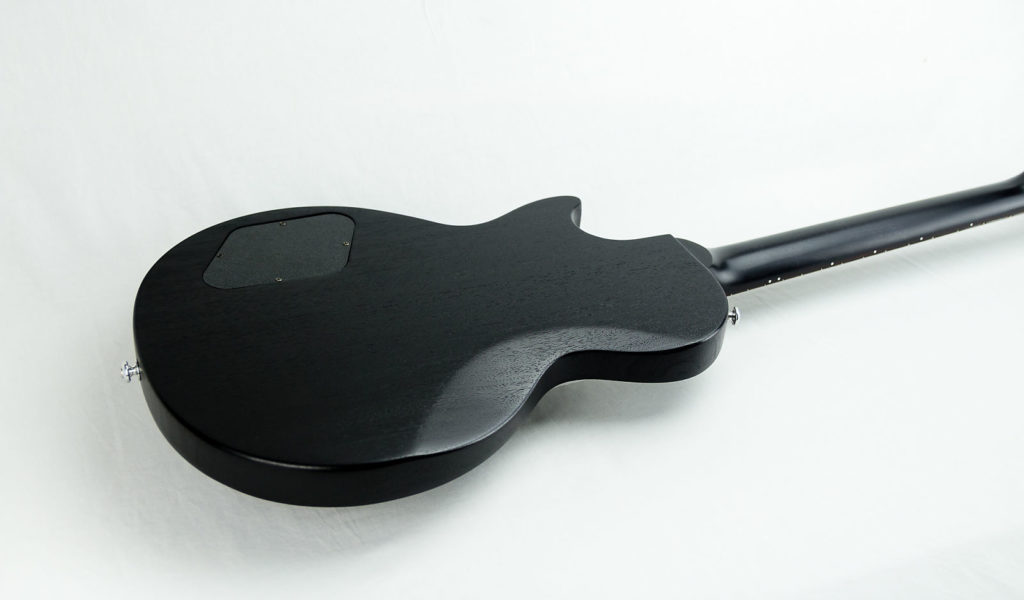
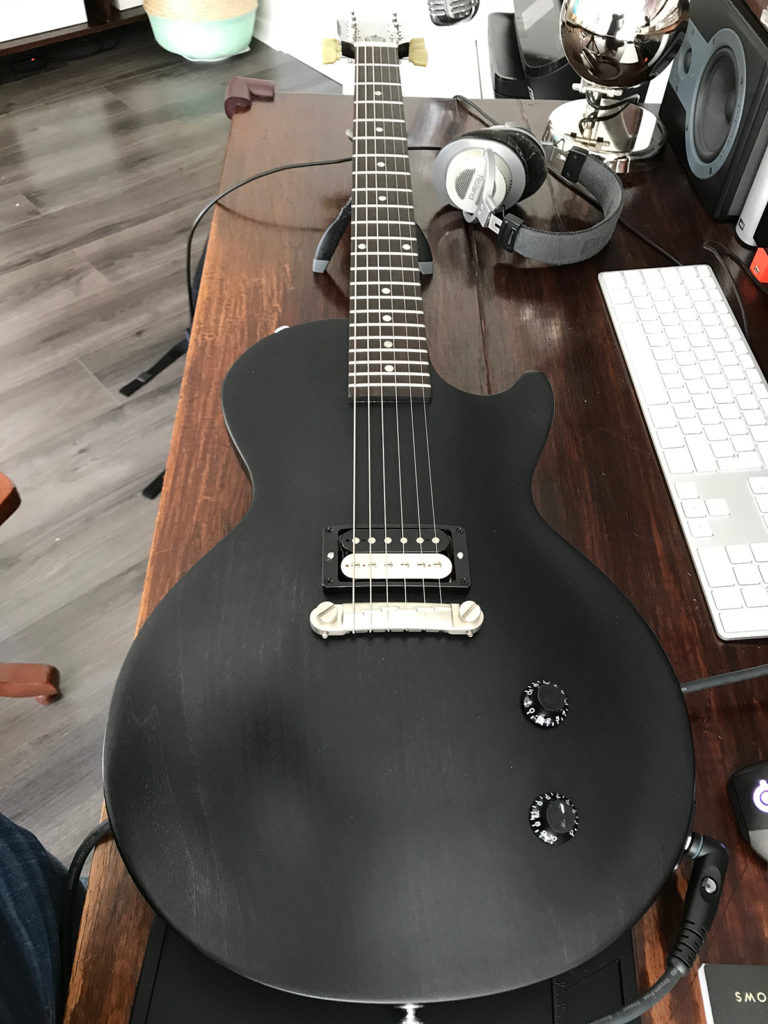
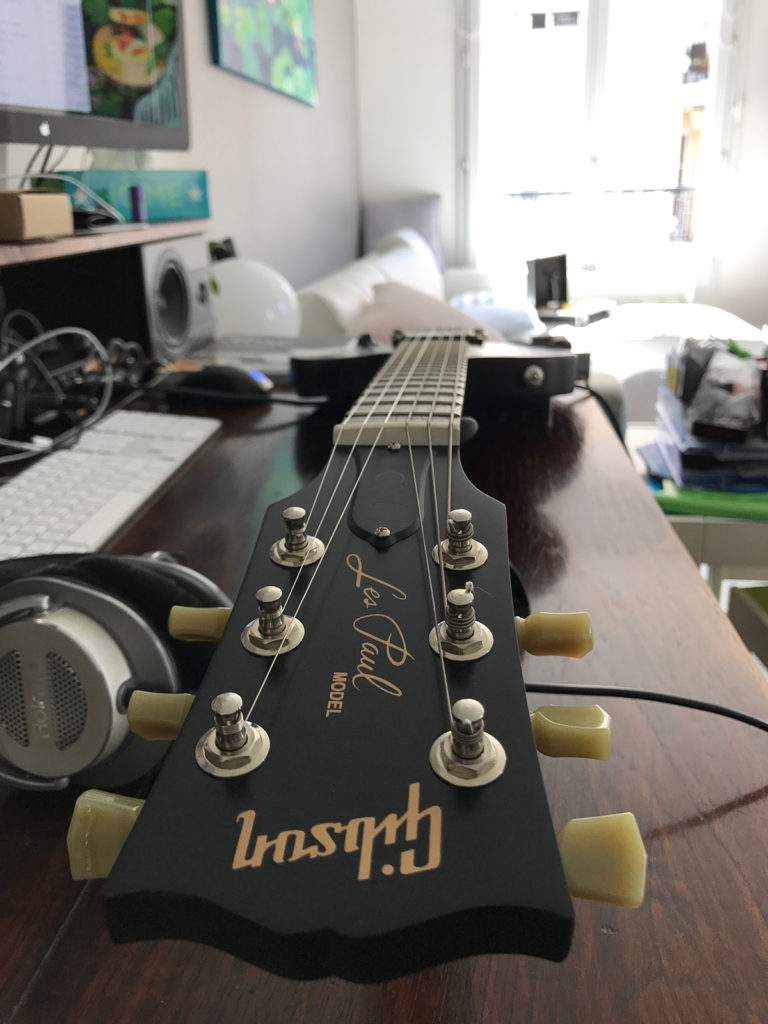
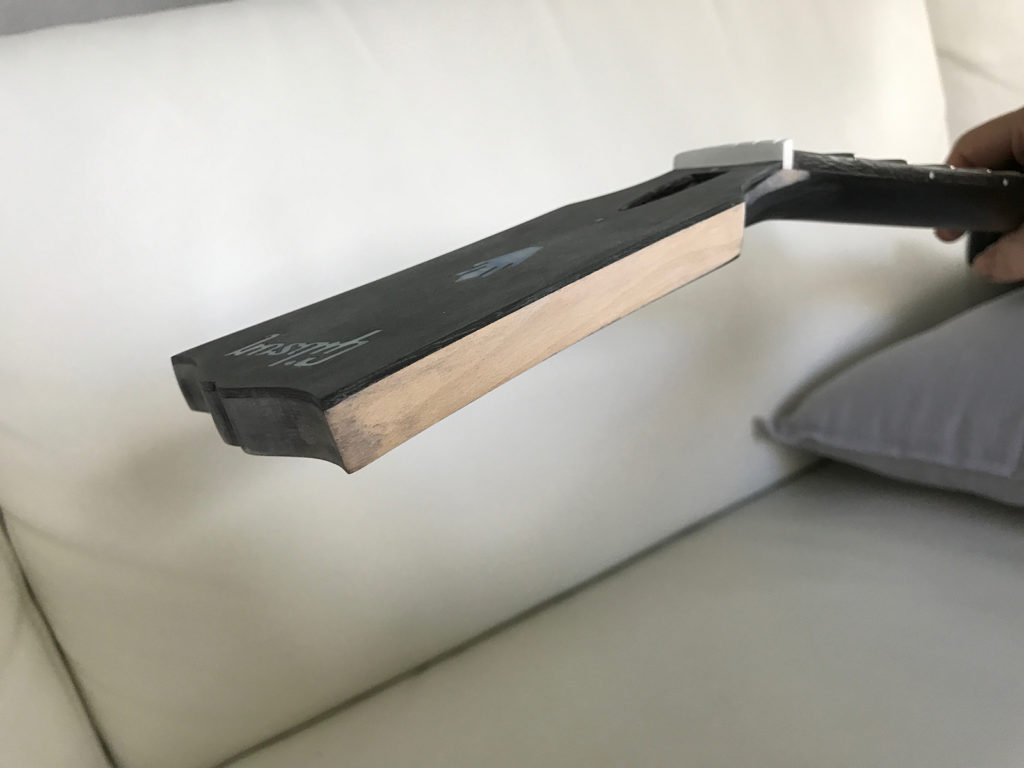
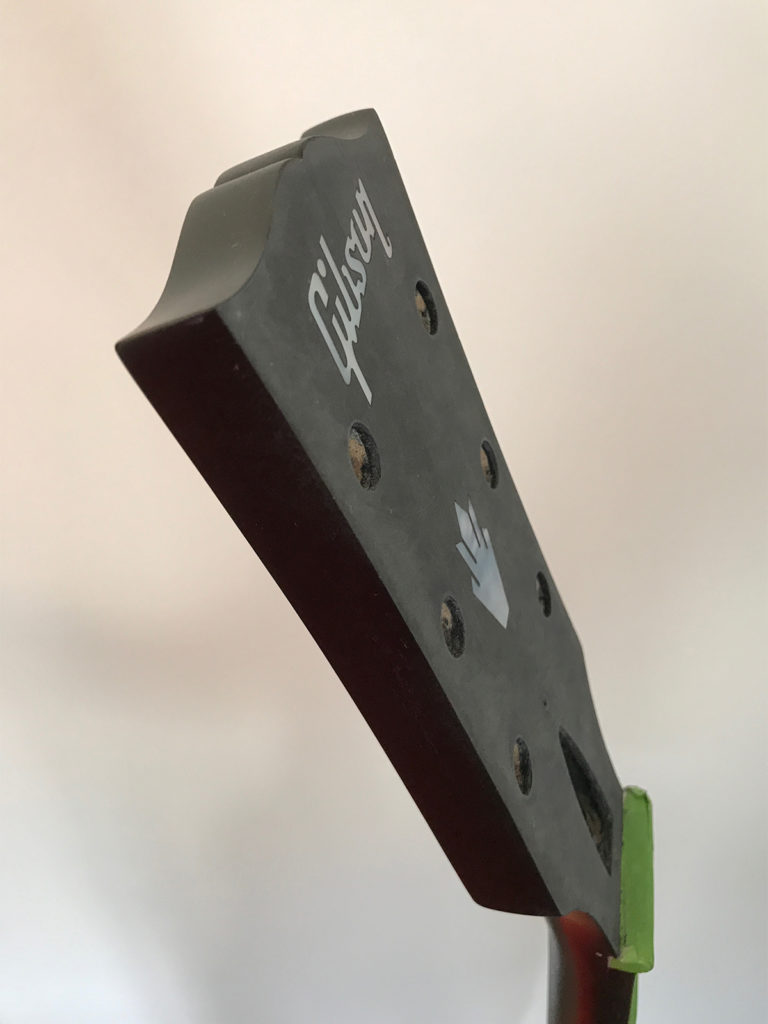
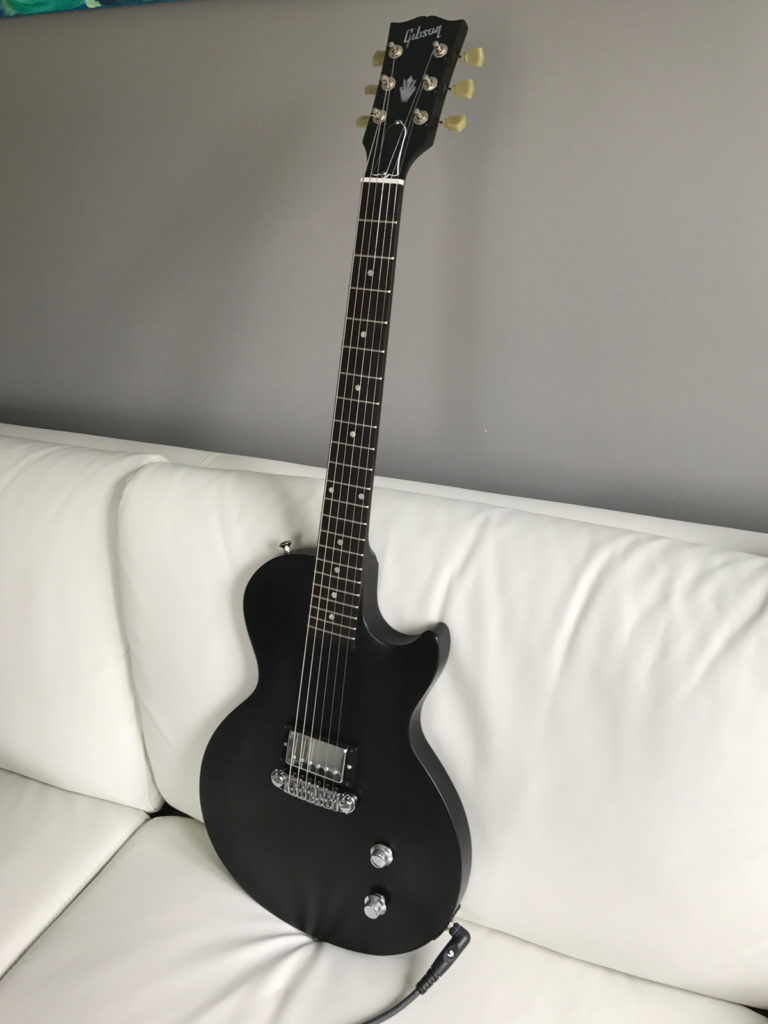
And then.. the guitar arrived. Beautiful! with a handsome satin black.
The guitar was really in excellent condition with only two minors issues:
• one of the buttons was cracked but I already decided to change them anyway
• the threads of the wraparound were totally washed out, but again, I already decided to change them anyway
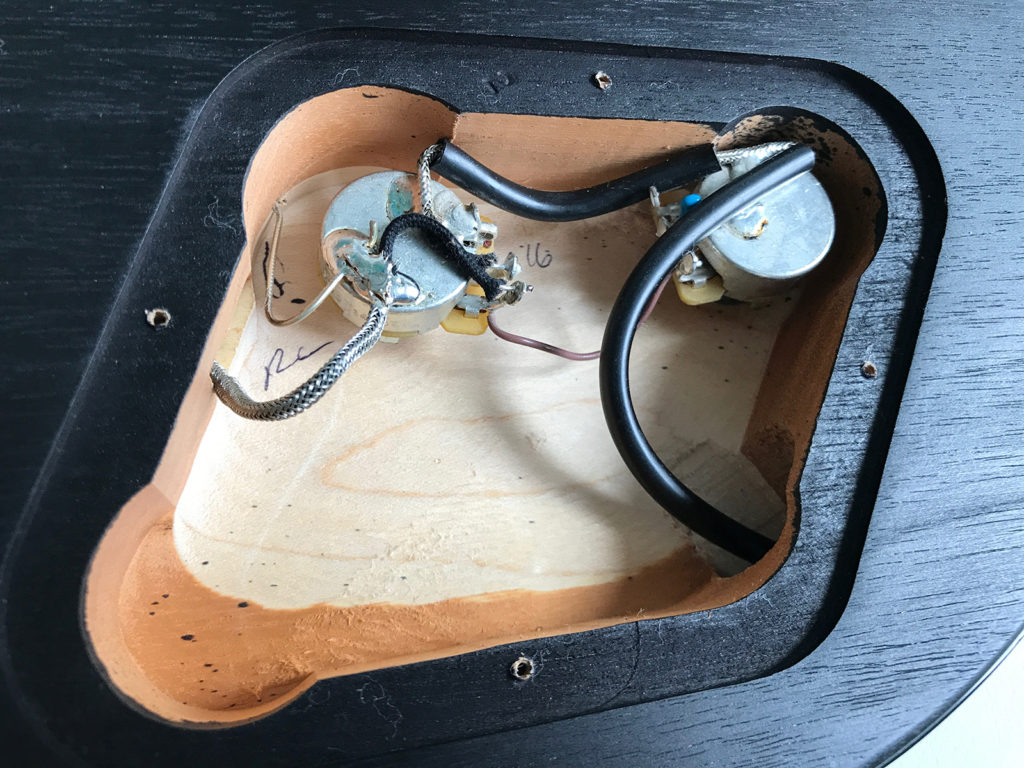
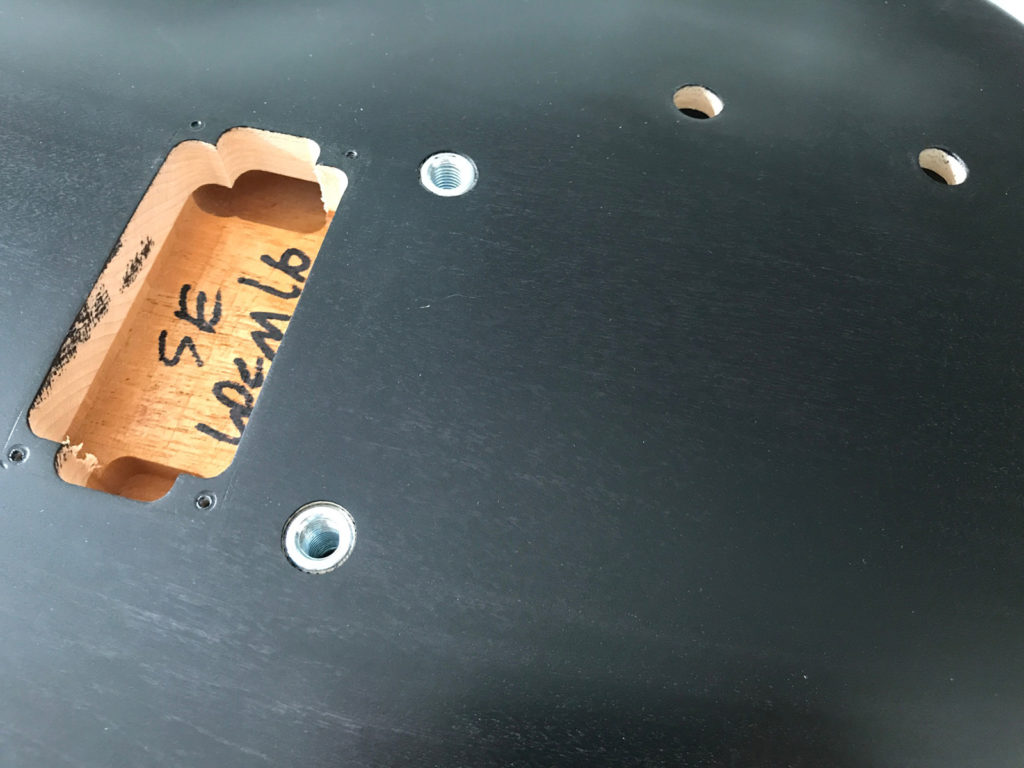
I then opened the electronics cavity to know if I needed long or short shaft pots.
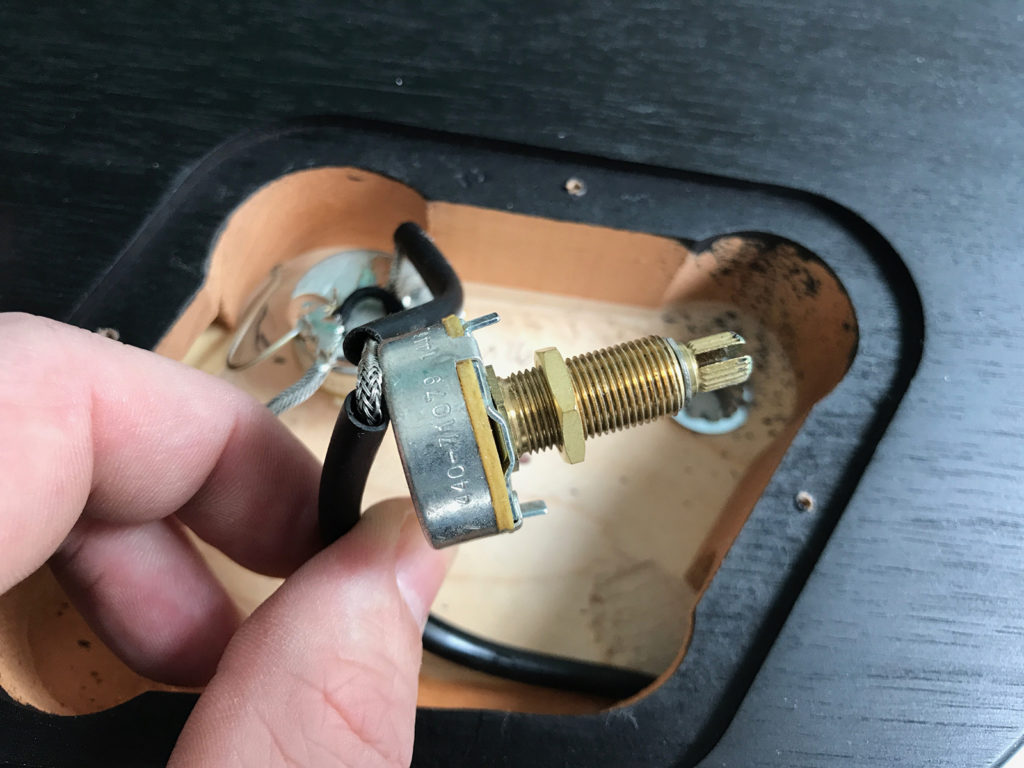
The push/pull CTS fits but with very little margin.

Let us now go to the main course and talk about the Classic ’61 humbucker sound. To my ears, the high frequencies of this pickup are too loud and rolling the tone pot to its max does suppress the treble but also cuts the volume because of the lack of bass…
It comforted me in the idea of replacing the pickup.
I didn’t have any regret either to replace the wraparound. It would have been an enormous challenge to set up the guitar correctly.
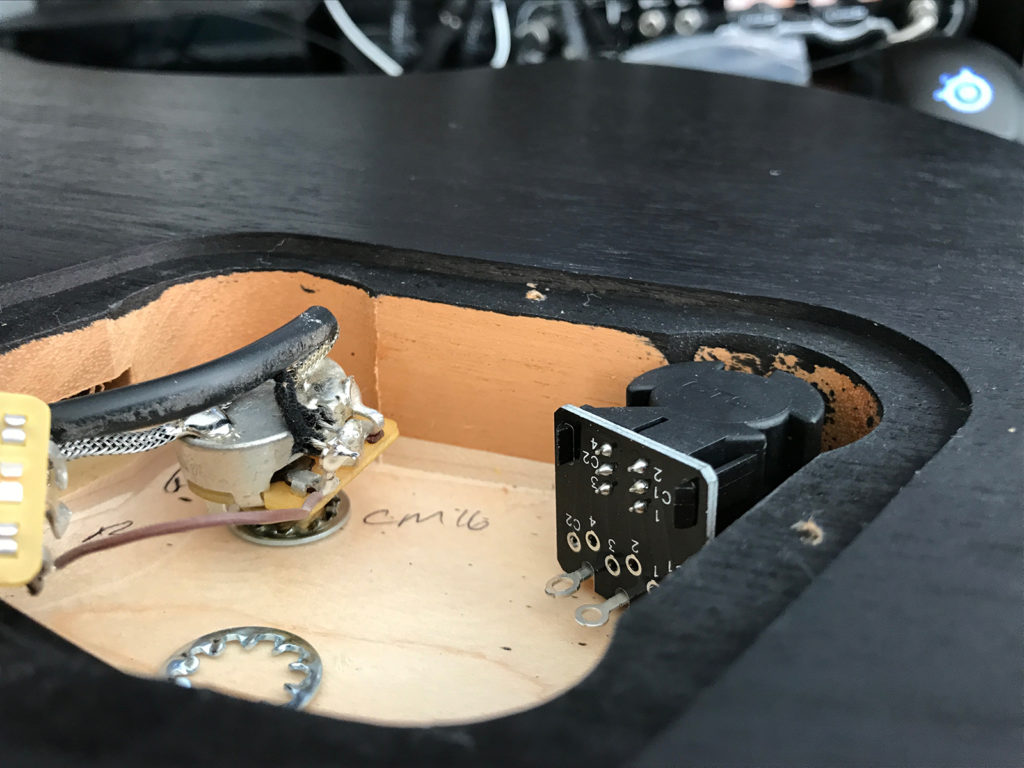
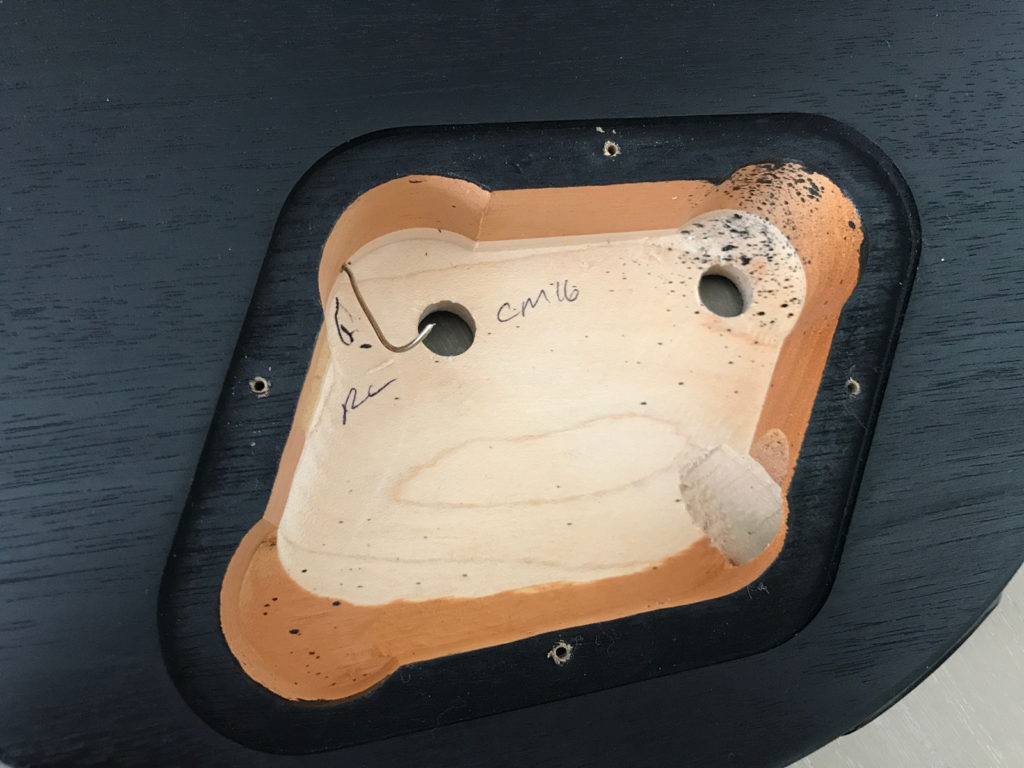
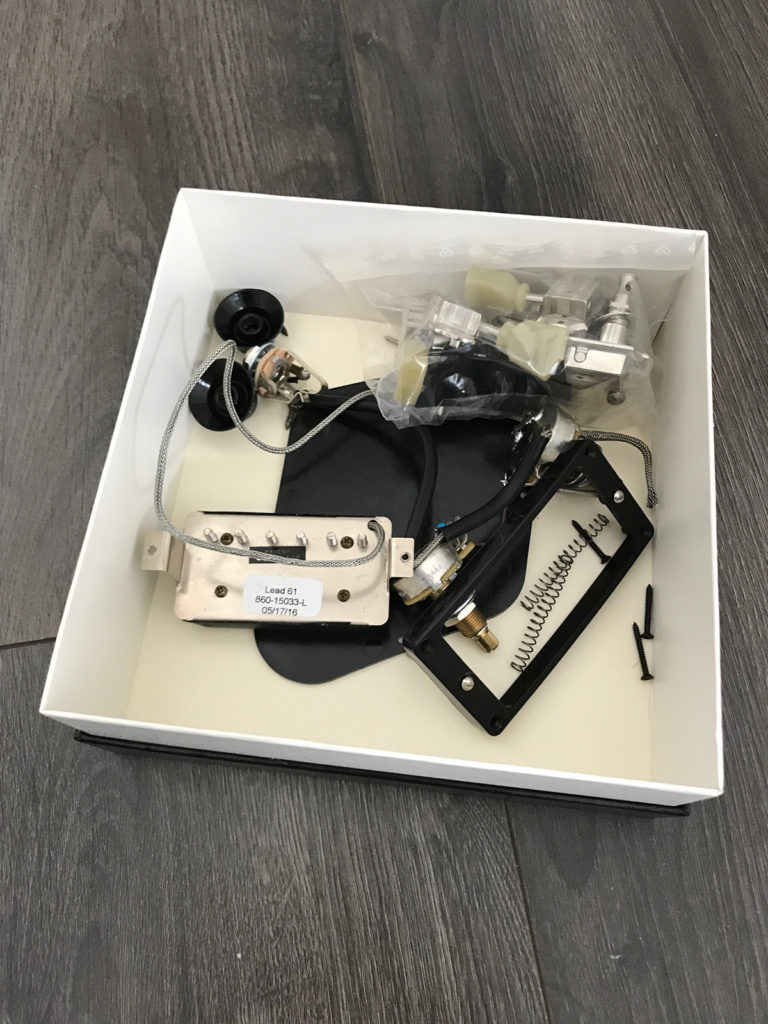
I then started to remove all the hardware end electronics which was a very easy task as there is no switch (all the wires go directly from the humbucker to the cavity).
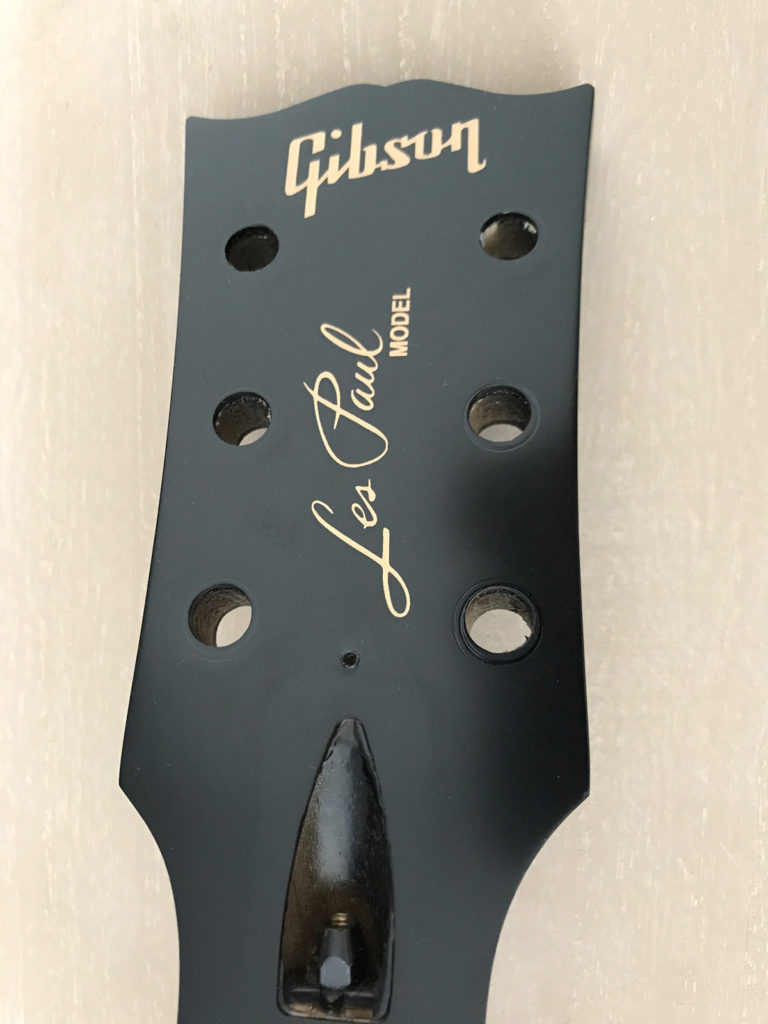
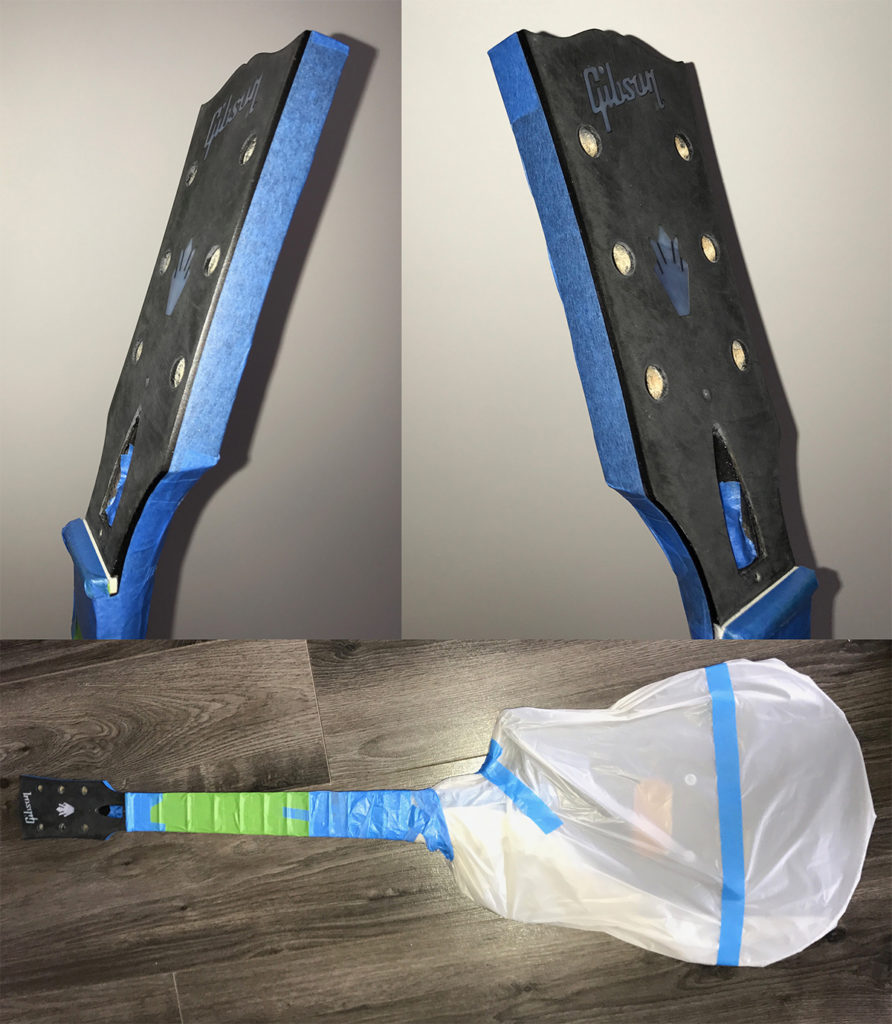
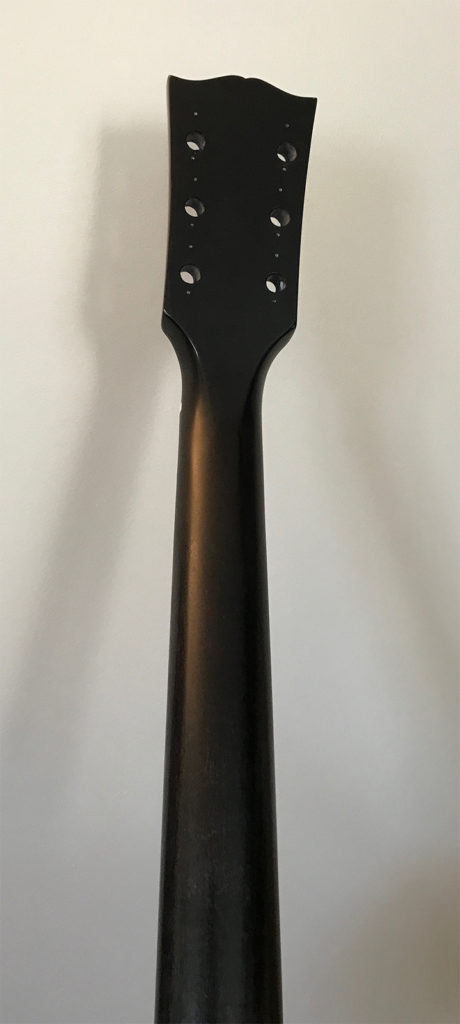
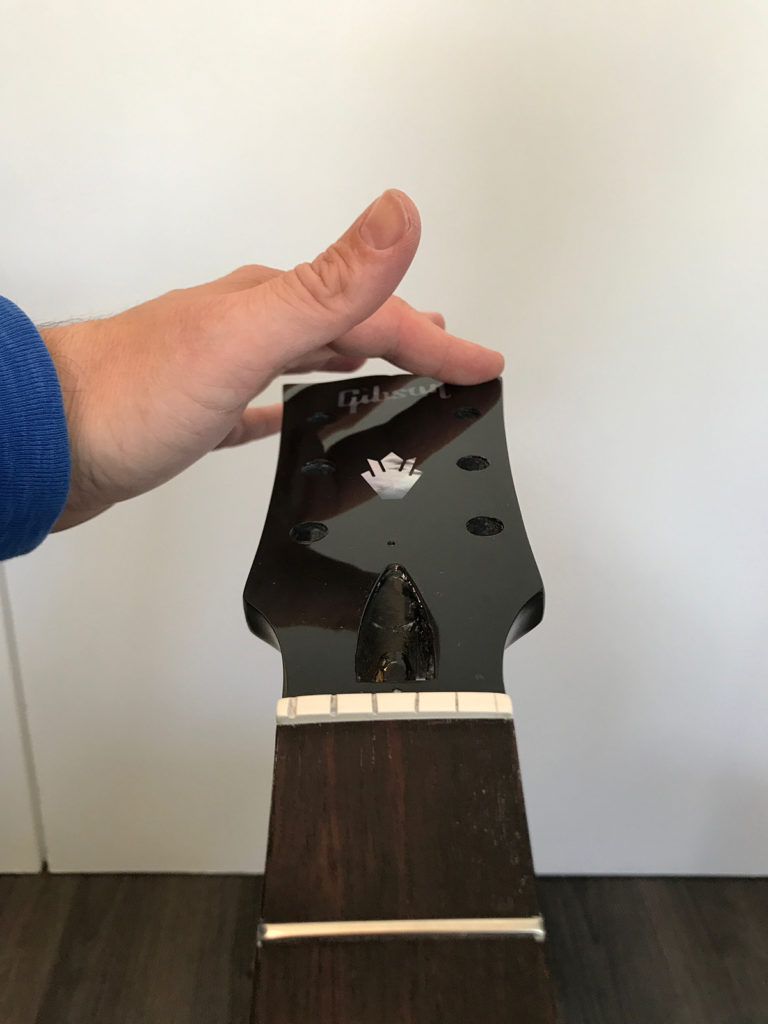
In preparation of the headstock makeover, I also removed the tuners and the trussrod bell.
And I did not forgot to keep everything in a nice little box.
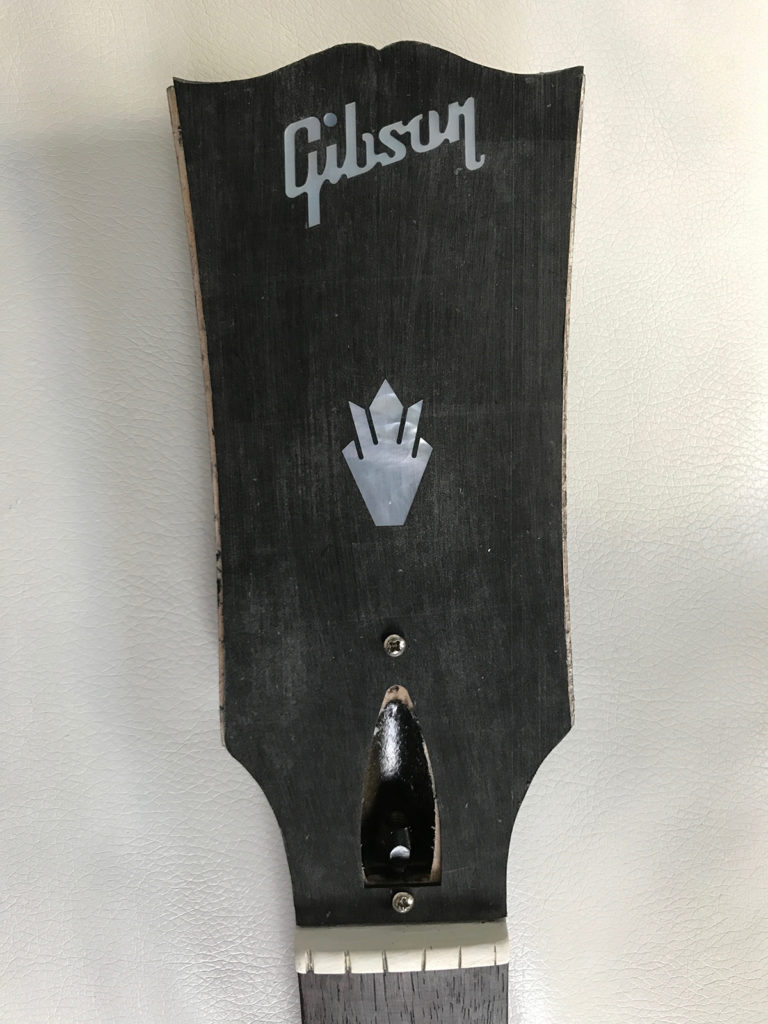
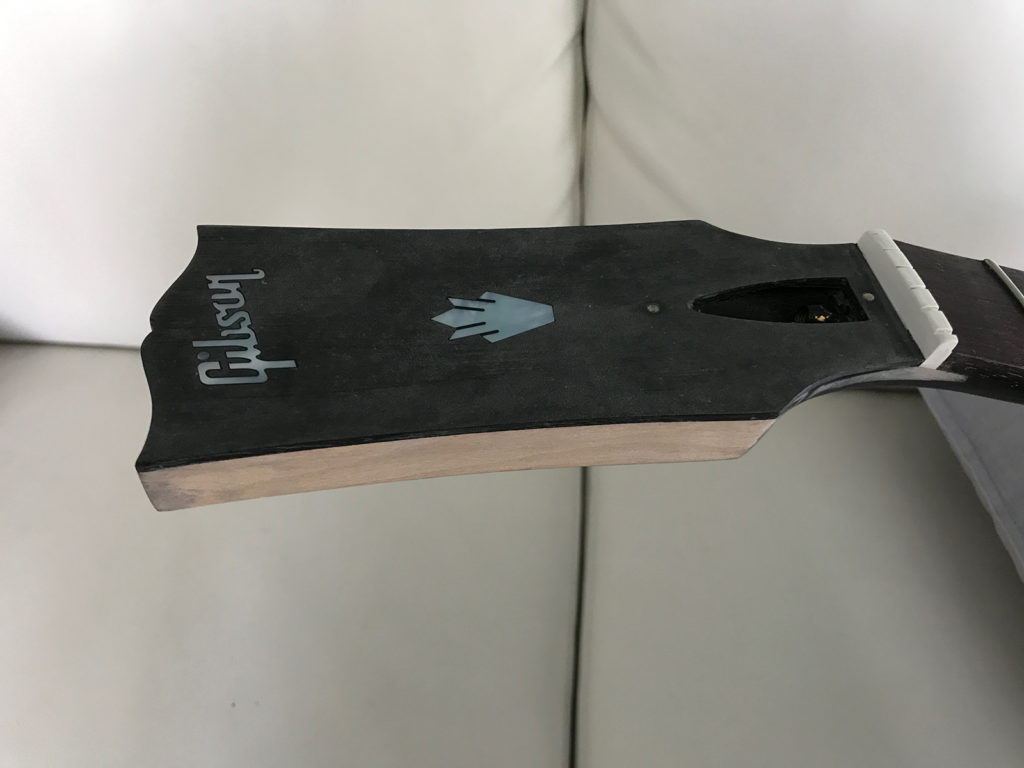
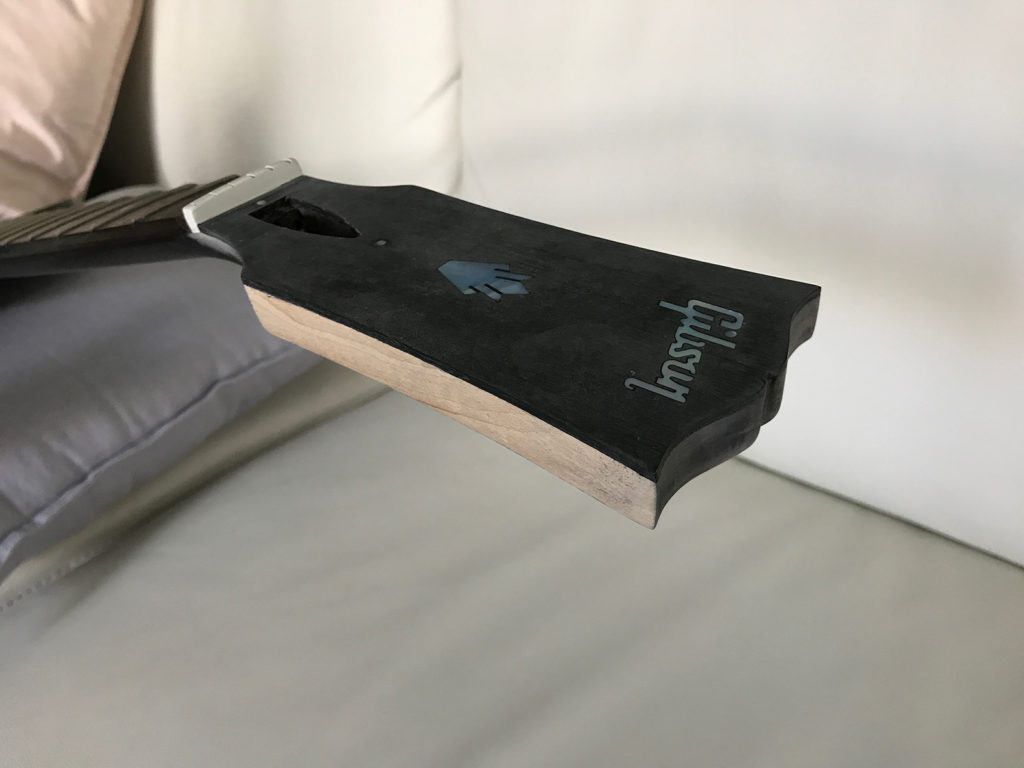
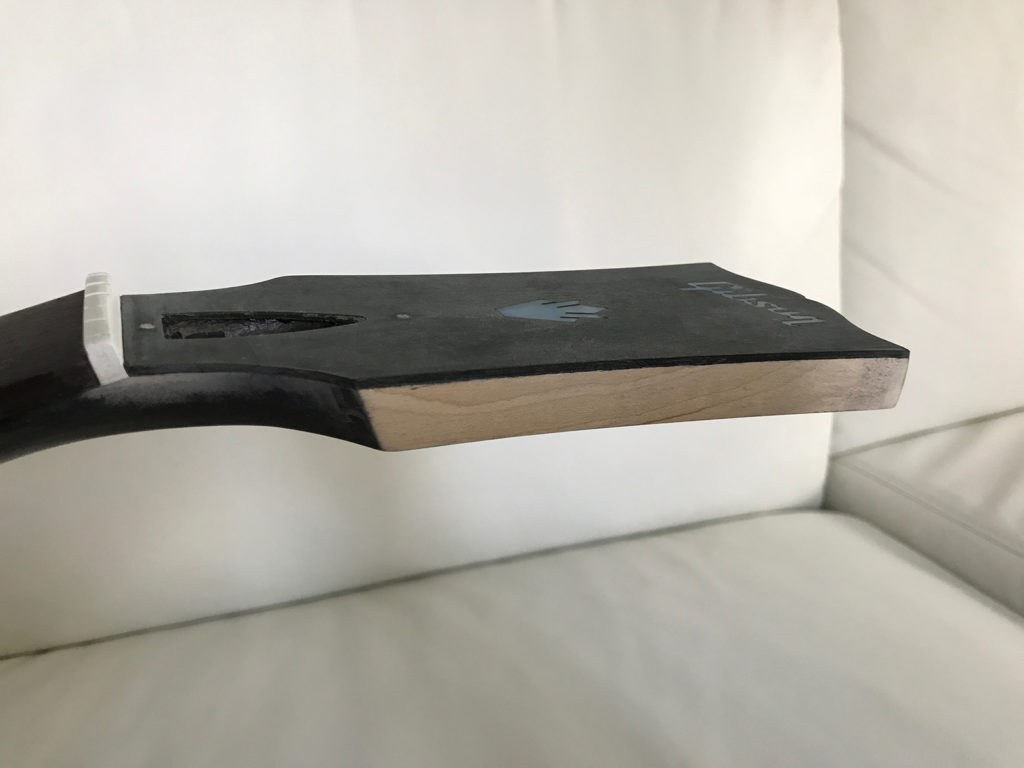
The main idea regarding the headstock was to use a gloss nitro finish in order to highlight the mother of pearl inlays and let the back and sides matte. Plus, the contrast with the satin black of the rest of the the guitar should produce some effect.
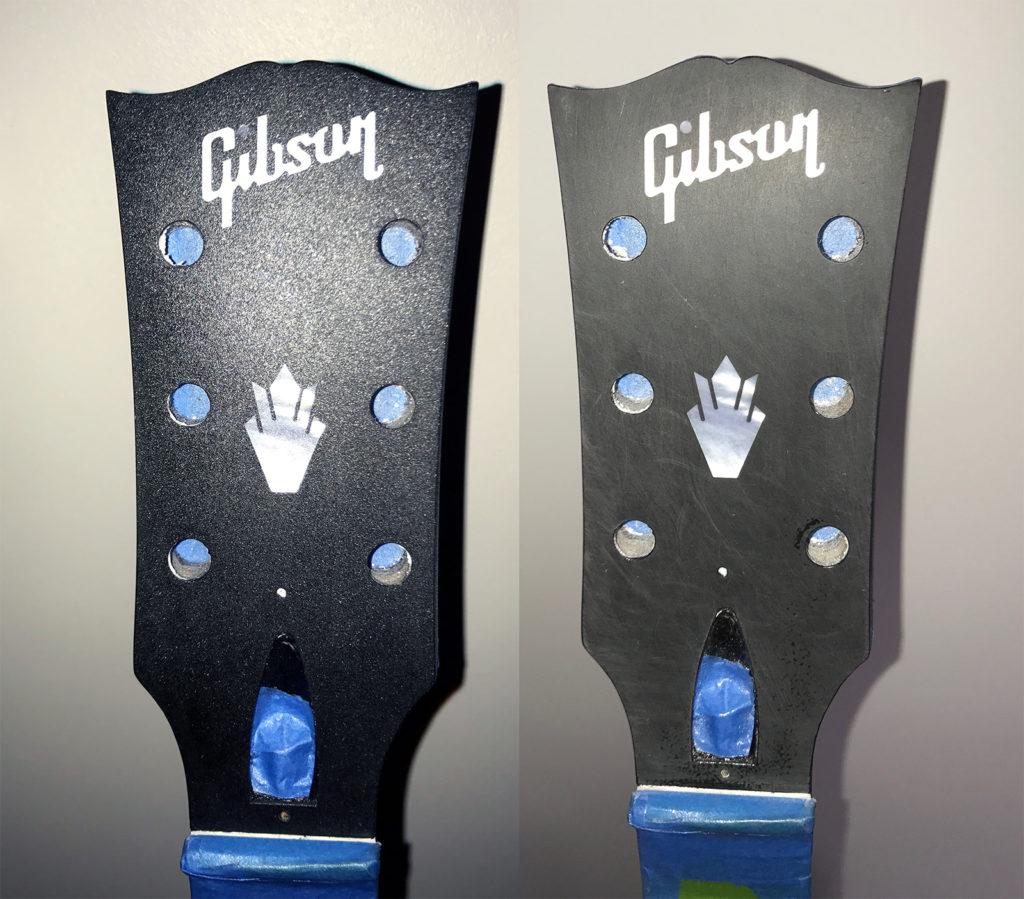
Despite of what you might think, I am quite lazy and this is why I decided to order a Gibson SP1-B peghead overlay with the Gibson logo and holly already set.
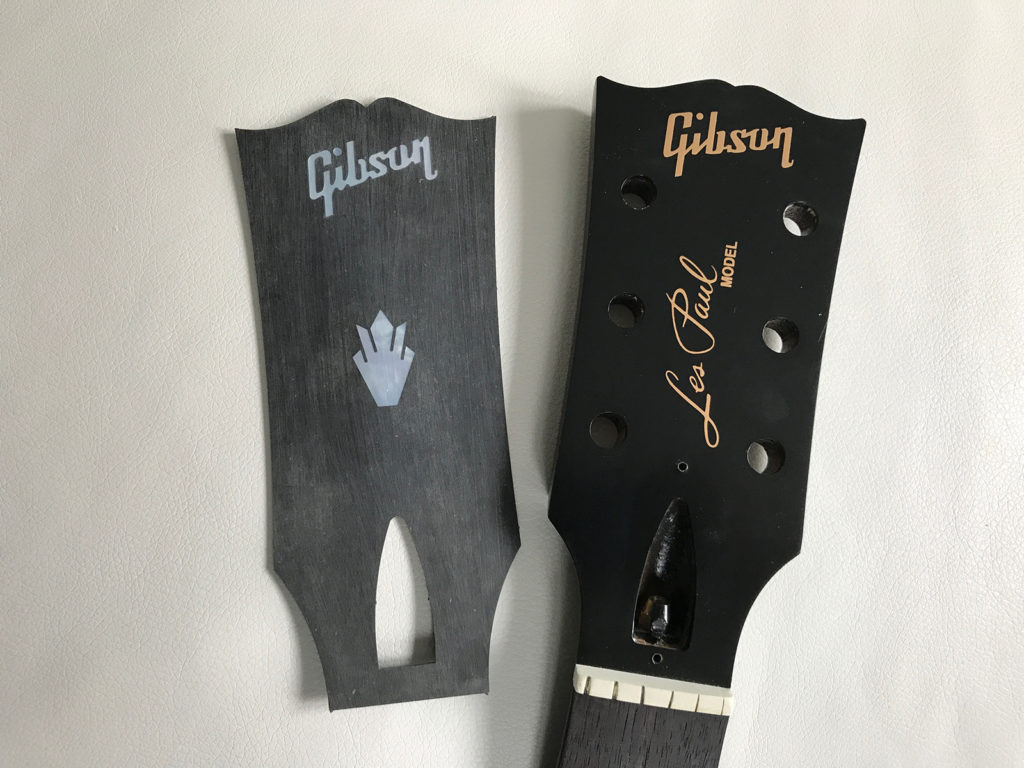
It looks very nice but the match is not perfect:
Some wood work ahead!
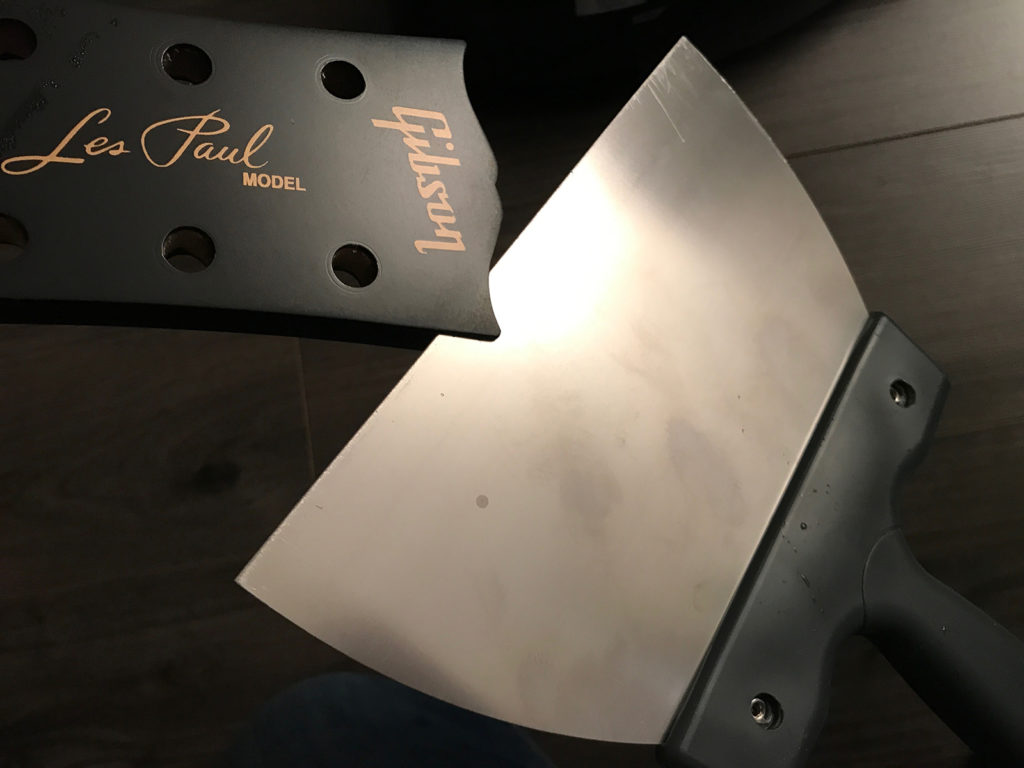
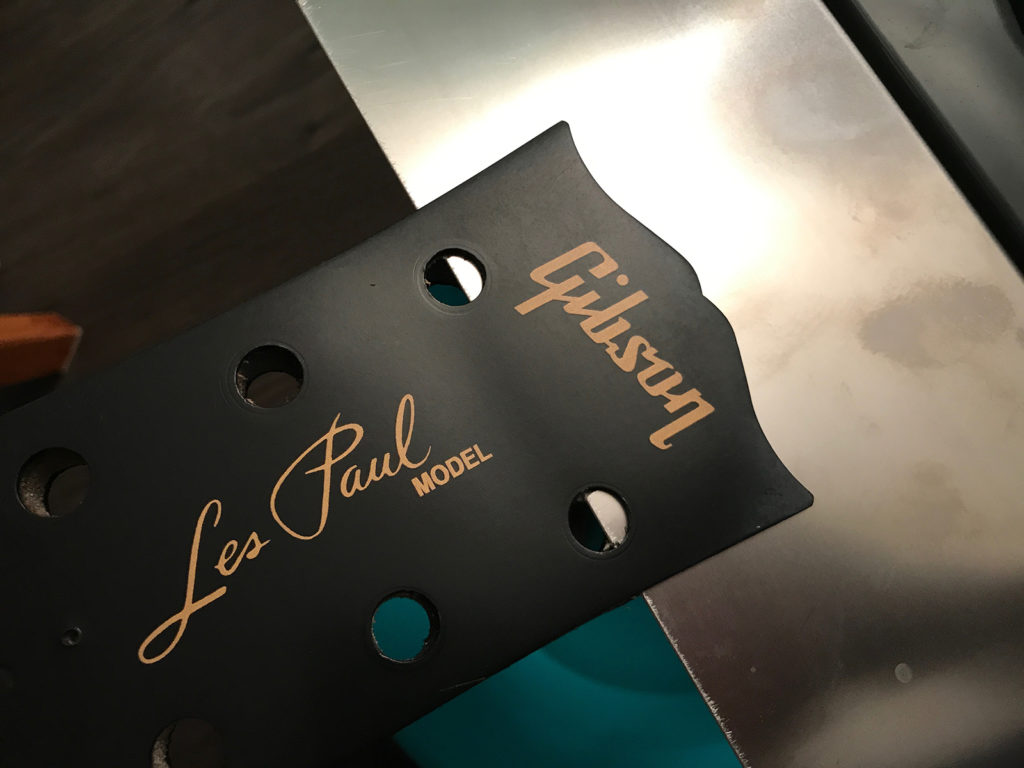
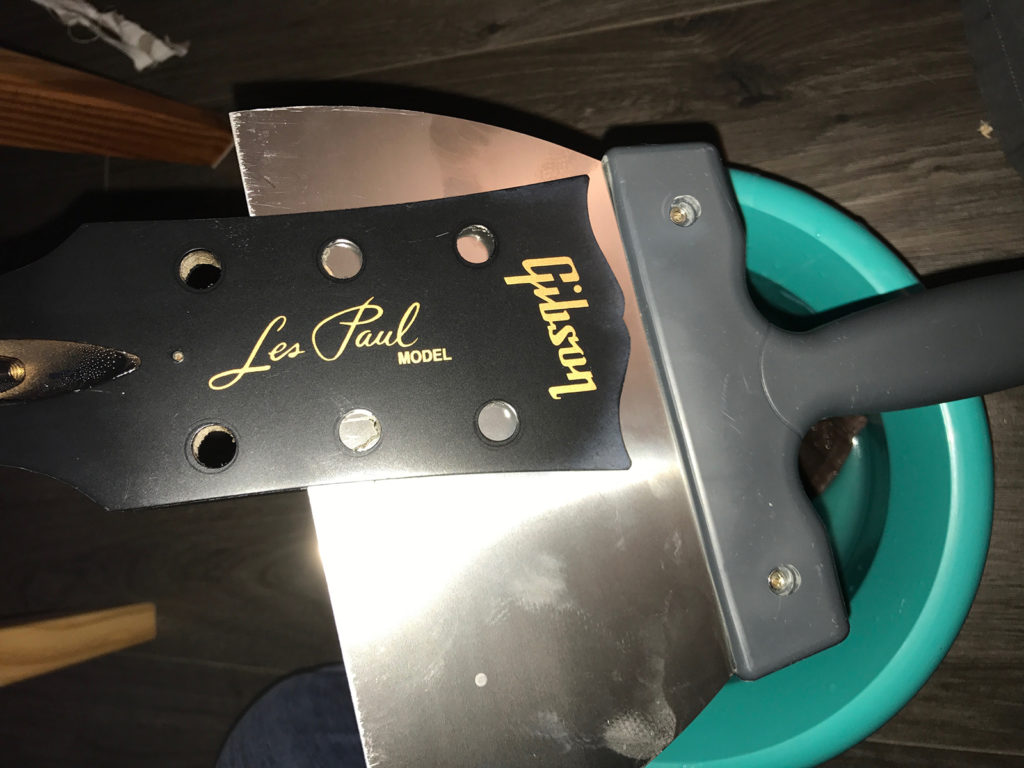
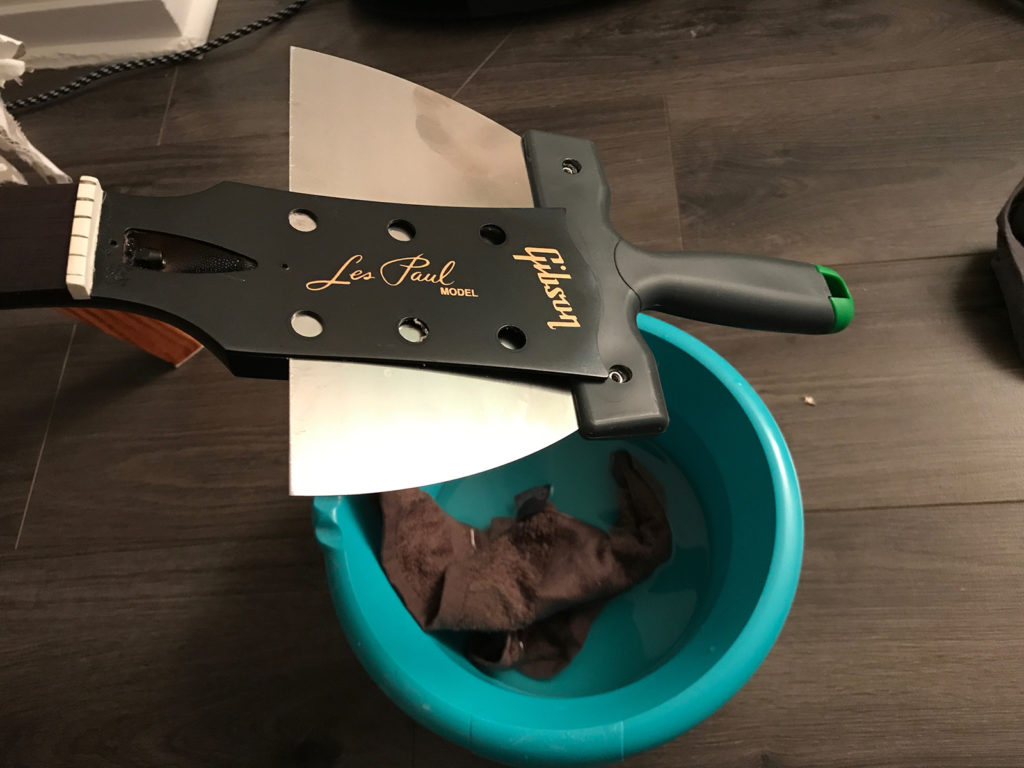
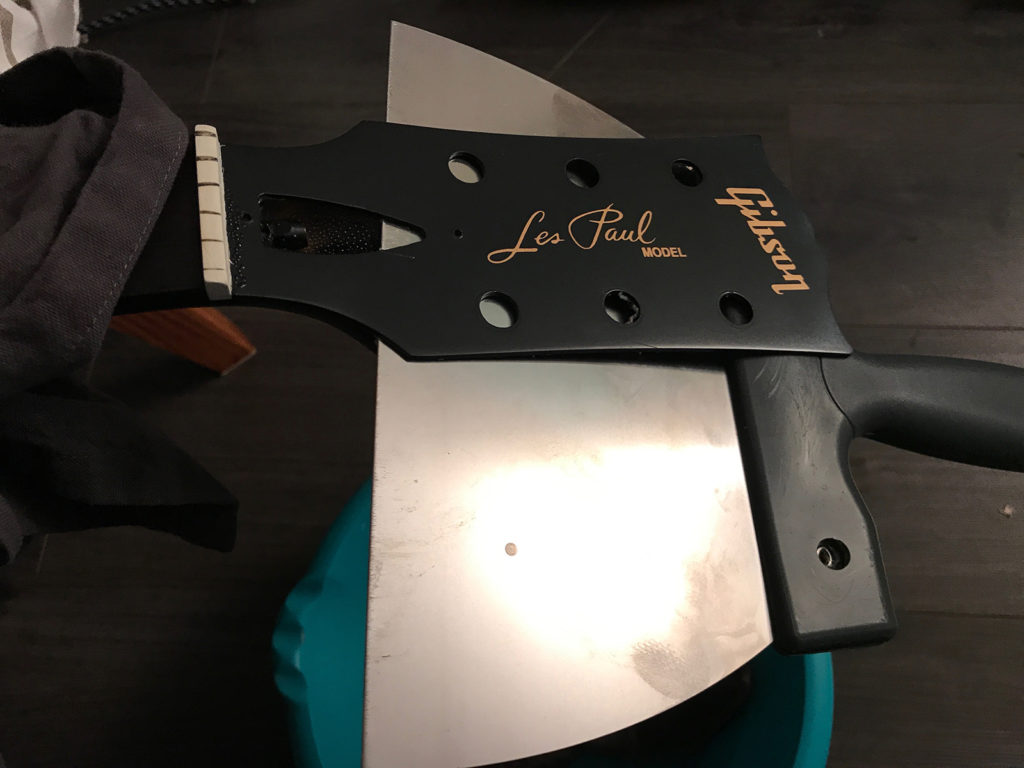
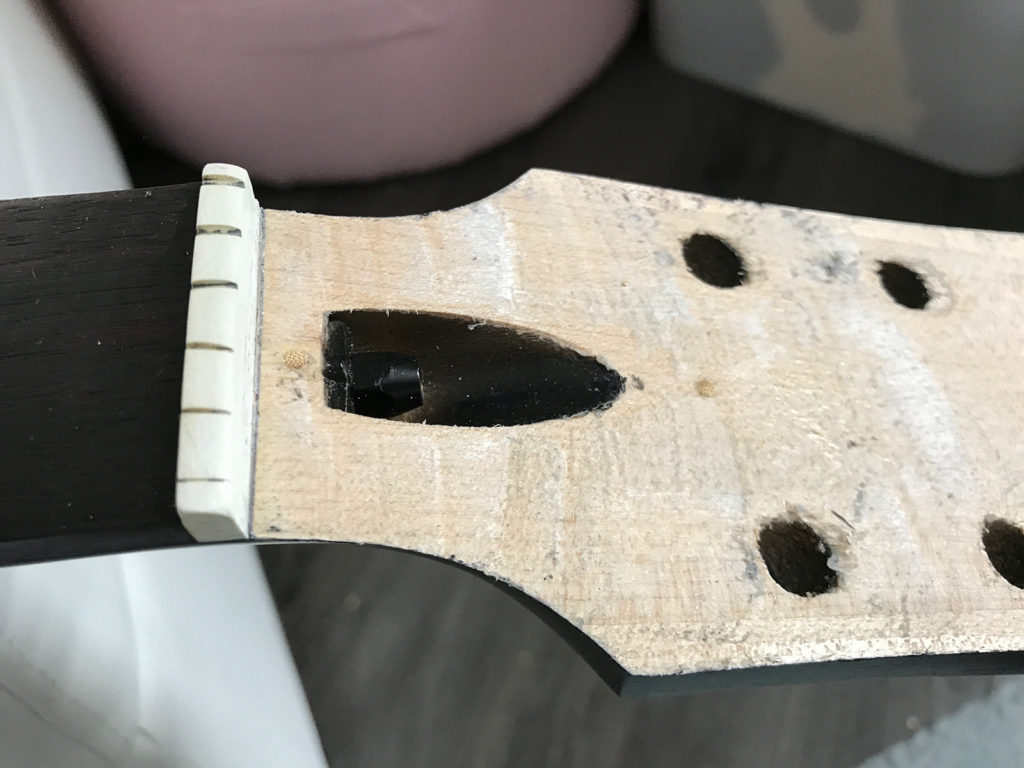
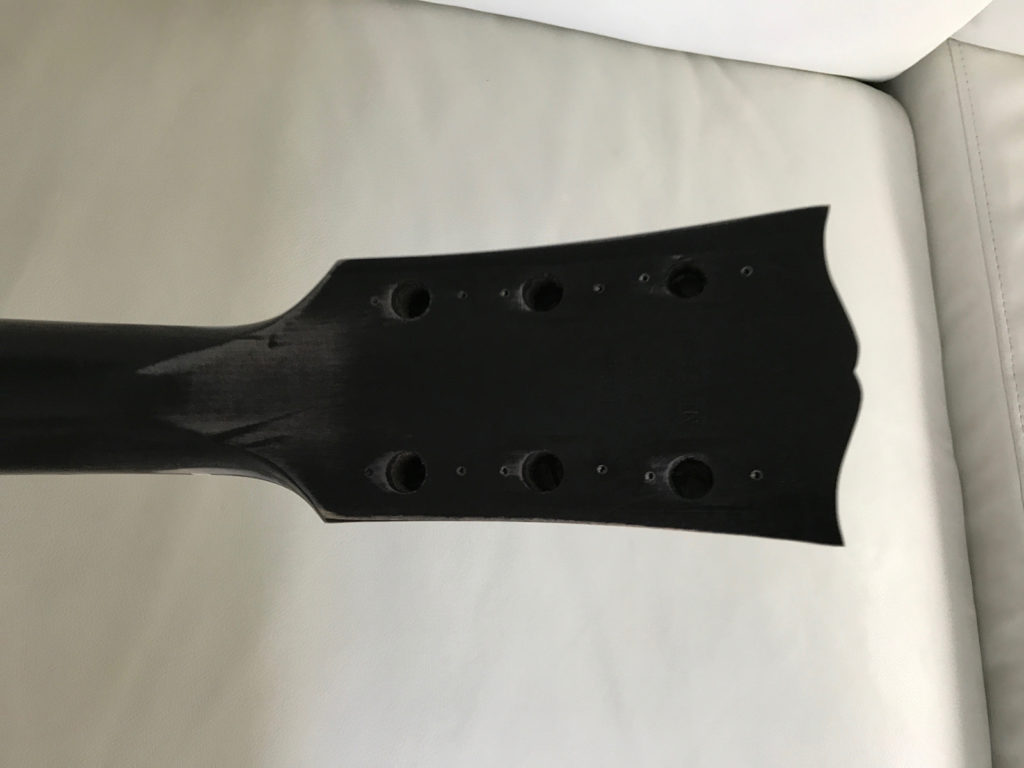
First of all, I had to remove the cheap plastic original peghead overlay.
The goal here is not to get rid of the overlay yet but to cut the cut the finish so that it does not chip later.
A good iron, a wet rash and a spatula or palette knife and here we go!
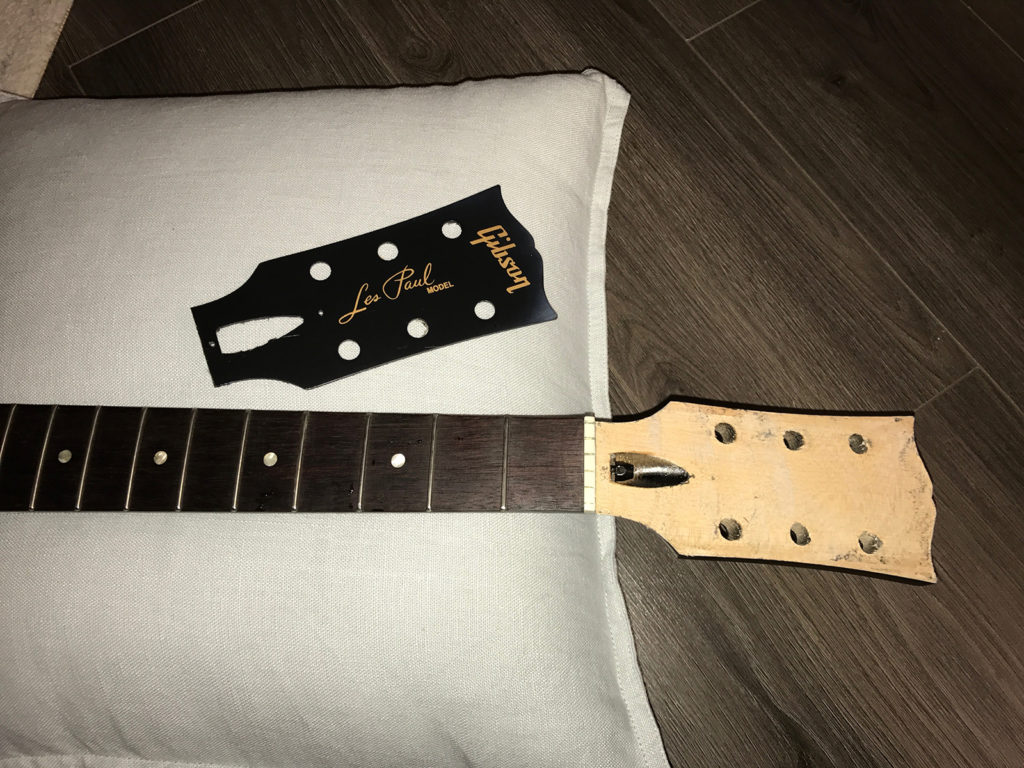
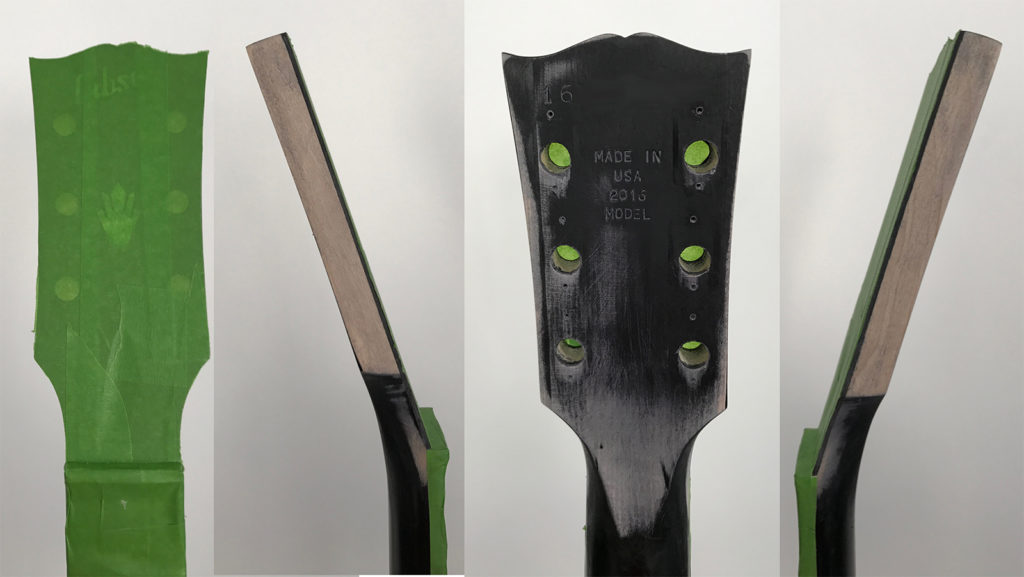
Unfortunately the new headstock veneer, not having the same shape, forced me to sand down the head, stain it and redo the side finish. We can see that when overlaying the two veneers.
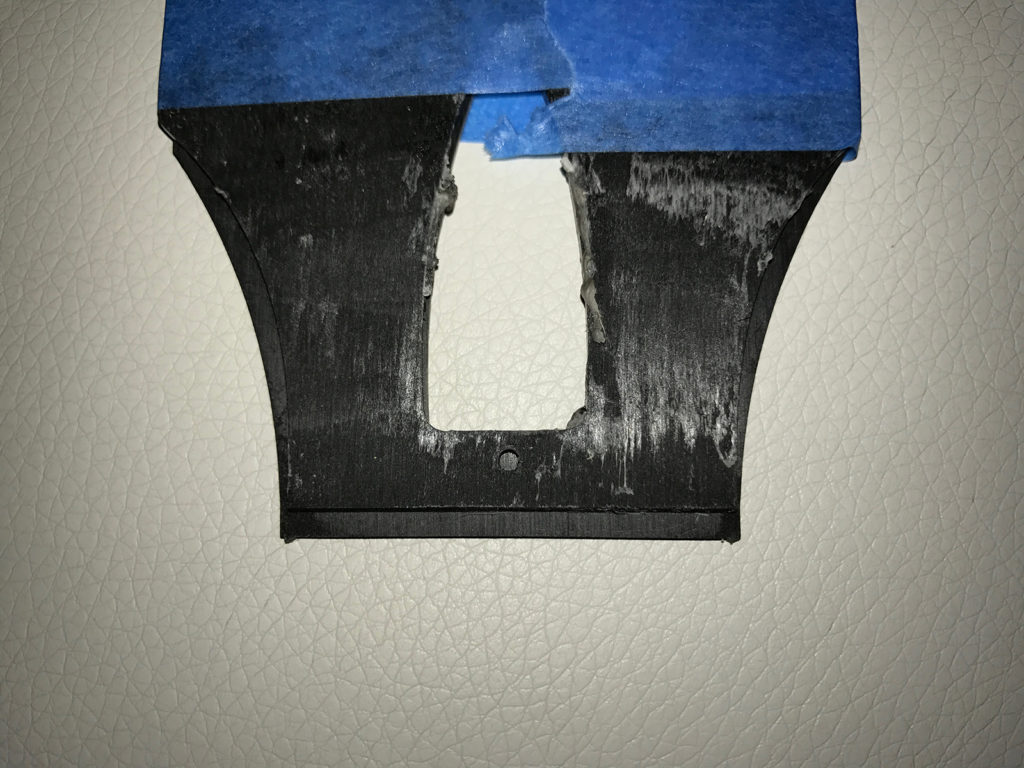
Some passes with a Dremel and a wood chisel later, the open book is there.
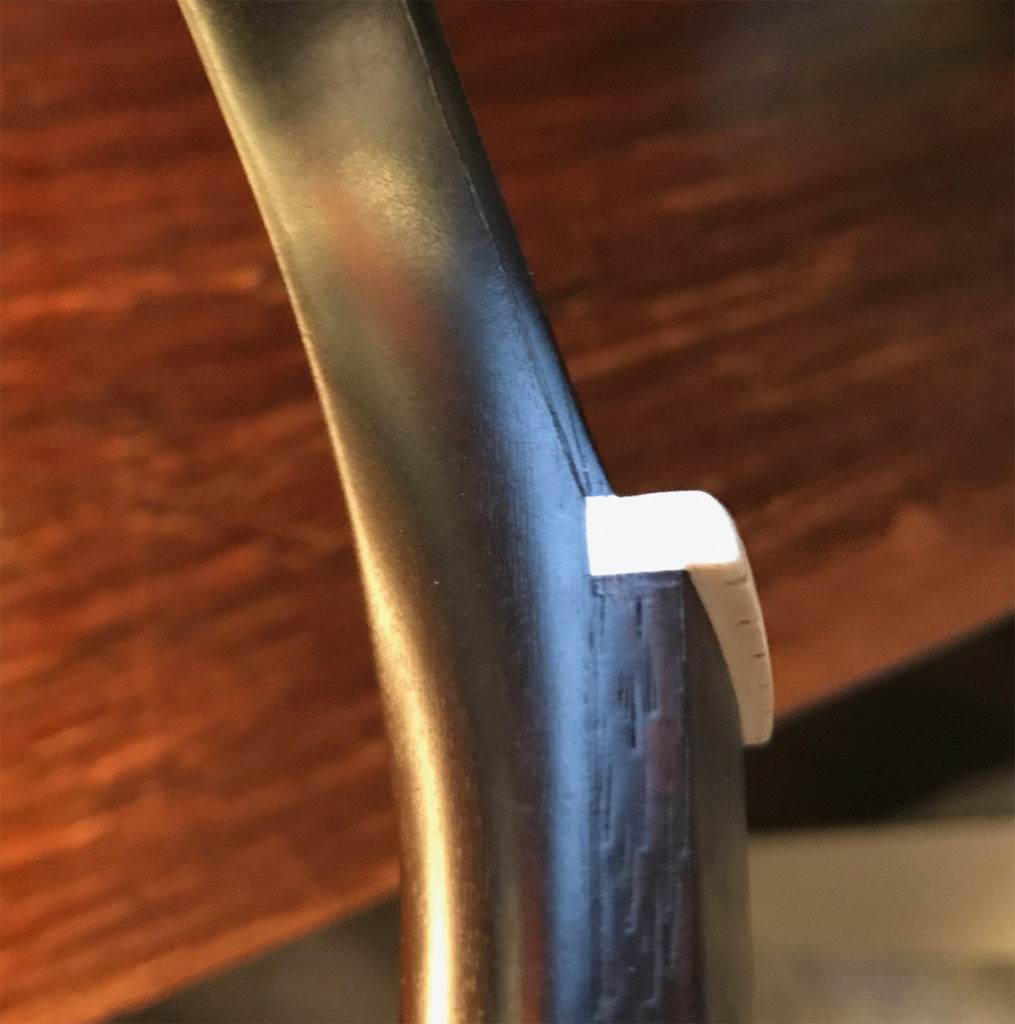
It’s only one millimeter too wide on each side, but it needed to be sanded down.
The next step consisted in preparing the head for the gluing.
First, I filled in the screw holes with two simple barbecue sticks.
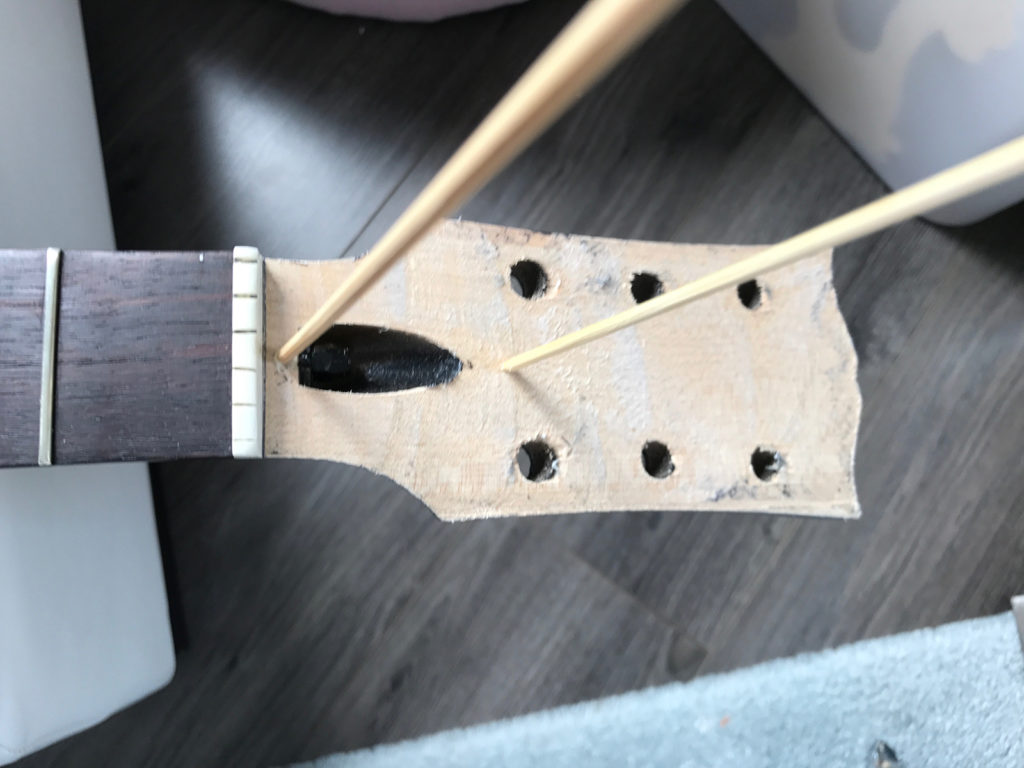
And then sanded everything down:
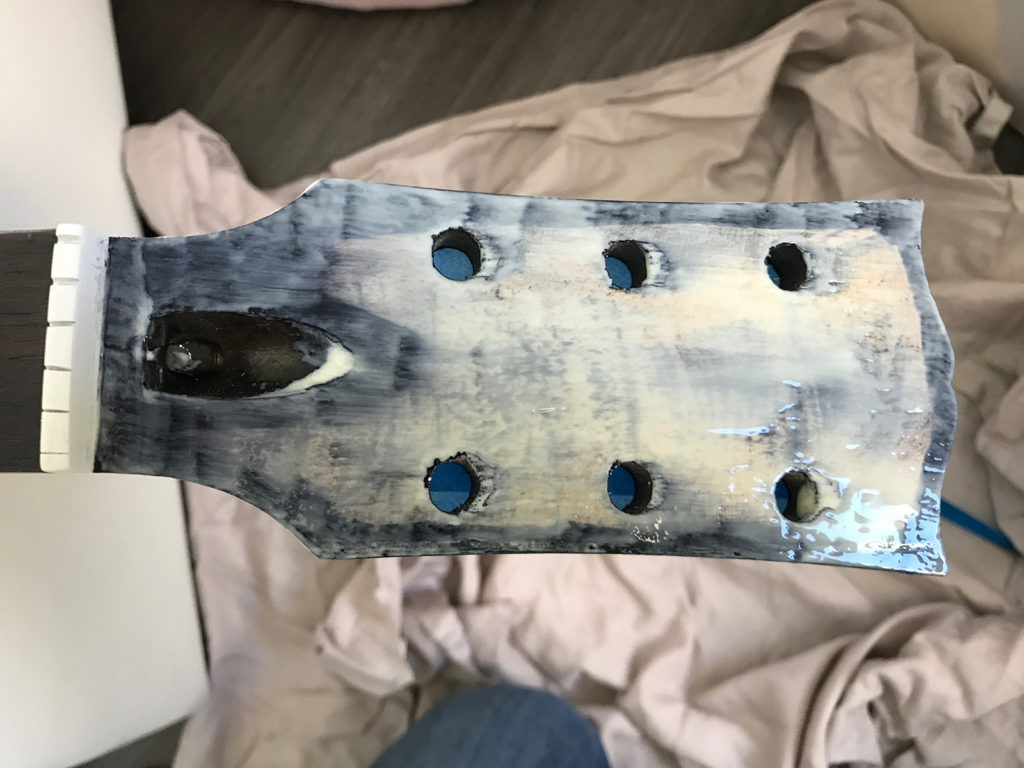
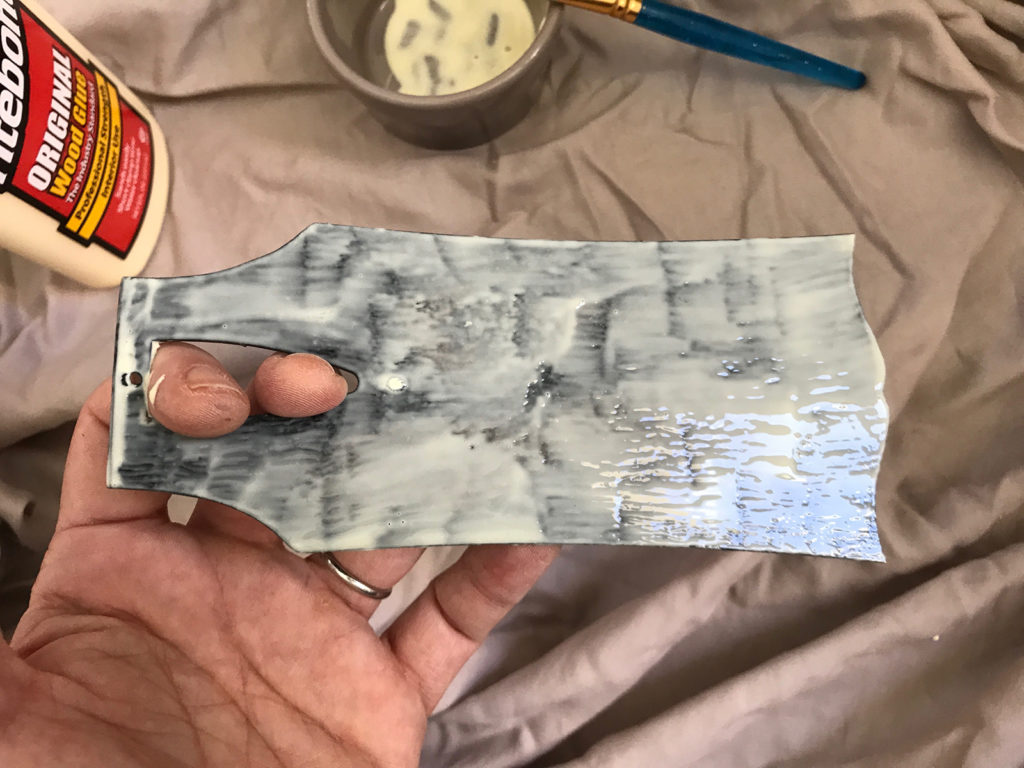
I also stained in black everything that could still be visible after gluing the veneer plate.
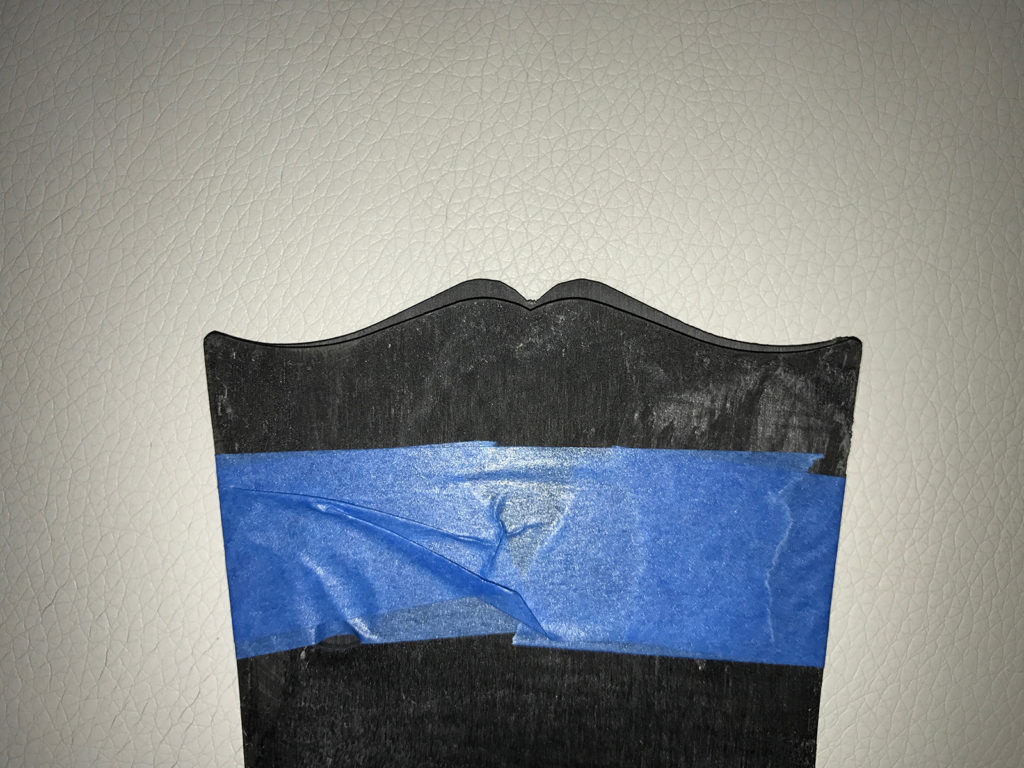
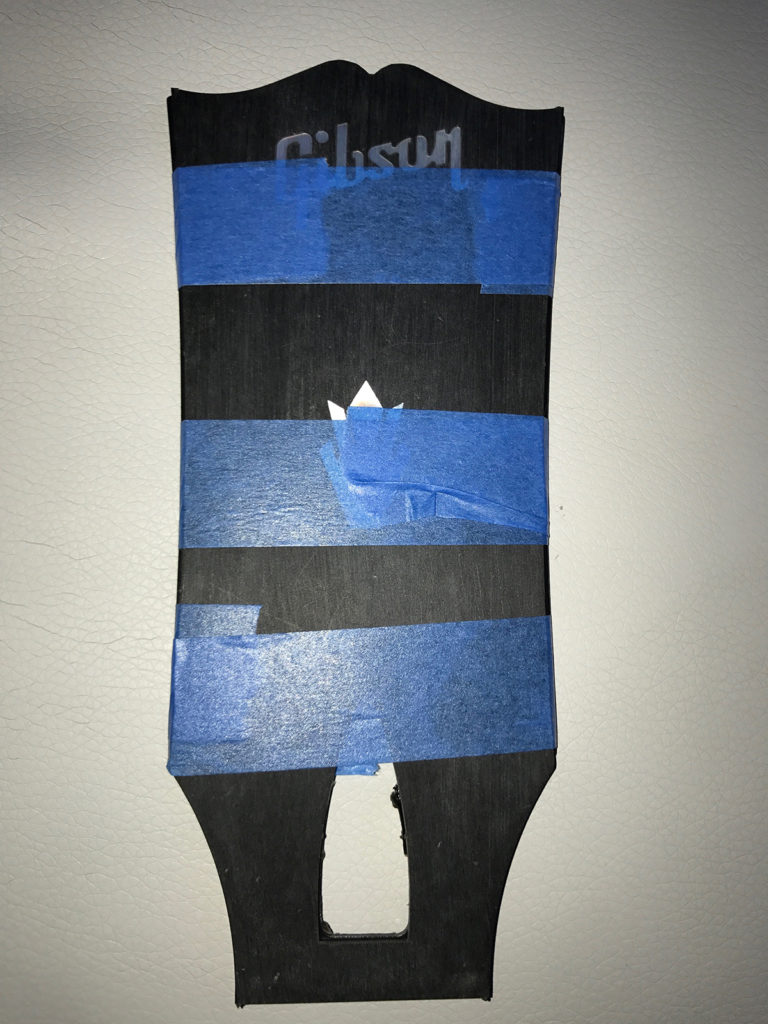
Masking and gluing came next:
Once the veneer is in place, I compressed it with two clamps, between a board and a plexiglass plate to make sure everything was and stayed in place.
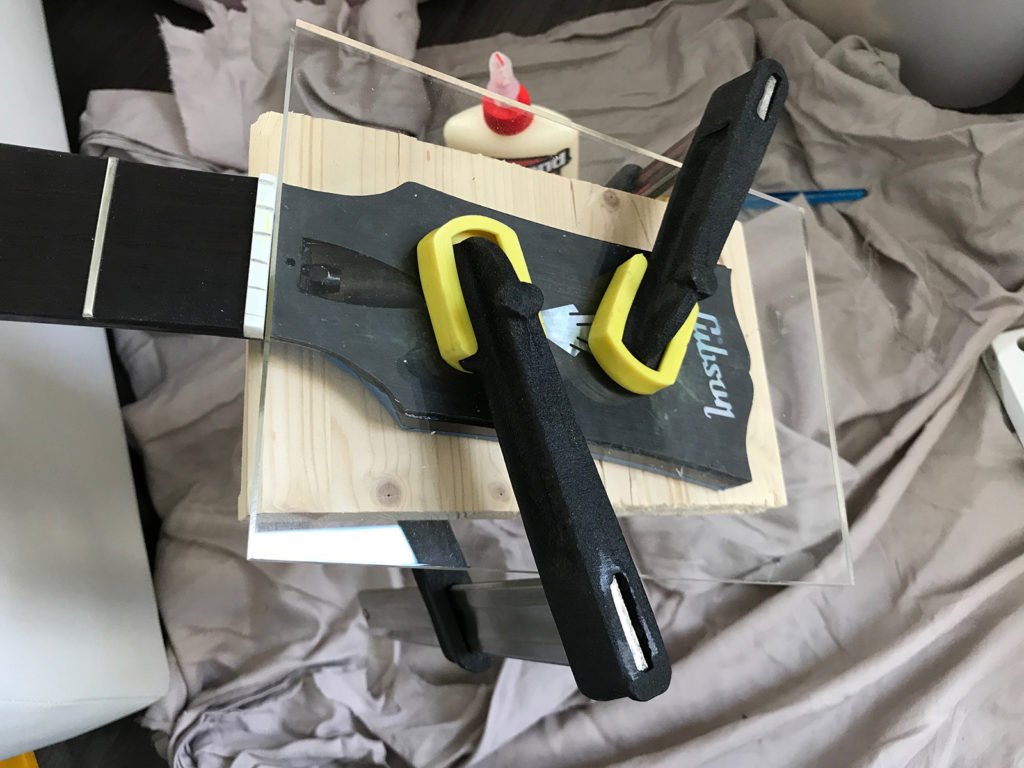
The 5mm thick plexi plate is a perfect trick to distribute the pressure well while monitoring that the veneer is well positioned. In this case it is not perfect, but it will not be seen after sanding the sides.
I waited 24 hours for the glue to set well. Then, I let the wood relax a few days before moving to wood working and reshaping the guitar head to fit the veneer.
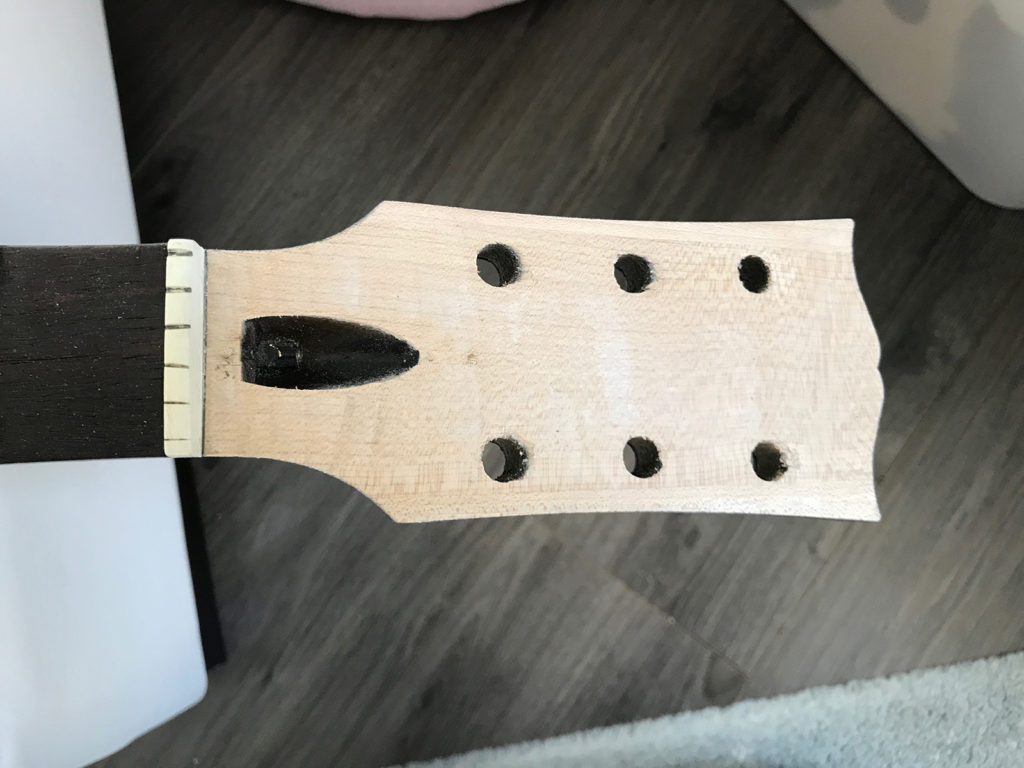
Then came the time to drill the tuners holes.

Et voilà !

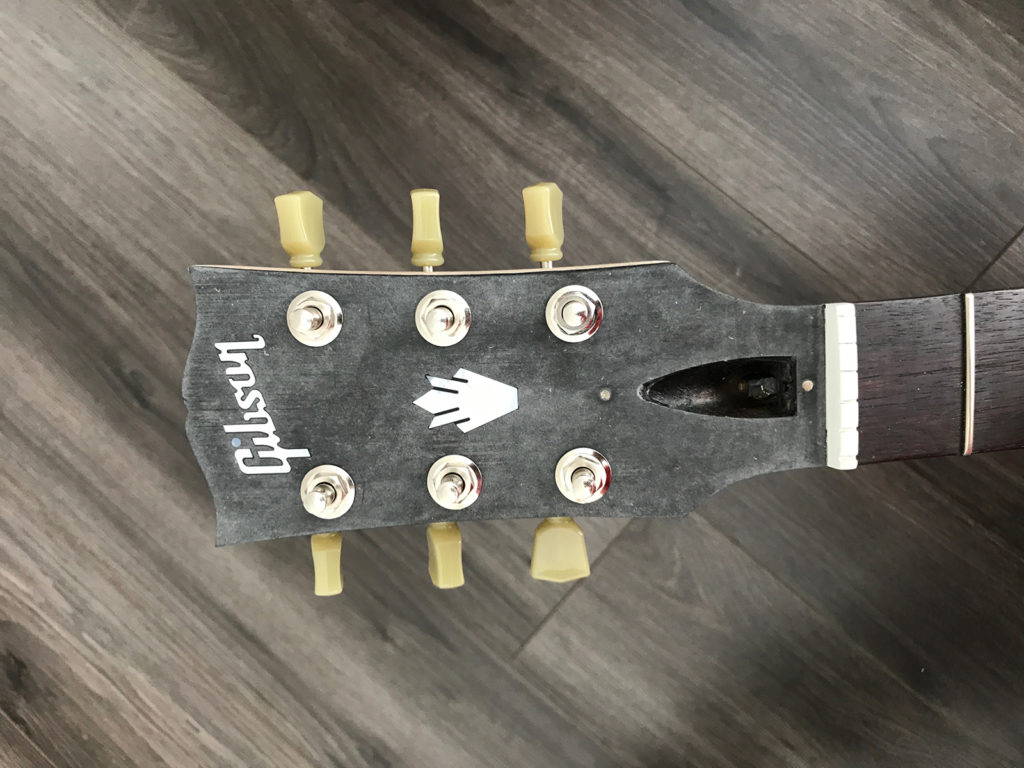
I quickly put the tuners on to check everything went fine:
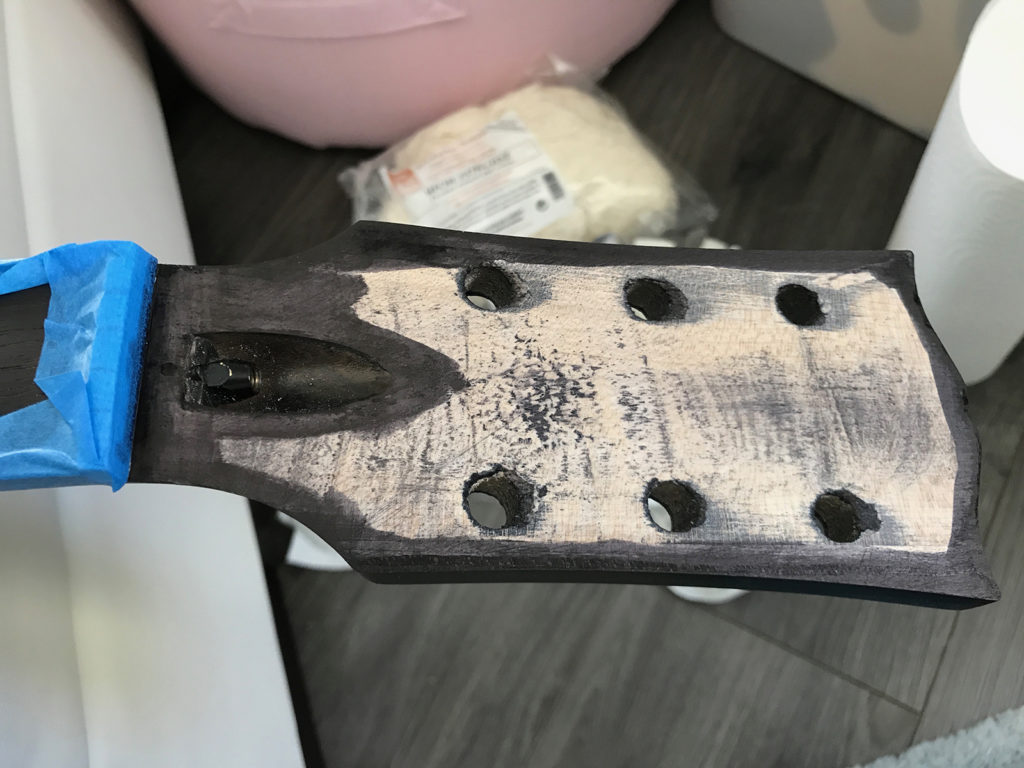
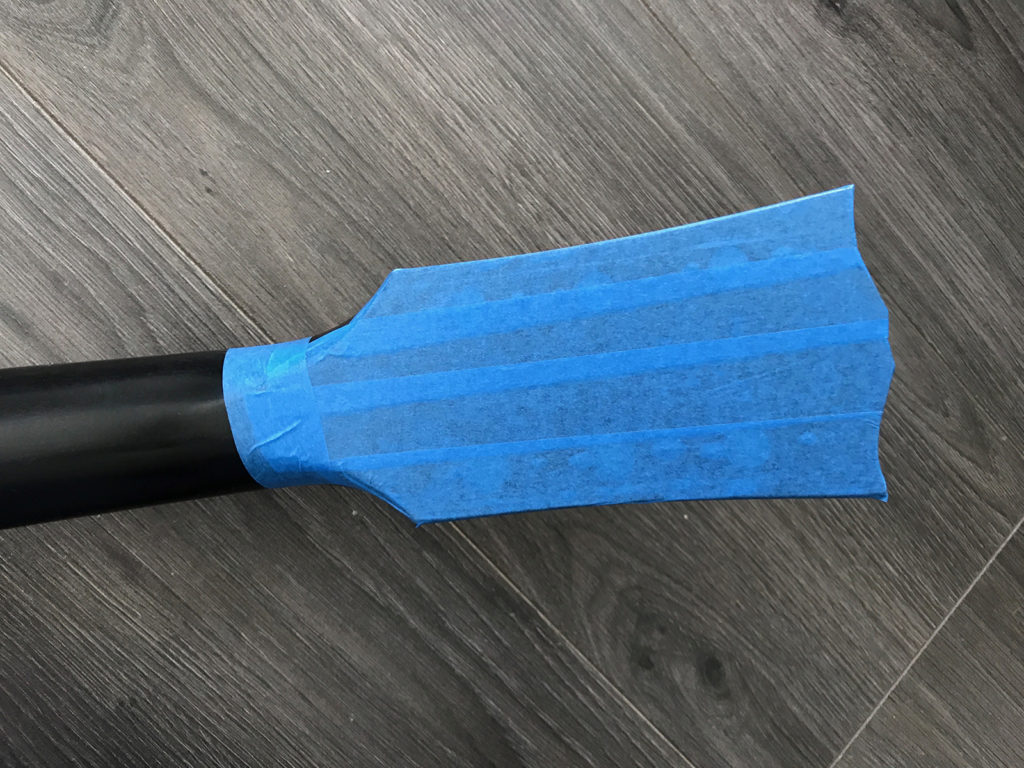
After a 400 grade wet sanding I masked the head…
… and applied two layers of black stain.
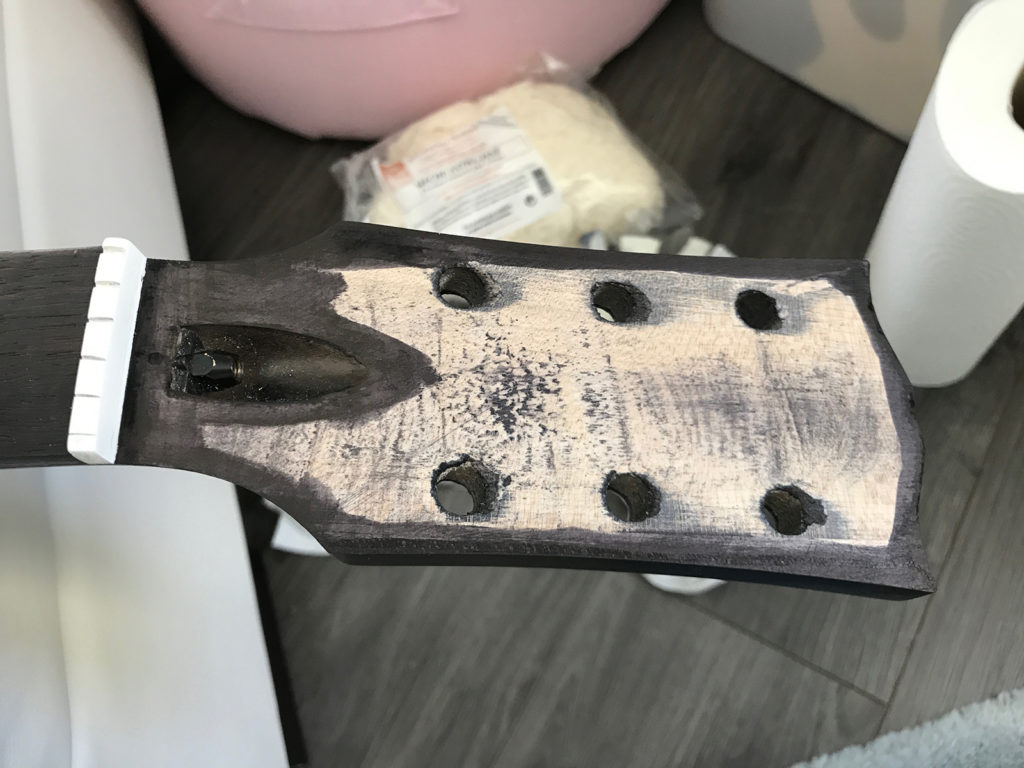
The first 600 grade wet sanding after a few layers of matte nitrocellulose varnish brought out imperfections invisible to the eye or to the touch.

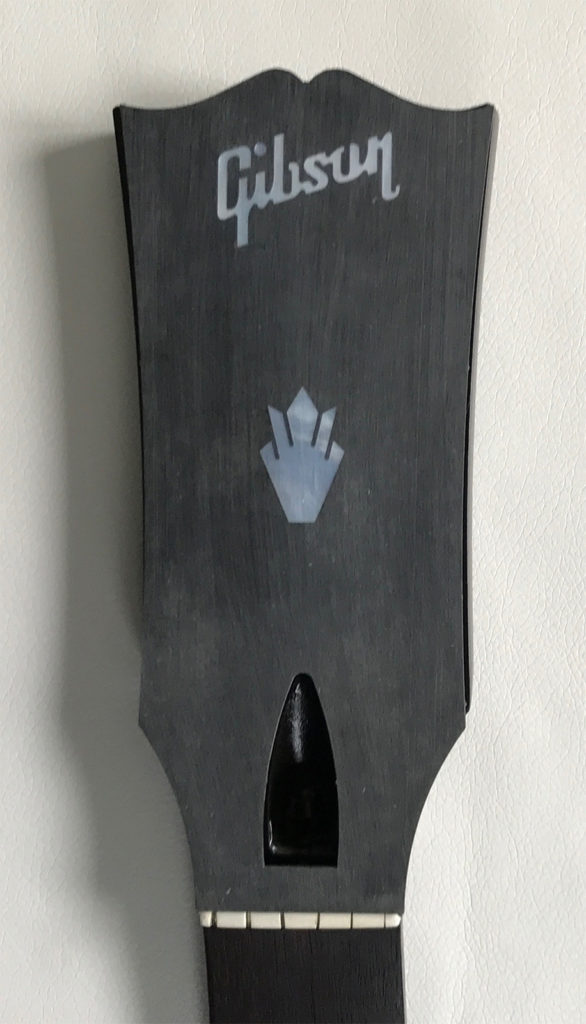
After the last layer of matte nitro finish:
Once dry, I could go ahead with the gloss finish on the veneer face:
After repeating the process down to 1500 for the matte finish…
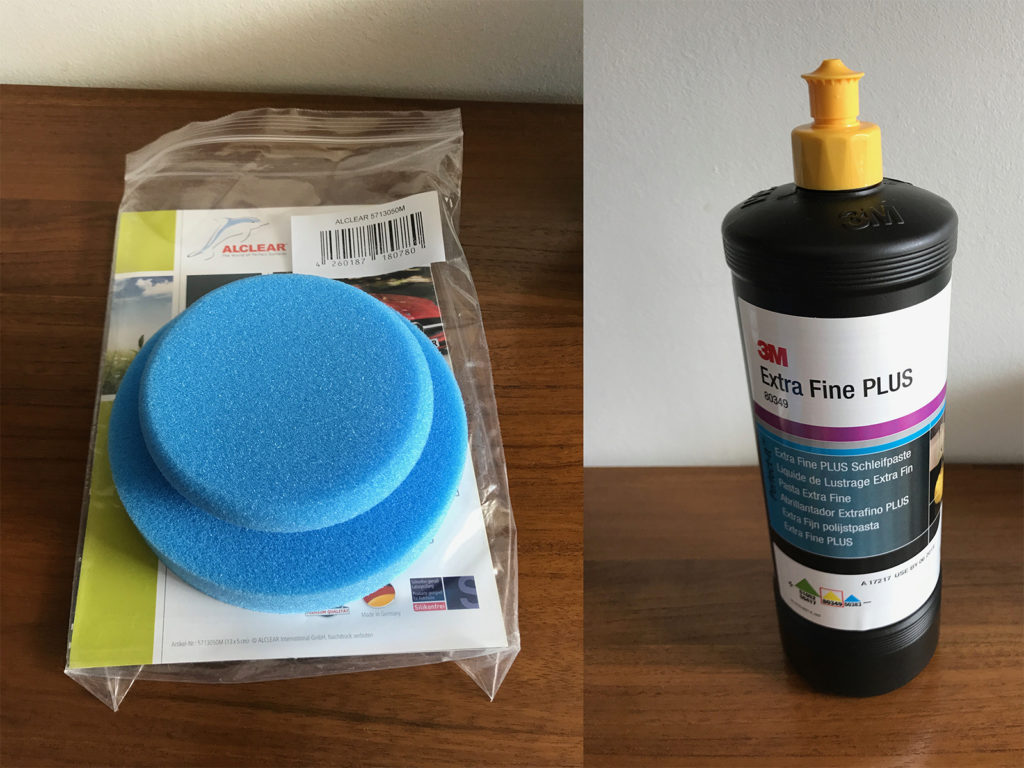
… and 3500 for the gloss, I could buff the thing.
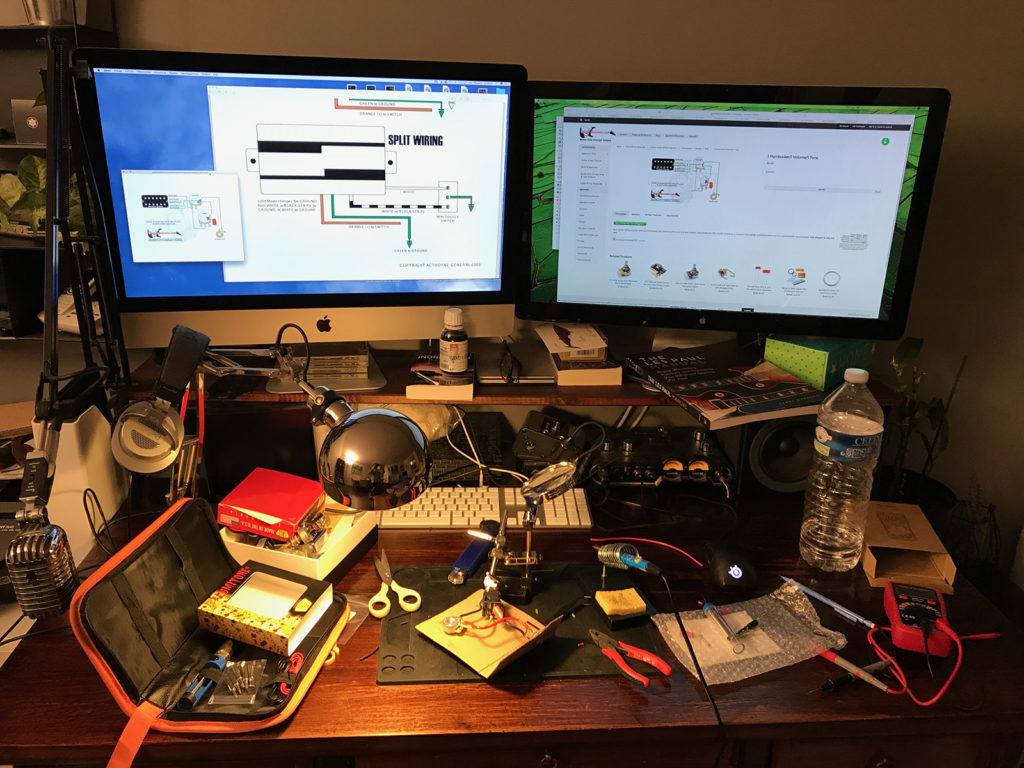
Meanwhile, I started the electronics upgrade.
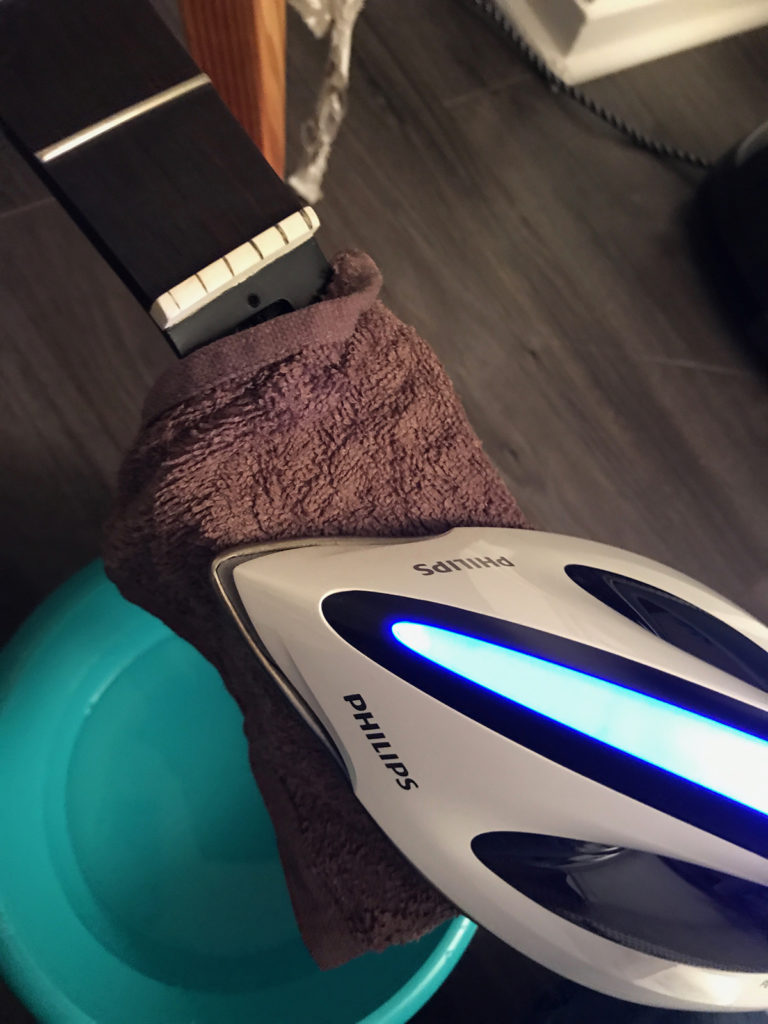
Before, soldering everything, I decided to give the guitar a solid clean-up.
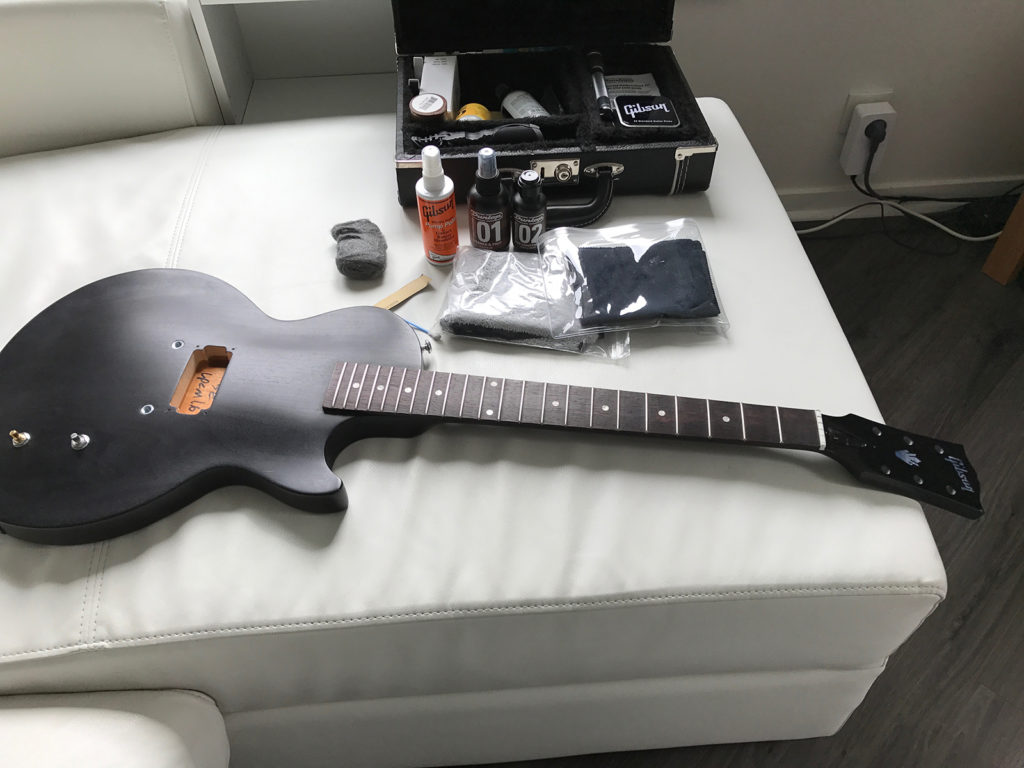
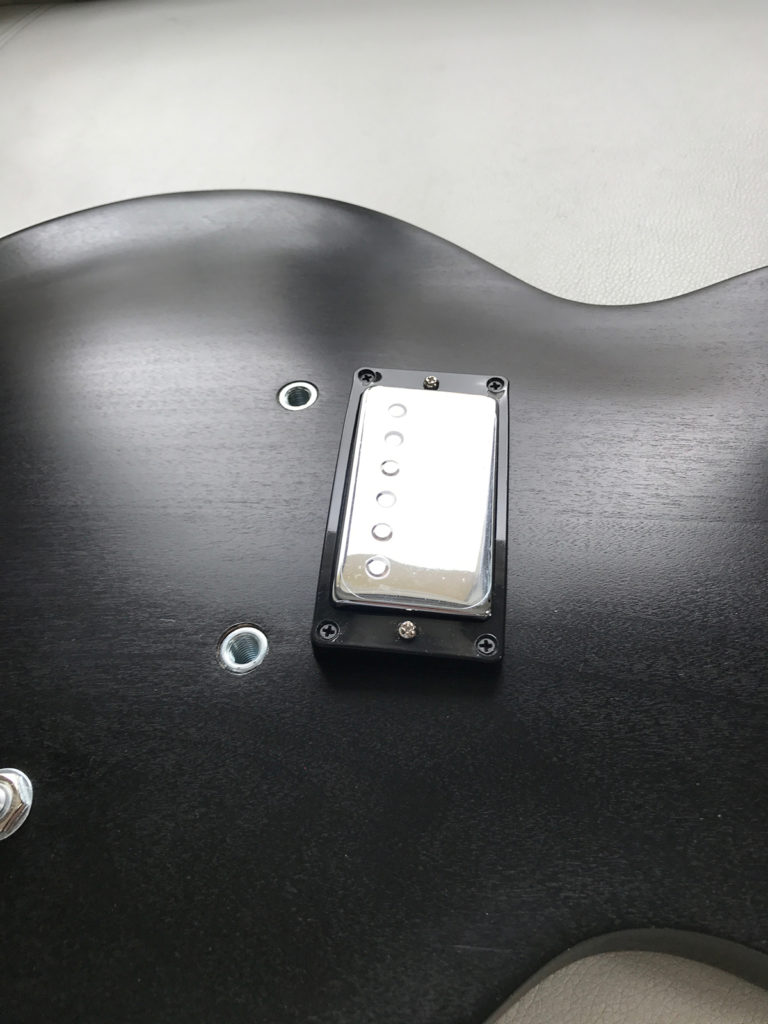
I set on the pickup…
… soldered everything…
… and put all the hardware on, tuned and set up everything (including the wraparound)!
And let’s rock’n roll!
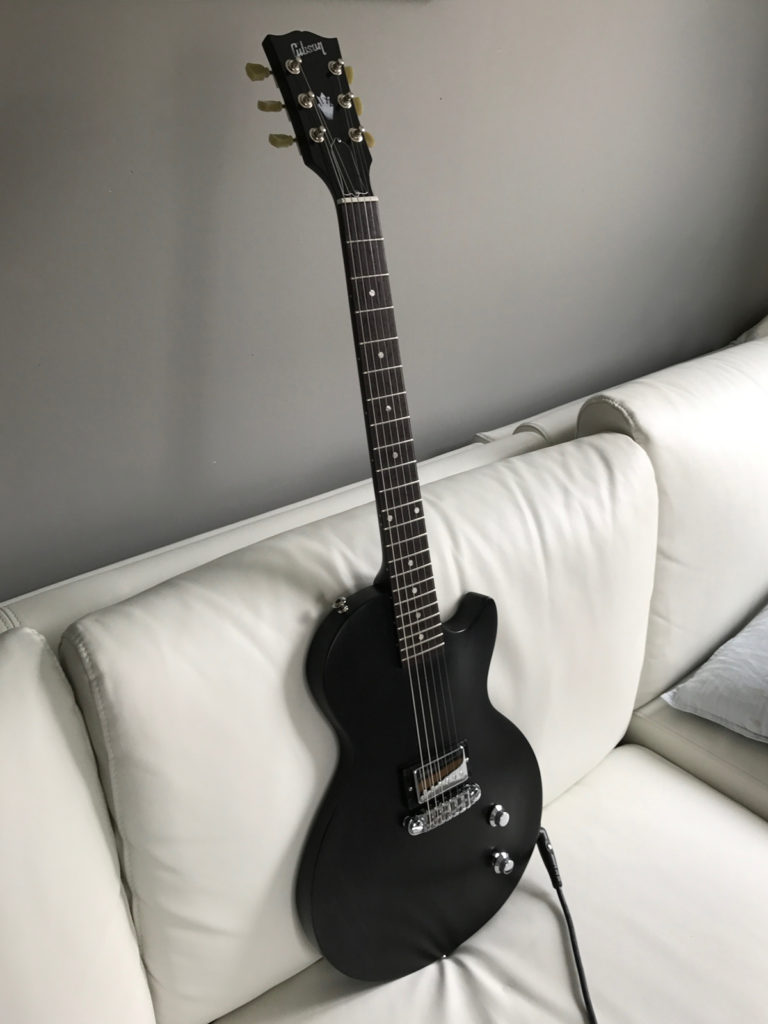
I named this guitar ‘Soulthirster’ in memory of the gnat who decided to land on the fresh second layer of nitro lacquer.
One Reply to “Gibson Les Paul CM 2016 serious upgrade”