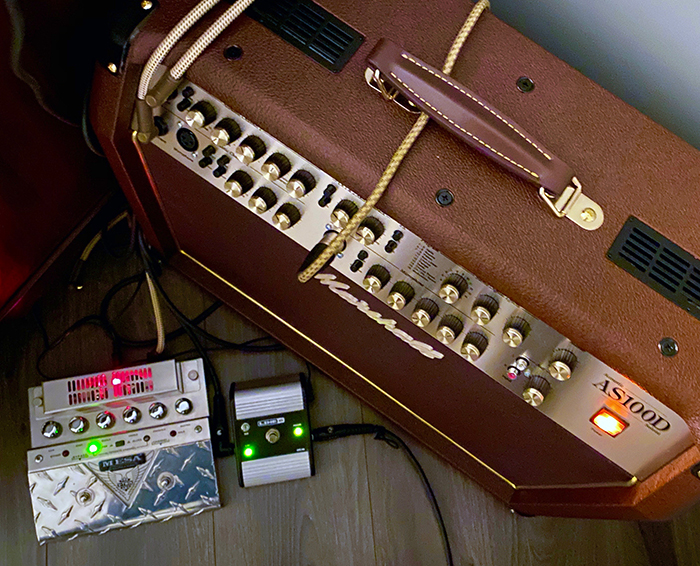
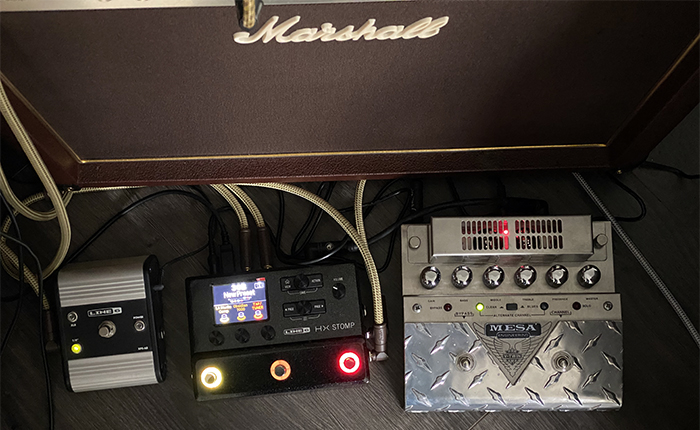
This story started with my wish to use both my acoustic and electric guitars on my acoustic Marshall AS100D.
The pedalboard setup started with the MESA/Boogie V-Twin that would give me the crunch for the E-guitars but it soon began to appear more complicated when I thought about using my Line 6 PODxt Live in the FX loop and ended up replacing it with the Line 6 HX Stomp.
Let’s summarize:
1 amp with 2 guitar channels: Channel #1 for the Line 6 Acoustic Variax + Channel #2 for my electrics (and my Martin electro acoustic to come).
My goal was to set and “build” a pedalboard that would be as efficient and compact as possible.
Starting point:
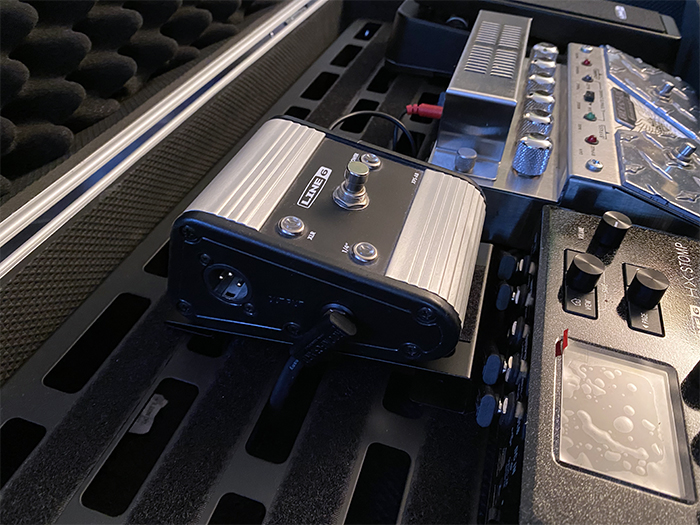
– Line 6 Variax power unit (9VAC/2A)
– Mesa/Boogie V-Twin (12VAC/1A)
Adding the HX Stomp:
– Line 6 Variax power unit (9VAC/2A)
– Mesa/Boogie V-Twin (12VAC/1A)
– Line 6 HX stomp (9DC/3A) in the loop w/ the 4 cable method
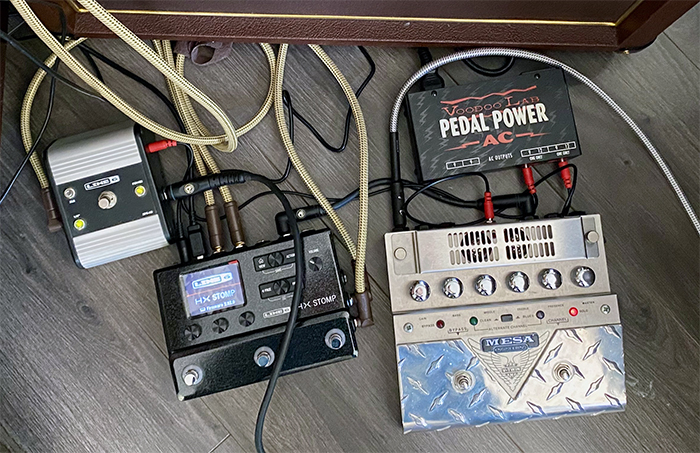
Adding an AC power unit:
– Line 6 Variax power unit (9VAC/2A)
– Mesa/Boogie V-Twin (12VAC/1A)
– Line 6 HX stomp (9DC/3A) in the loop w/ the 4 cable method
– Voodoo Lab Power Pedal AC -> Variax + V-Twin
As far as I know, the Voodoo Lab AC is the only one that can fit the Variax and V-Twin requirements so I just jumped on it. Furthermore, they are discontinued and the stock is going low.
What was I think of next?
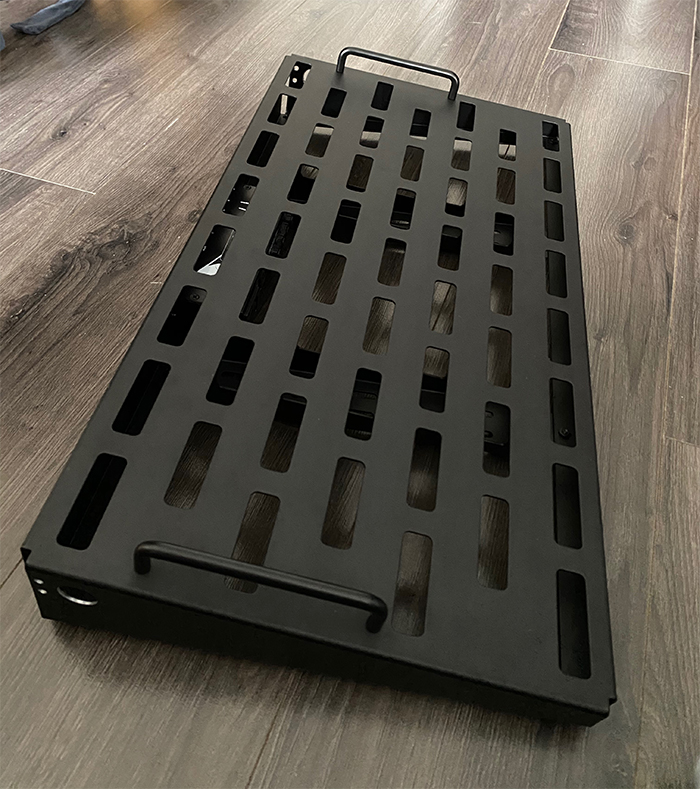
– 1 pedal board: I was thinking about the Rockboard QUAD 4.2 with the Rockboard MOD 1 V2 TRS & XLR Patchbay to minimize the cables management.
– 1 noise suppressor pedal (may probably be the Boss NS-2 because of its 2 channels, rather than an ISP which are much more expensive)
– 1 looper pedal (could be the Boss RC-30 Dual Track Looper that would allow more flexibility than the chipper RC-3)
– 1 DC power unit (Voodoo Lab Pedal Power 2 Plus?) for the Boss and future pedals. Because of its 3A requirement, the HX Stomp will still use its own power supply but plugged into the Voodoo AC mains auxiliary.
– 1 expression pedal (Mission Engineering SP1-L6H-BK) or 1 wah(?)/volume pedal (Lehle Mono Volume 90 or ?)
I first pulled the trigger on the RockBoard QUAD 4.2, some cables and a neat Mission Engineering expression pedal…
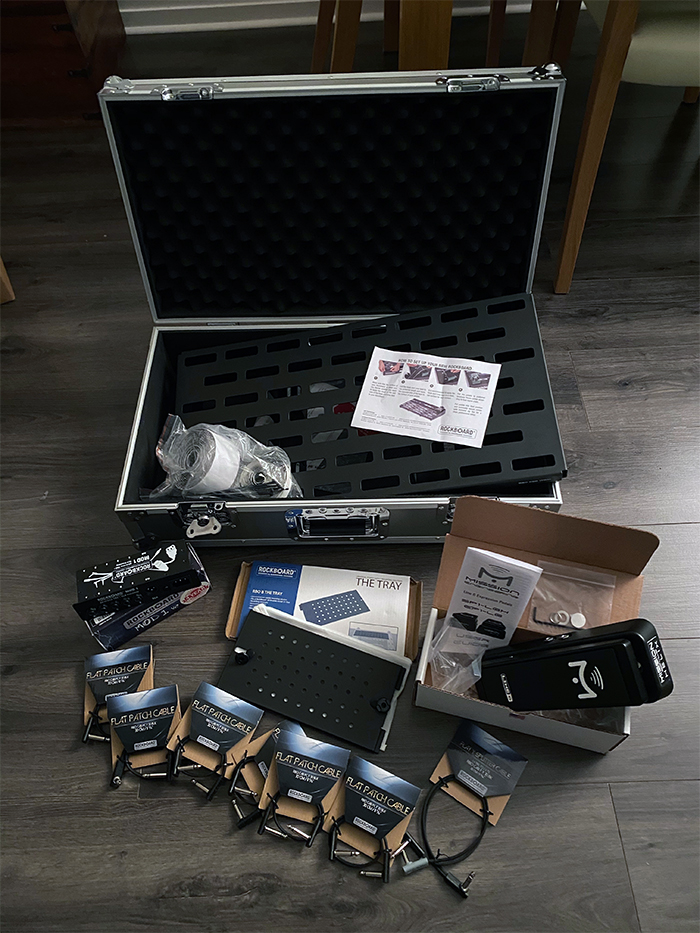
… and started the build.
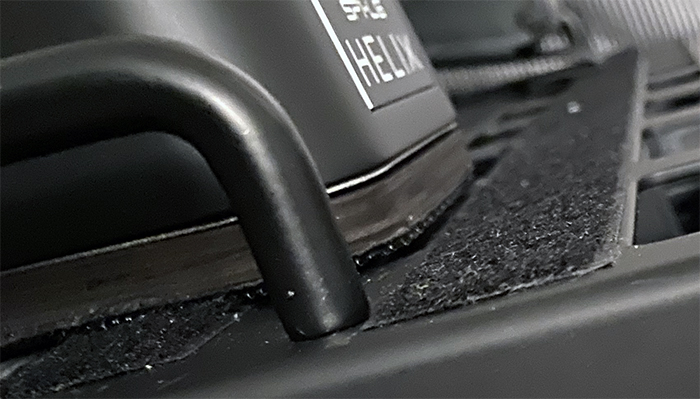
First of all, the RockBoard has no handles (it’s a shame) which makes it difficult to extract from the flight case.
No problem, Ikea has some.
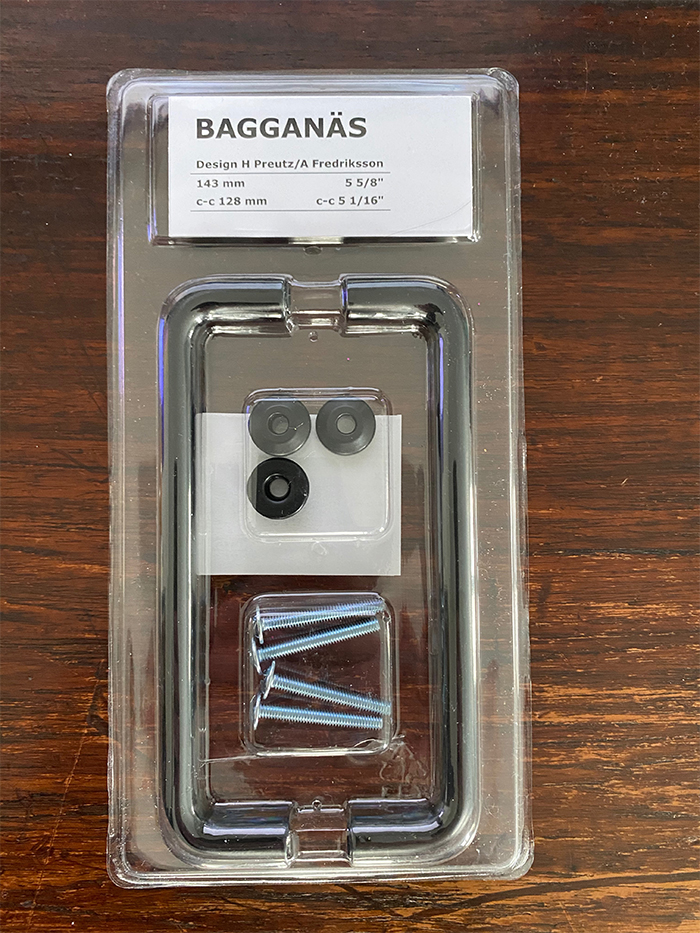
They come in black finish but also in chrome or even brass. Some have also a leather patch wrapped around them… in case you’re into “boutique” stuff
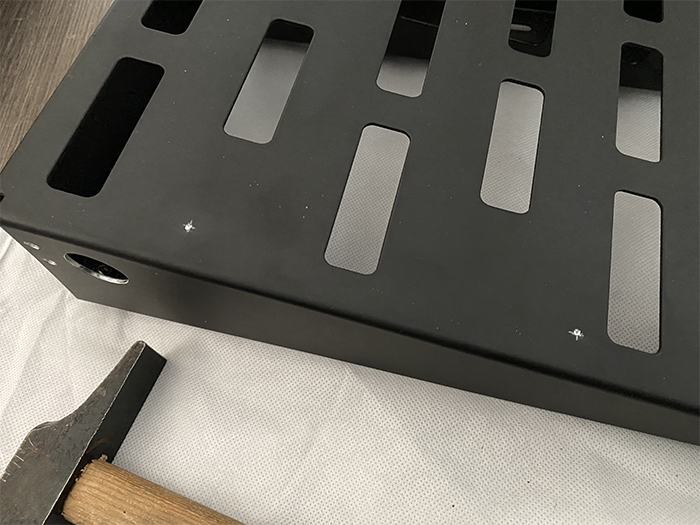
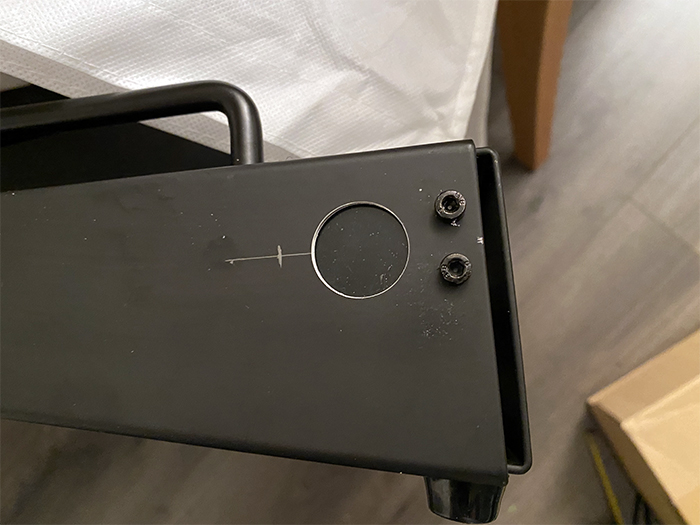
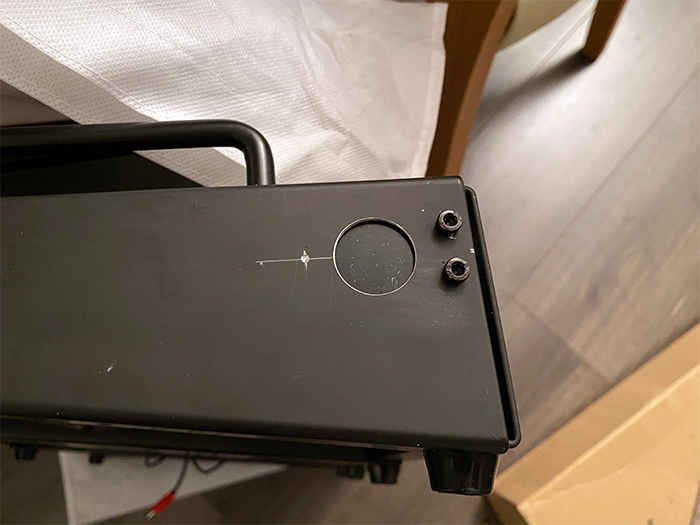
Measuring and marking:
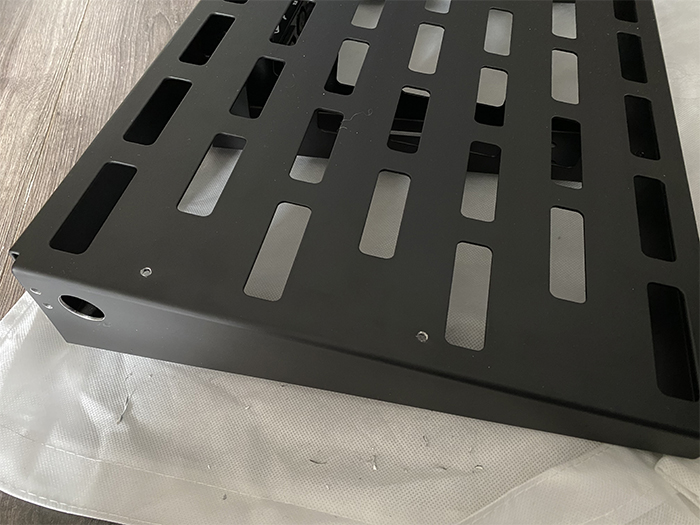
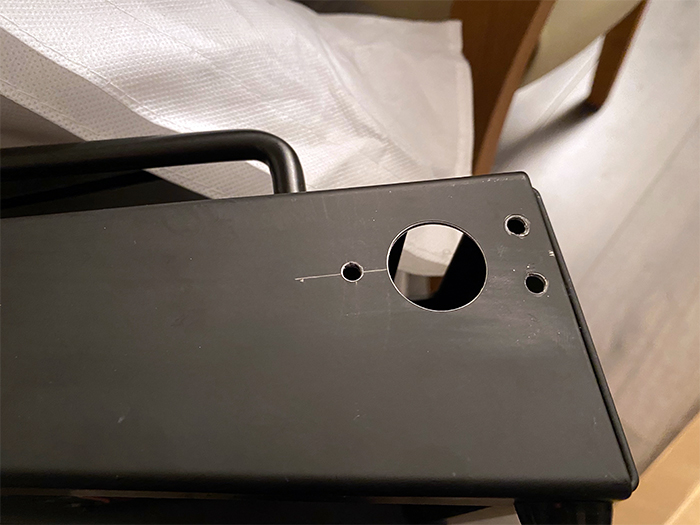
Drilling the holes (a simple driller at lowest speed with hammer off is just fine for aluminium):
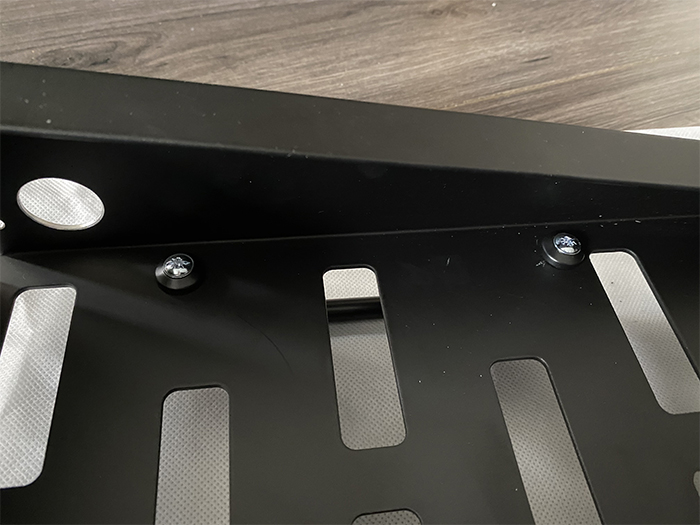
I needed to shorten the screws as they were meant to go through doors and not through a relative thin layer of aluminium.

I also kept the washers to use them underneath and help stabilize the handles:
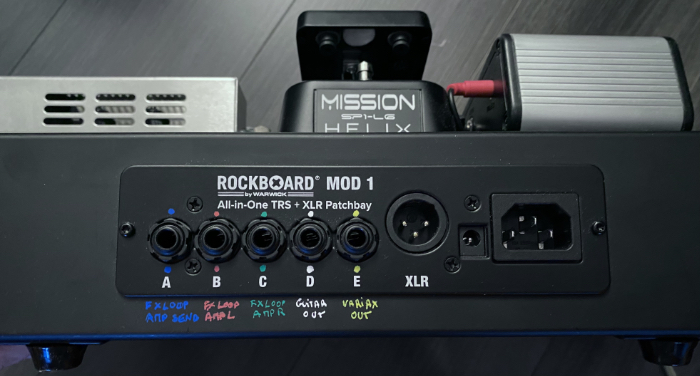
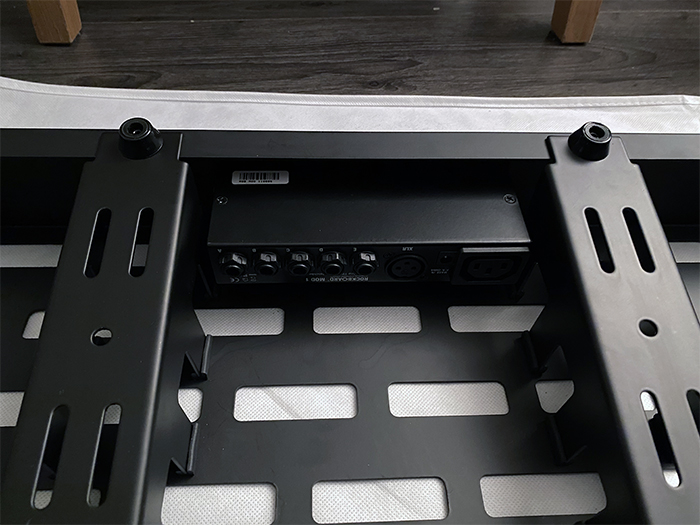
I also installed the RockBoard MOD1 V2:
Getting ready for the real stuff !
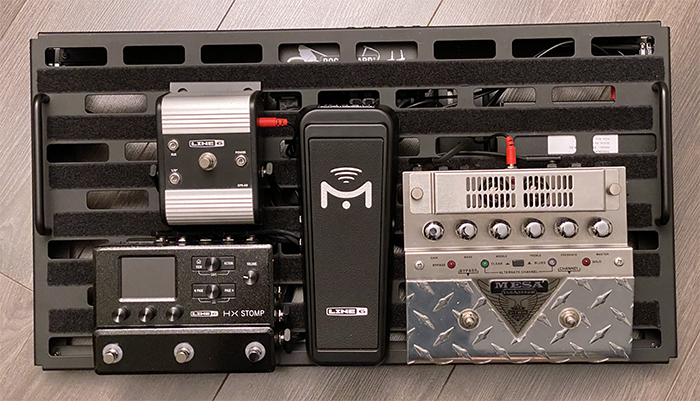
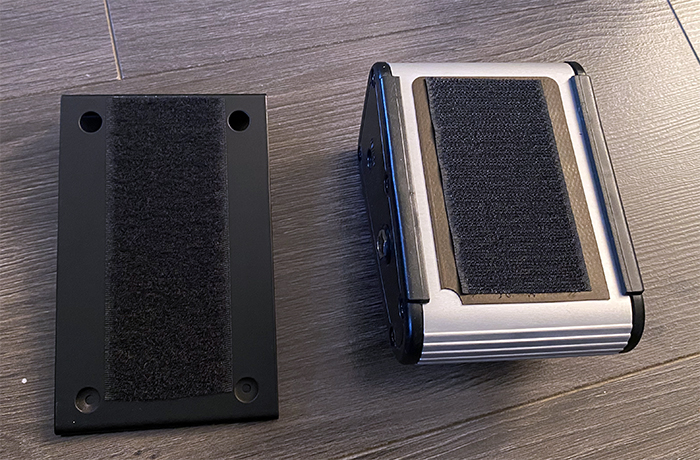
Dual-sided tape for the power unit, dual lock for the pedals, patch cables and here we go:
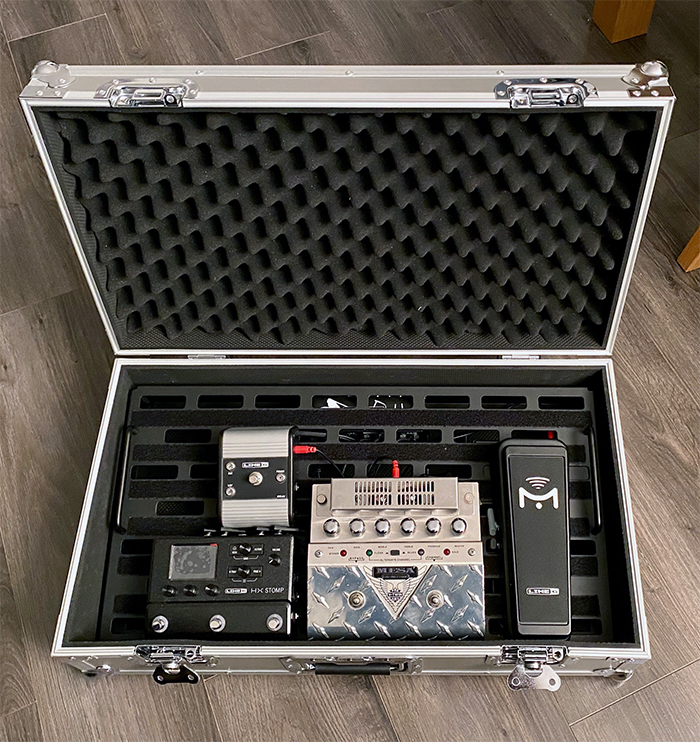
The position of pedals was not definitive yet as I missed at least one longer patch cable but I already had an idea on how I would insert the looper and other pedal(s) to come.
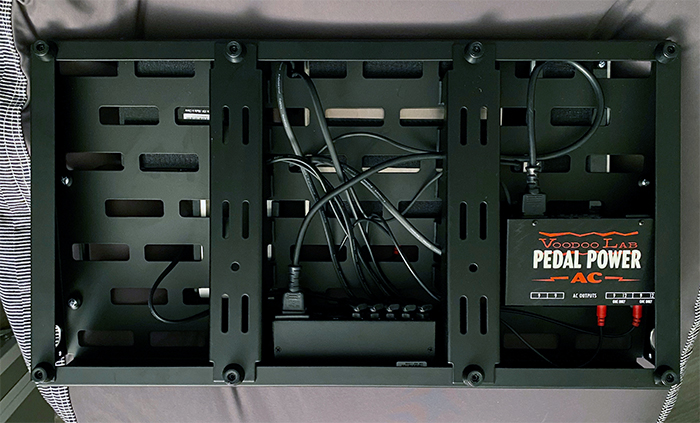
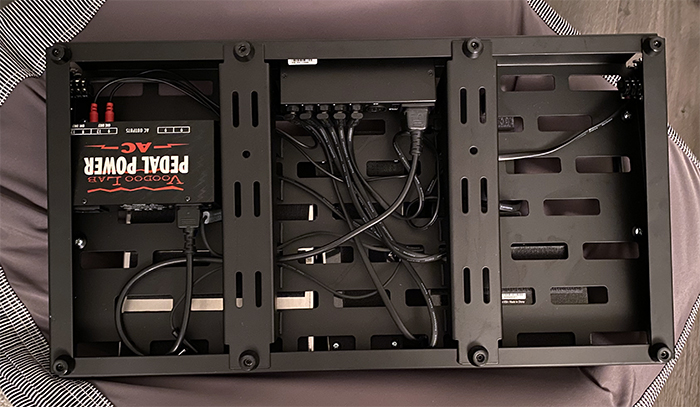
I also missed one power cable and also the cable management clips to clean a bit of the remaining mess under:
Plus, I would arrange something smarter later on for the 2 inputs (1xTRS for the Variax + 1xTS for the other guitars).
Anyway, I was happier then as I could set my stuff quickly, pack it as quickly and be mind free with the MOD1 V2 5xTRS trough.
Let’s rock a bit while waiting for the future updates!

Big progress was made when I received more things:
To begin with, a little improvement a on the expression pedal setup with two simple pieces of wood:
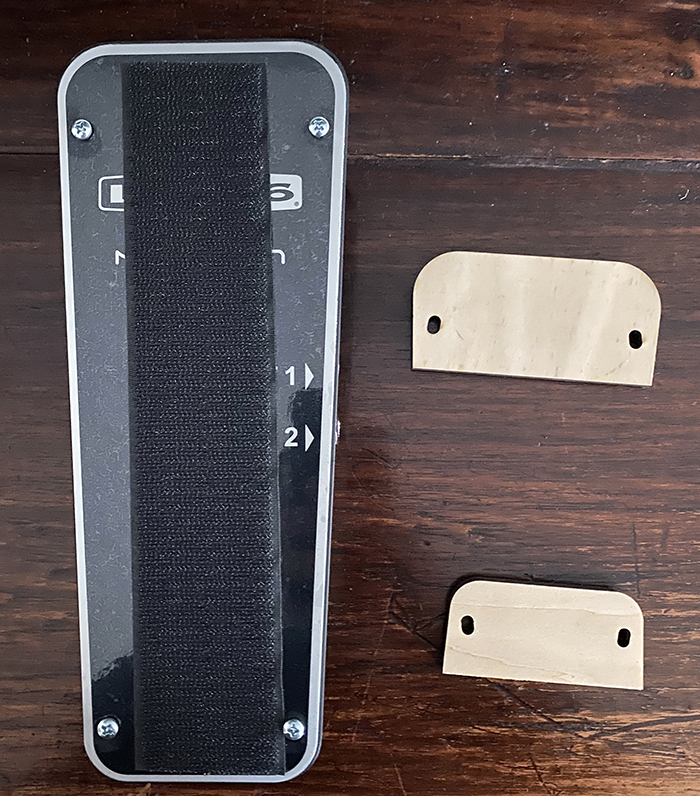
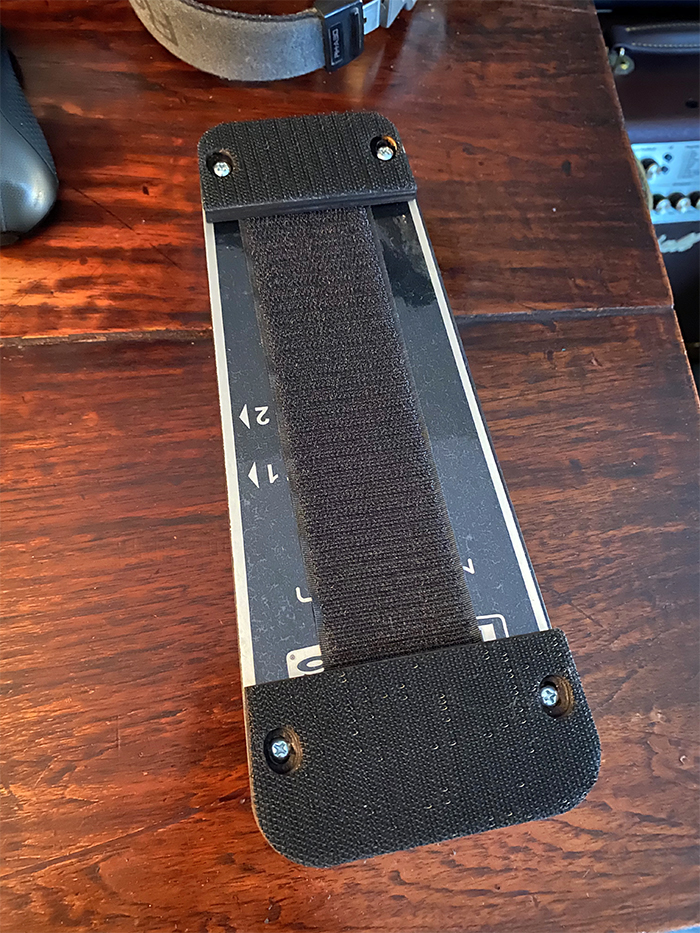
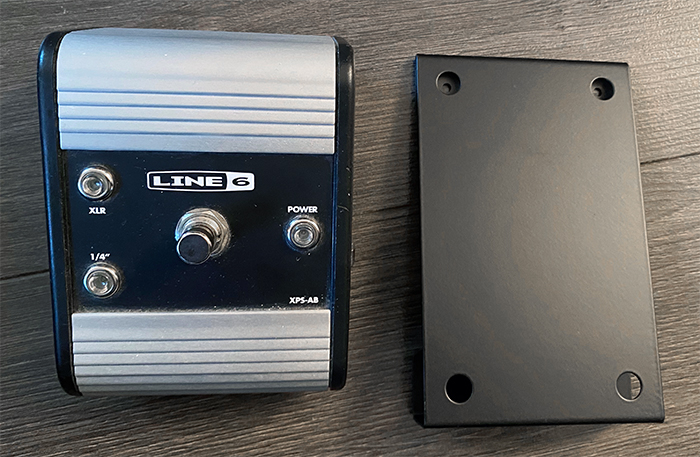
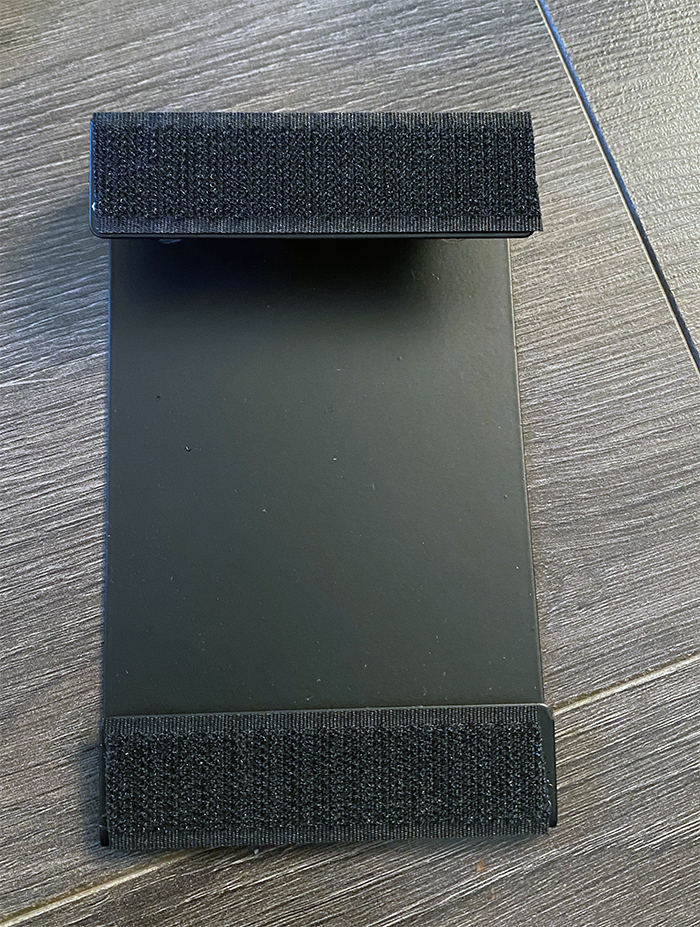
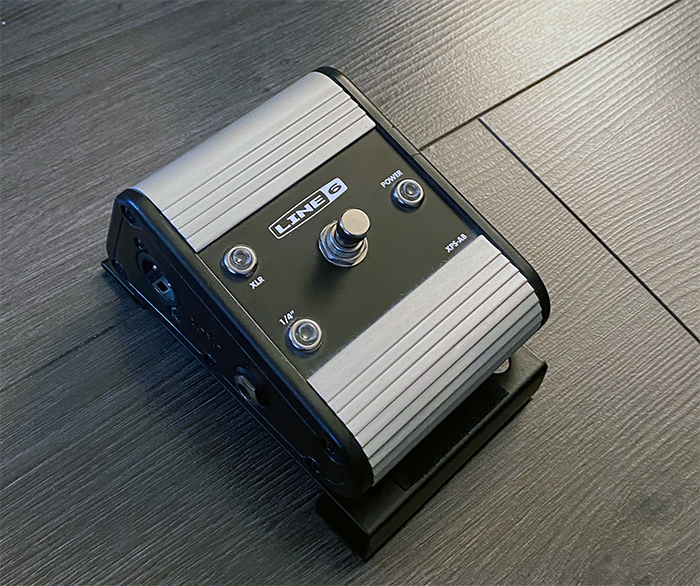
Then, a little step up for the Variax pedal:
And finally, the big piece of work:
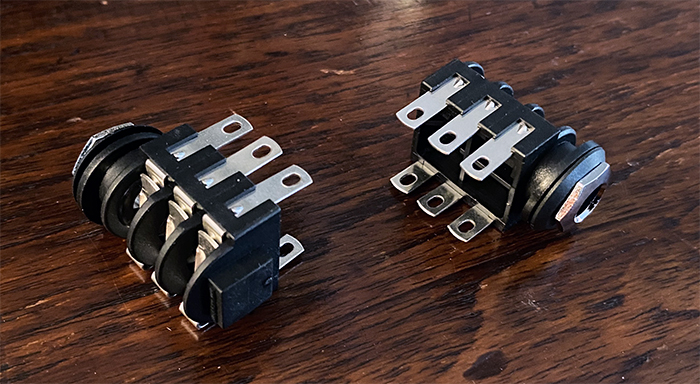
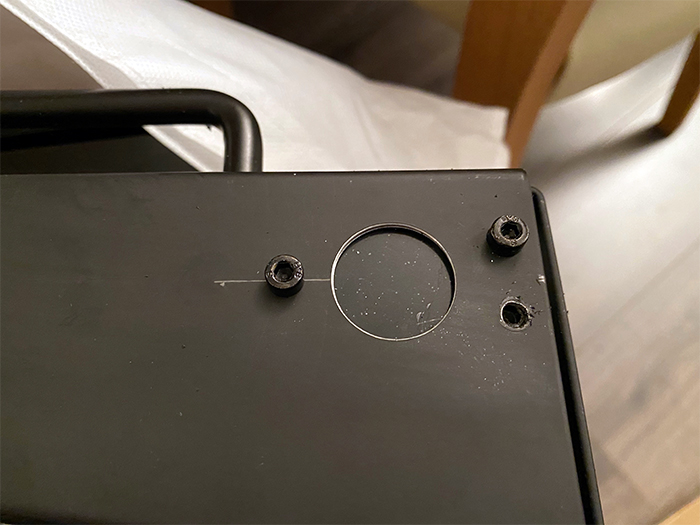
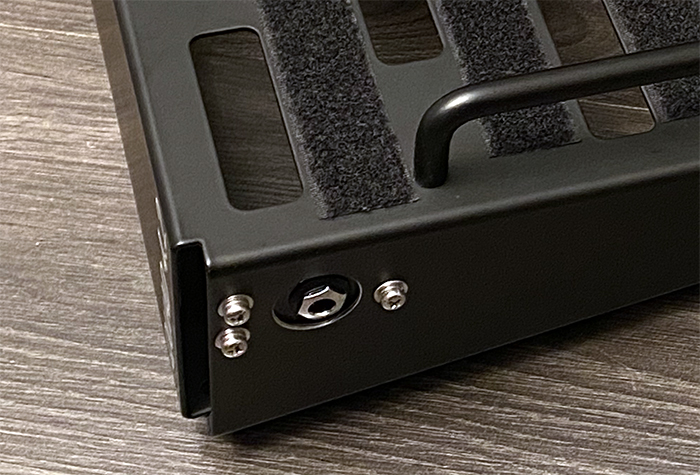
To clear a little bit of “mess” while playing, I decided to install 2x 1/4″ inputs on the sides of the pedalboard, instead of plugging my guitars directly to the first pedal.
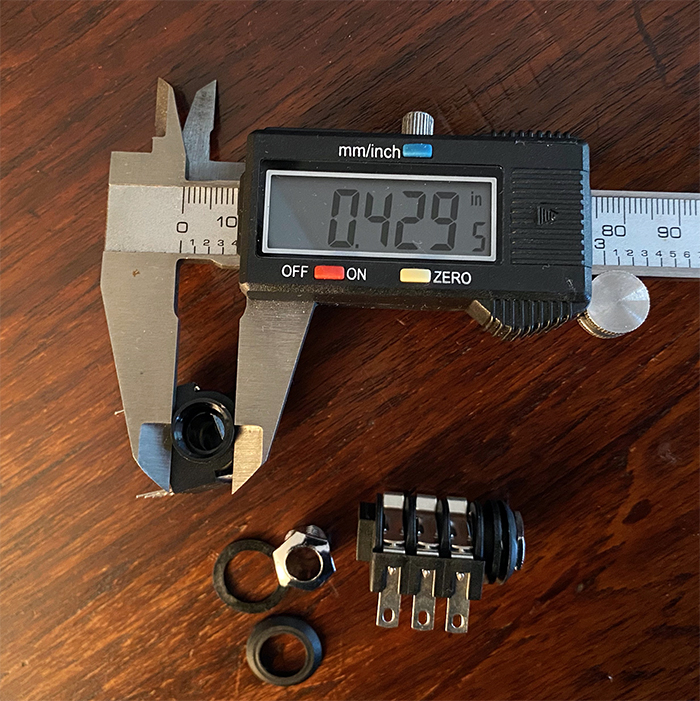
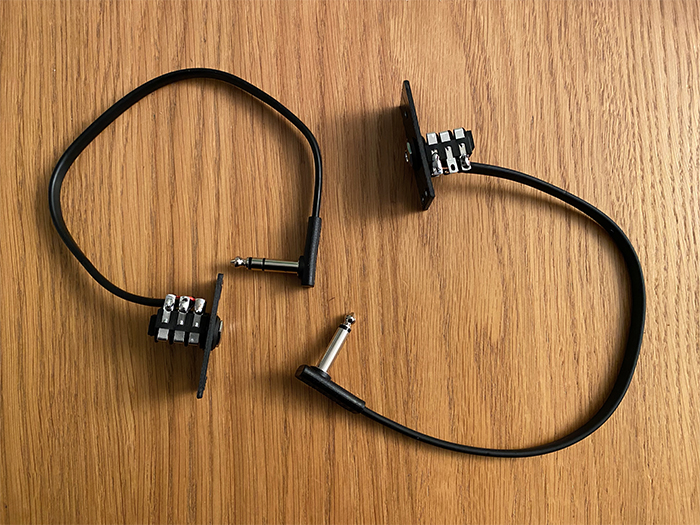
To do so, I bought these Adam Hall’s plugs that I just have to solder and screw. I chose the TRS version, because I need one for the Variax. They come by pair and TRS does fine for TS also:
To mount them on the RockBoard, I decided to use the RockBoard LED mounting holes on the left for the Variax and the one one the right for the regular TS.
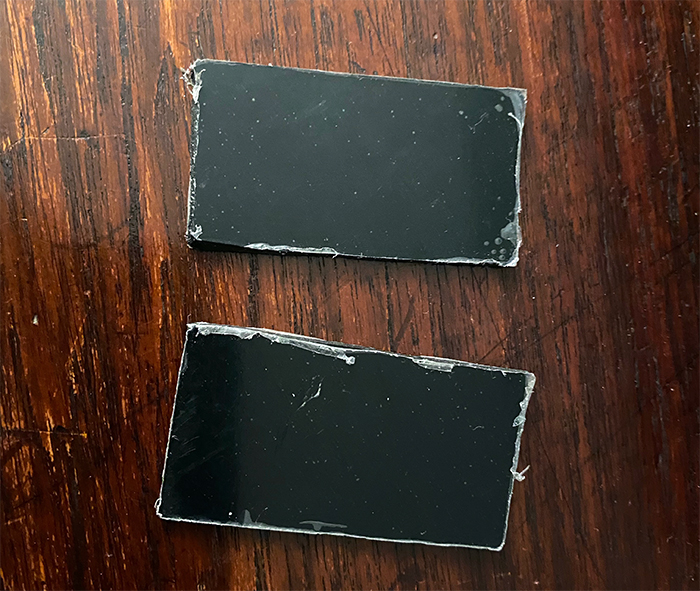
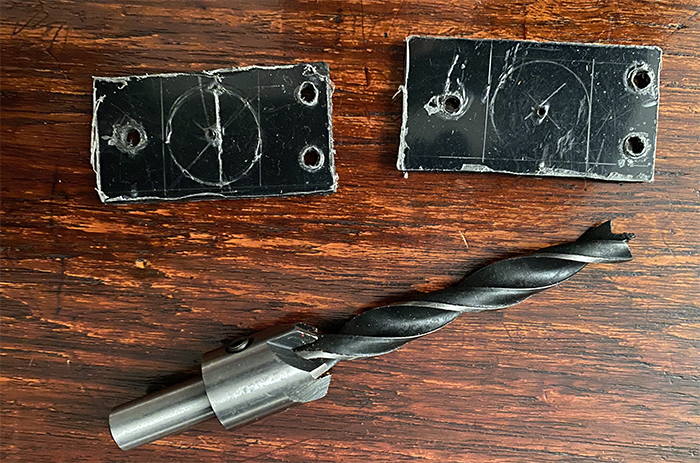
At first, I thought I would be using aluminium plates and then I realized I still have some pick guard blanks with a nice black color that would better match the RockBoard:

As for the cables, the simplest thing for m was to use one of the RockBoard TRS flat patch cable and one TS. From which I would only have to disassemble one side:
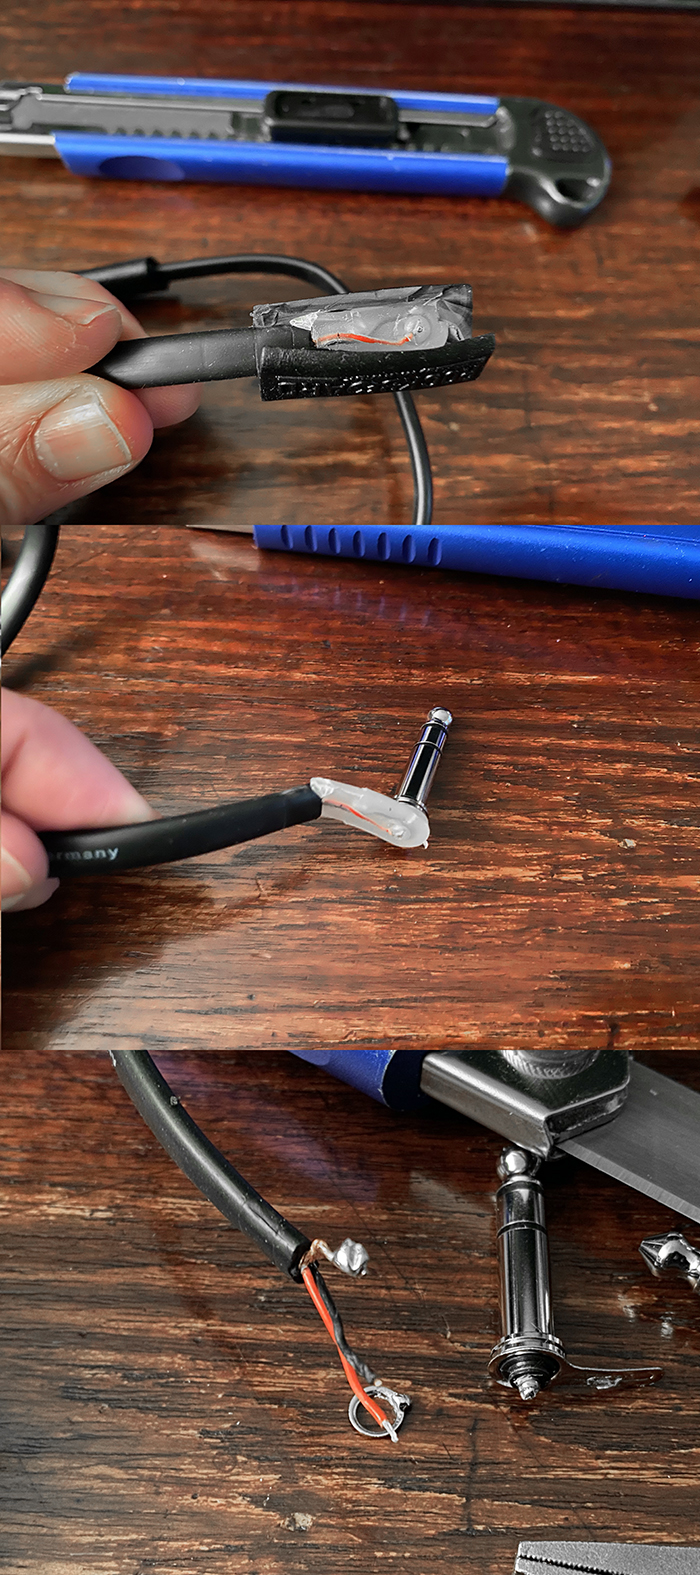
A bit of soldering…
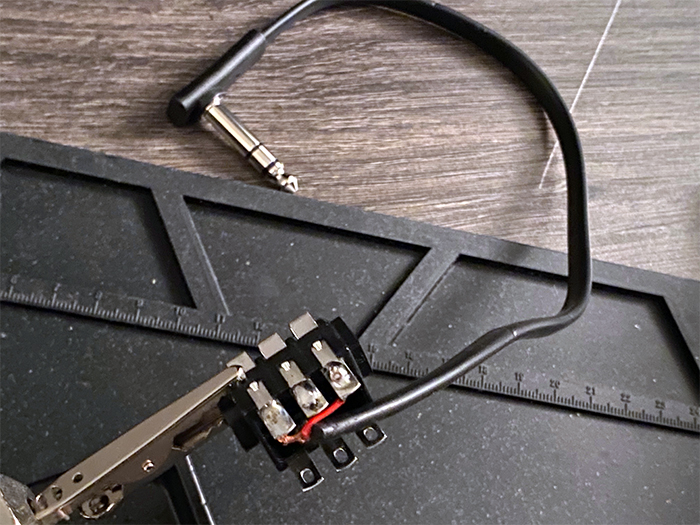
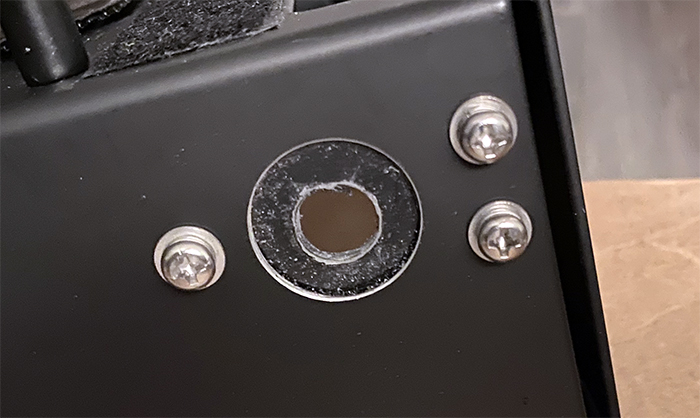
… and we’re done:
Once in place:
I also rearranged a bit the way I organized my pedals on the board because I realized I was using either my left or right foot for the expression pedal.
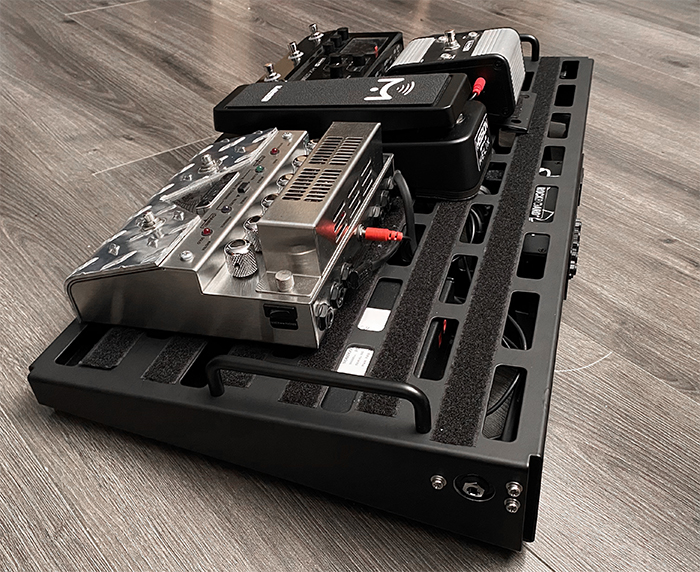
Still I was waiting for the HX Stomp power cable this pedalboard already looked pretty OK… unless I buy new pedals soon…
The last part of gear I was waiting for arrived some weeks later.
It is a simple cable that allows direct connection of the Line 6 power unit to the auxiliary power slot on the Voodoo Lab AC. It is a very simple solution to fit the 3A requirement for the HX Stomp power.
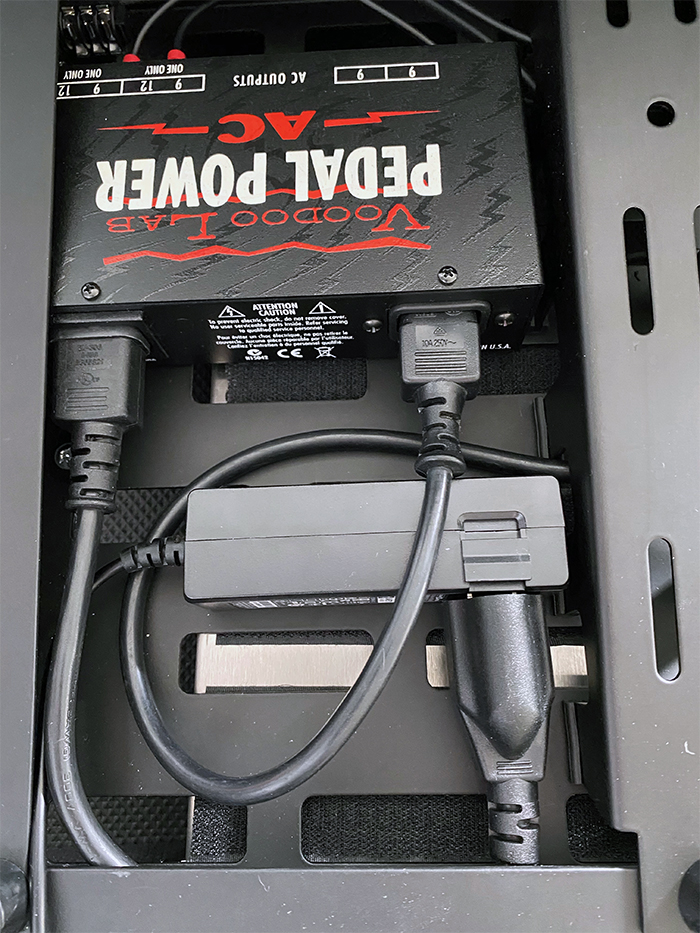
Now, I only have one power cable to plug for this entire pedalboard!
Just to mention that that Posca pens can be very helpful!